Main Board Locations
Luthier's five main-board locations — Salon, Guild, Perform, Repair, Balcony — their actions and 4+ bonuses, the three skill tracks, public awards and specialty workers.
The main board
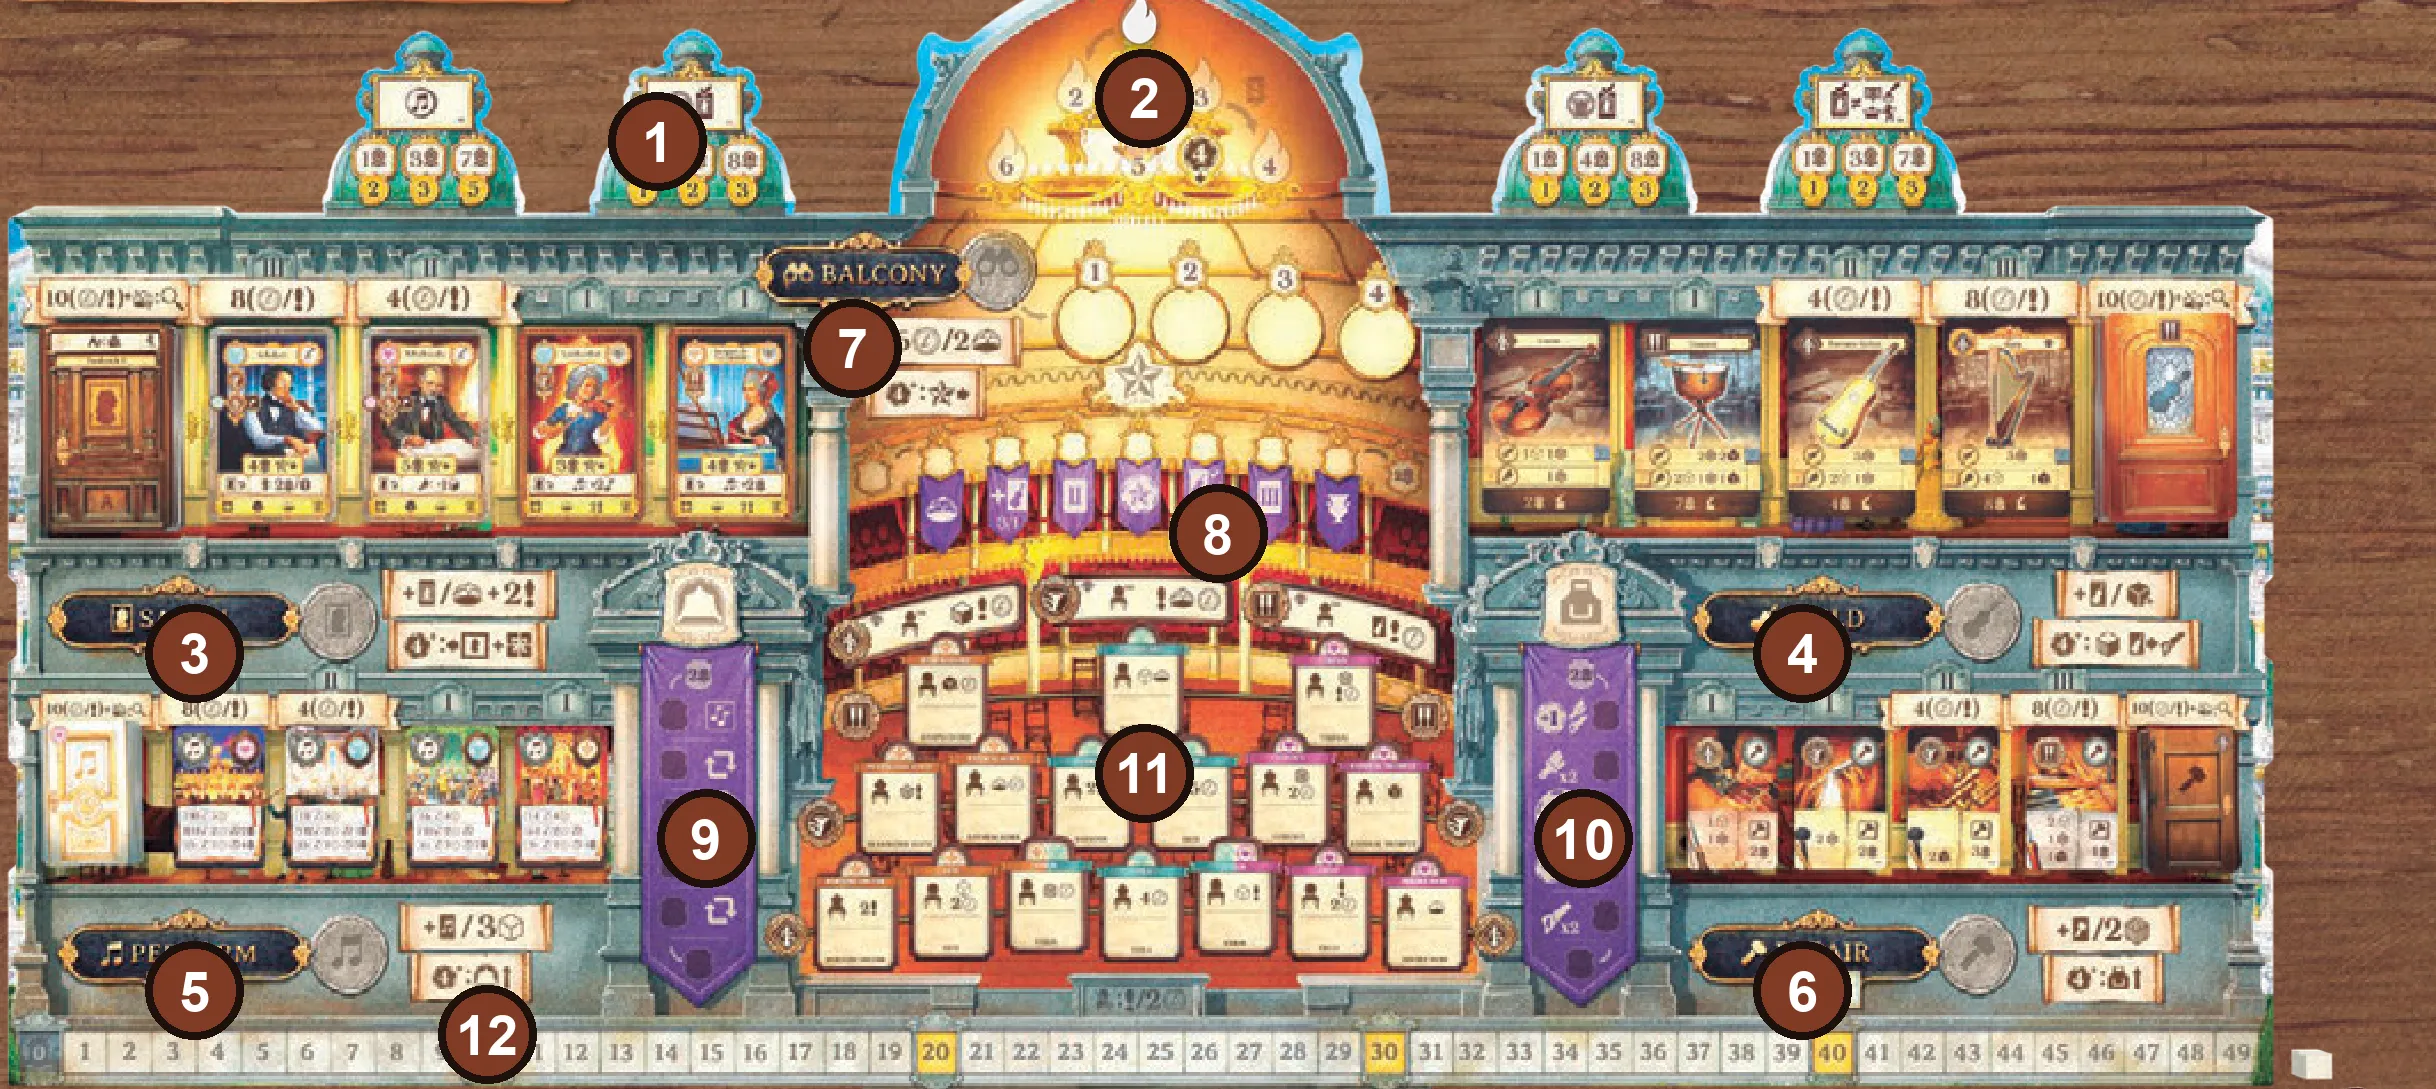
- Public awards
- Round tracker
- Salon
- Guild
- Perform
- Repair
- Balcony and the turn-order spaces
- Reputation track
- Performance Skill track
- Craft Skill track
- Orchestra
- Score track
Location bonuses
Each location offers a main action and one or two alternate actions; each worker there takes
one of them, in priority order. A worker with skill 4 or more
(chip plus apprentices) then also gets the location’s  4+ bonus — after its action,
and even if it took an alternate action or the 2 money.
Salon
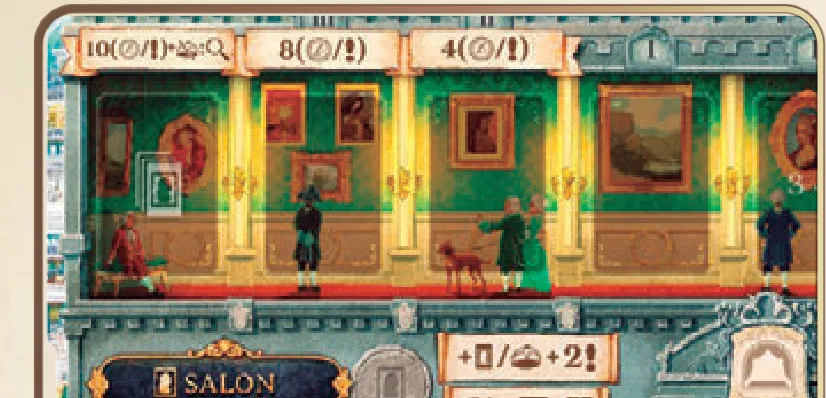
- Main: take a face-up
 patron and place it at once on an empty patron space of your
workbench, taking that space’s bonus (4 money, 1 material or 1 apprentice). No empty space — no
main action.
- Alternate: take 2
 inspiration and 1
 apprentice (if one is
left at the Market).
- 4+ bonus: move one patron’s patience cube one space left and take any one
 gift that patron offers — even if the cube is already at the far left, so it works on a
patron you just placed.
Guild
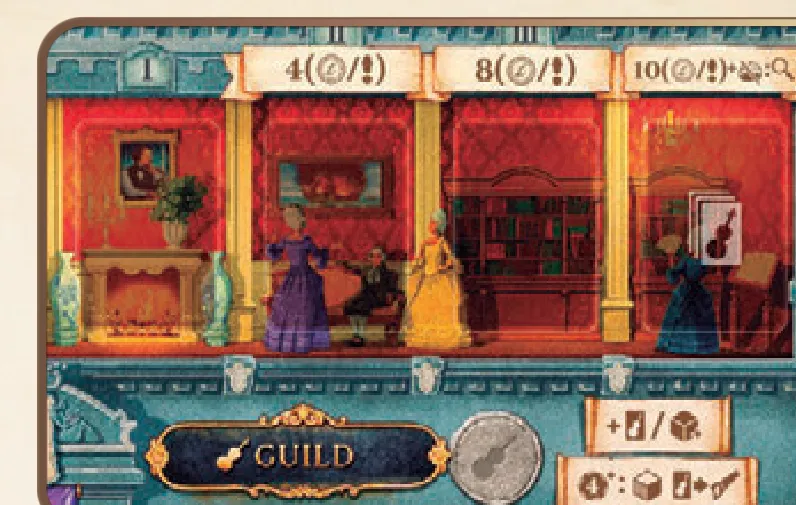
- Main: take a face-up
 instrument card into your hand. You can put it on your
bench at the next start of round.
- Alternate: take 1
 metal.
- 4+ bonus: take 1 material of your choice, and you may put one instrument card
from your hand (even the one just taken) on your roughing bench straight away.
Perform
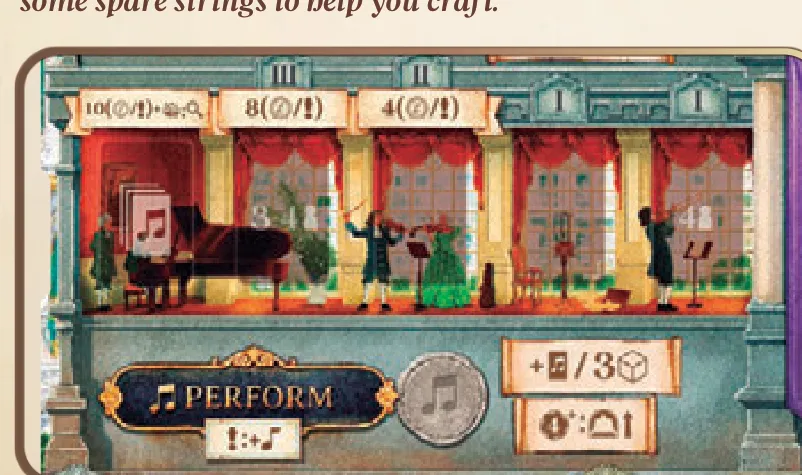
- Main: choose a face-up
 performance card and roll the two white dice (or
your black dice, see below). Your result = the notes on the dice + the worker’s skill + any
inspiration you spend after rolling (+1 each). Take the money for the level you
reached and any prestige it shows. At the medium or high level, also put a
 performance token in the Orchestra column of the card’s era and take its
bonus, and you may tuck the card under a patron whose secondary requirement asks for that era.
Otherwise discard the card.
- Alternate: take 3
 animal.
- 4+ bonus: one step up the Performance Skill track.
Performance dice
Count the notes on each die face; a white die can show none, and black dice roll higher (the rulebook’s example rolls 4 on a black die). The purple die, from the award benefit, is rolled on top of the others and gives extra resources.
Performance Skill Track
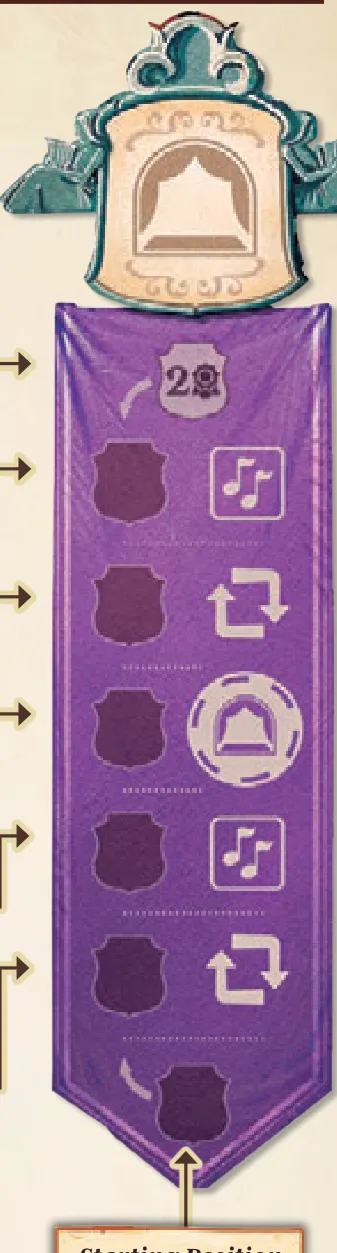
From the bottom: start → reroll one die each performance → swap one white die for a black → choose a specialty worker card → reroll a second die → swap the second white die for a black → 2 prestige for every further step. You climb with the Perform 4+ bonus or by training at the Market (15 money a step; the 2-prestige top can’t be trained).
Repair
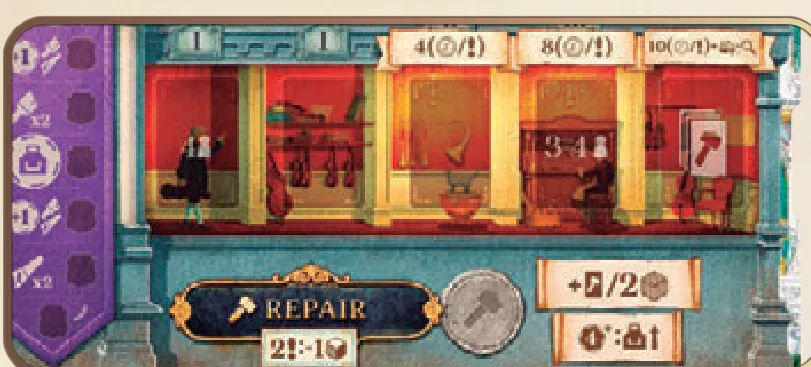
- Main: choose a face-up
 repair card and discard the materials it shows (you can’t
take it if you can’t pay). Every 2 inspiration can replace one material. Score
its prestige, put a
 repair token in the Orchestra row of its instrument family
and take the bonus, and you may tuck the card under a patron whose secondary requirement asks for
that repair. Otherwise discard it.
- Alternate: take 2
 wood.
- 4+ bonus: one step up the Craft Skill track.
Craft Skill Track
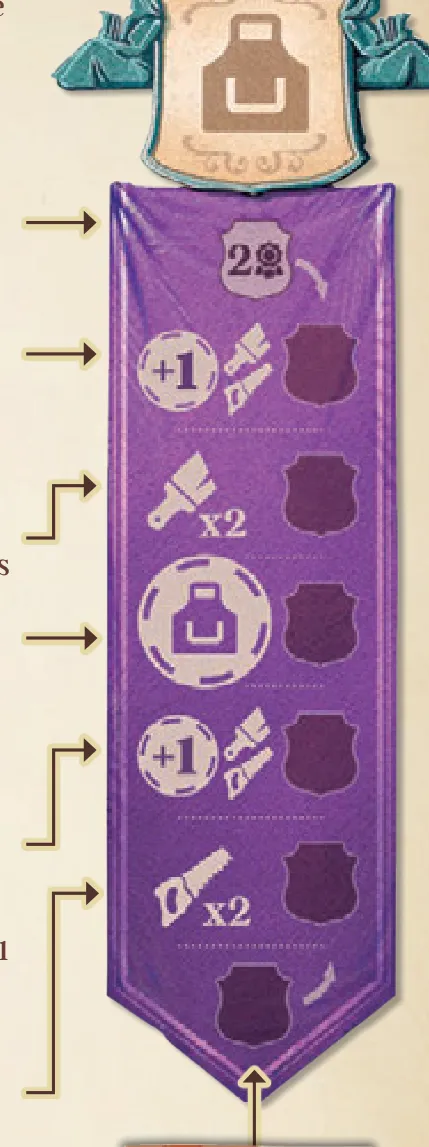
From the bottom: start → rough two instruments in one action → +1 skill for every worker on your benches → choose a specialty worker card → finish two instruments in one action → another +1 bench skill (+2 in total) → 2 prestige for every further step.
Balcony
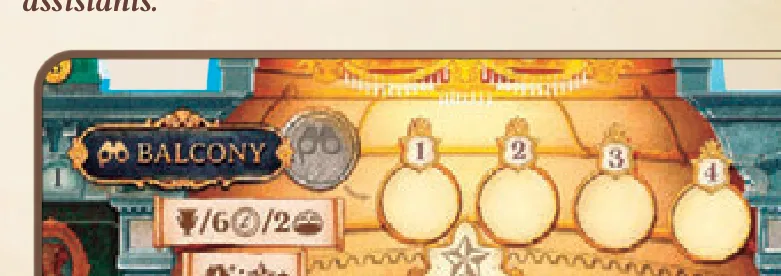
- Main: score an available level of a public award you qualify for.
- Alternate: take 6 money, or up to 2 apprentices from the Market.
- 4+ bonus: one step up the Reputation track.
Turn order
Balcony chips are not taken back: after acting, put them on the turn-order spaces in their priority order (only each player’s highest-priority chip counts). At the end of the round they set the new turn order; players without a Balcony chip follow, in their old order. Apprentices still go back to the Market after the action.
Reputation Track
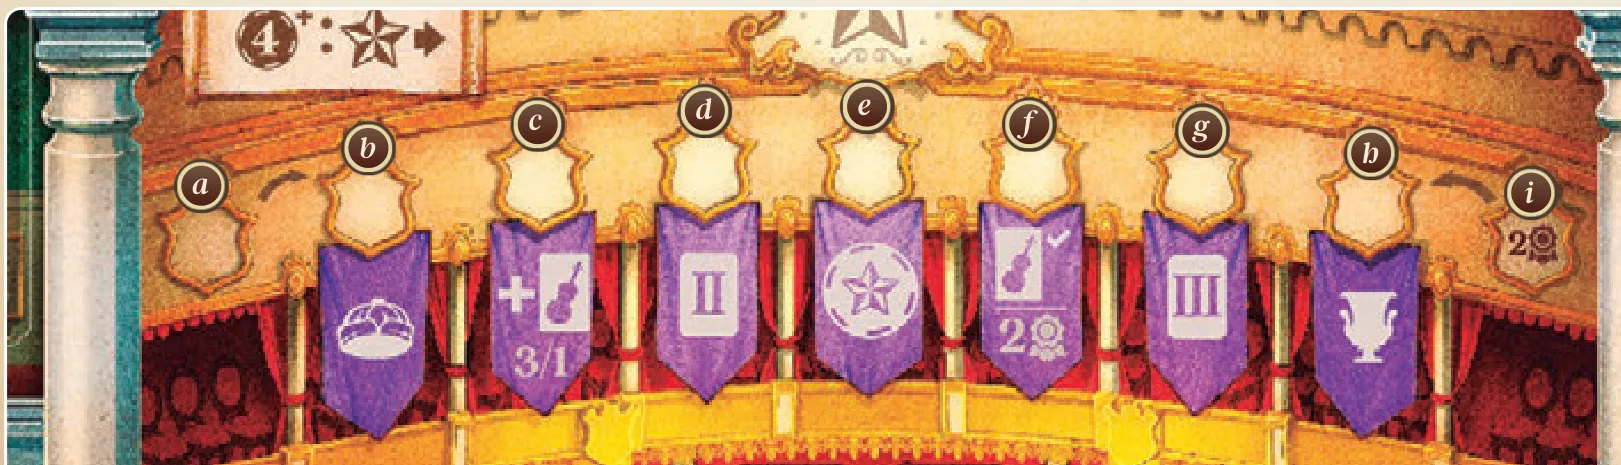
You move up by completing a patron and with the Balcony’s 4+ bonus.
a. Start.
b. Gain 1 apprentice (if you can).
c. Draw 3 instrument cards, keep 1, put the others at the bottom of the deck.
d. Tier II cards are free for you from now on.
e. Choose a specialty worker card.
f. From now on, +2 prestige whenever you finish an instrument.
g. Tier III cards are free for you from now on.
h. Score a public award you qualify for, as at the Balcony (optional).
i. Every further step: 2 prestige, then step back to h — so you may score another award.
Public awards
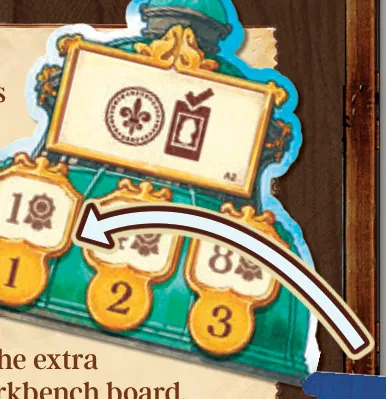
Each public award tile has three levels: how many of its criterion you need and the prestige it pays. When you qualify (at the Balcony or the Reputation track), cover one level with an award marker from your workbench and score it. Rules:
- one level per award per player; a level taken by someone is gone for everyone;
- if you qualify for several levels of a tile, choose one;
- you have three markers, so at most three awards.
All 15 awards are listed in the appendix.
Award benefits
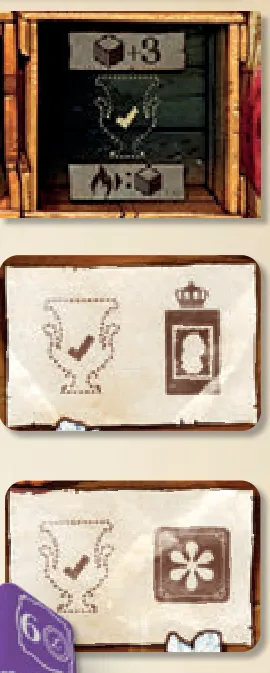
The marker you remove from your workbench unlocks its benefit at once:
- Extra storage: +3 storage (12 in total) and a free material of your choice at every start of round.
 Royal patron: look through the royal patron deck, choose one and place it as a
normal patron with its space bonus. Without a free patron space you score the award but take no
royal patron.
- Purple performance: roll the purple die in every performance from now on.
Specialty workers
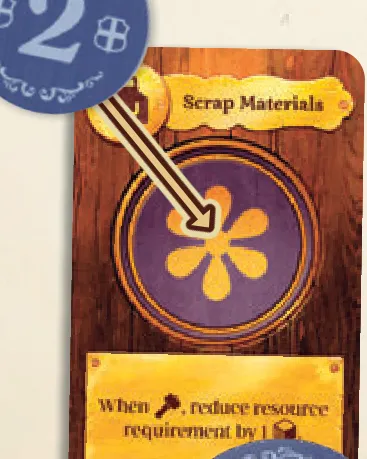
Each skill track has a space where you choose a card from that track’s specialty worker deck. At the end of that round, put one of your numbered chips on the card for the rest of the game and take the matching specialty chip: it has that chip’s skill and the card’s ability whenever you use it. Each specialty worker card is worth 1 prestige at the end.