Ocean, Links and Impact
How the ocean grows by depth and column, the parts of a zone, completing links, the three kinds of special zone features, and placing markers on the Impact board.
Zones
The play area is built from Ocean boards; a board in play is a zone. The parts of a zone are numbered on Teach the Game:
- Discovery bonus (faint, top left) — once, for whoever discovers the zone;
- Travel box with the Arrival bonus under the Travel symbol, and gears showing the depth;
- action spots, each marked by an outlined symbol: Sonar tracks, Dive sites, Conservation sites with their Research cost, Journal sites with a Field symbol;
- sometimes links and special features (below).
Boards with the sun mission symbol by their name (The Sea Star, The Looking Glass, Fallen Star) are used only by the Missions that name them.
Depths and columns
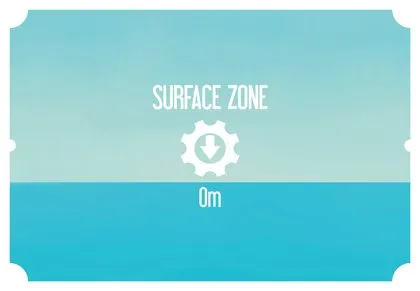
| Depth | Back | Depth | Back |
|---|---|---|---|
| 1 | Surface zone | 4 | Bathypelagic zone, 1000–4000 m |
| 2 | Epipelagic zone, 0–200 m | 5 | Abyssopelagic zone, 4000 m + |
| 3 | Mesopelagic zone, 200–1000 m |
The Scenario’s Ocean Board diagram shows the starting zones and the columns the ocean may grow into (five in most Missions, labelled A–E). Depth 1 is the top row; each deeper row hangs under the row above, so a depth-4 zone needs a depth-3 zone directly above it. Depth 5 is the bottom unless the Mission says otherwise. New zones come only from Discover.
Completing links
Some features are joined by lines called links, with a reward printed on the line. When both ends hold a disc, the link is complete and both players with a disc at an end gain the reward at once.
- Your own discs at both ends give the reward only once.
- One disc can complete several links at once.
- The active player takes their rewards first, then the others clockwise.
Special zone features
Some zones have extra rules, shown three ways (each zone’s rule is described under Cards & Components):
| Sign | Meaning | Example |
|---|---|---|
| Yellow warning triangle | A rule for the whole zone, not tied to a feature | Vortex: when you Travel away, your Technology level counts one higher |
| Yellow line from a feature | Something extra happens right after you use that feature | Brine Pool: when you Dive here, also gain an Impact |
| Yellow ring round a feature | Once your disc is on it, a lasting rule applies to you | Jellyfish Bloom: travelling away from here gives you an Impact |
The Impact board
Each Scenario sheet has its own Impact board: a grid of hexes with rewards. Each time you gain  Impact, by any means, put one of your markers in an empty hex and take its reward.
- You may only place in a hex an entry arrow points to, or in a hex touching any occupied hex — yours or another player’s.
- Some hex colours score at the end; the Scenario’s legend gives their value (Mission 1: 1 and 2 points).
- A ∞ hex holds any number of markers; extra ones go in the larger area attached to it and score the same.
- Run out of markers? Use another colour or a substitute.
Later Missions change how the Impact board works; the Scenario sheet wins over these rules where it says so. See Missions.