Oceania Expansion
Oceania: the new map explored right to left, the Post Office and University, Villages, Map Lens locations, the Hazard track with Antidotes and Consequence tiles, new personal boards, solo changes and the expansion modules.
Short tag: [Oceania] — Darwin’s last voyage. A new main board and personal boards, sixteen new specimens and a Hazard track: exploring is riskier, and every round ends with a Consequence for those who took the most risks. Rules: the Oceania rulebook (Founder’s Edition, 2025) from ThunderGryph’s rulebook page.
Oceania is not standalone: you need the base game. It does not combine with the Fireland map, but its personal boards and most of its modules also work with the base game and Fireland.
What it adds
| Component | |
|---|---|
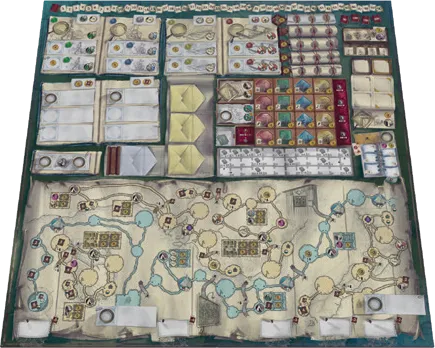 | Double-sided Oceania main board. Replaces the base board: four Island tracks, Post Office, University, two Villages and two Map Lens locations |
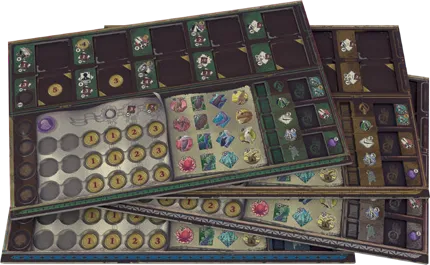 | 4 Oceania personal boards (Alfred on the back) with new Objective and Tent rewards |
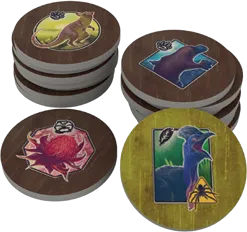 | 16 Oceania Specimen tokens and 16 Museum tiles, with a Museum Overlay tile for the base board |
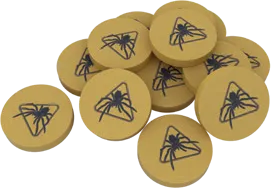 | 13 Hazard tokens on the spider ribbons |
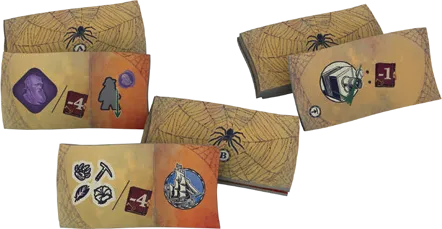 | 12 Consequence tiles (A, B and C backs) |
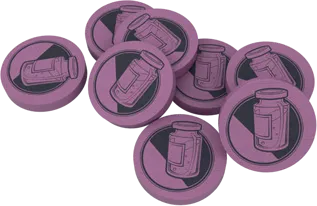 | 8 Antidote tokens: two per player cover rewards on the personal board |
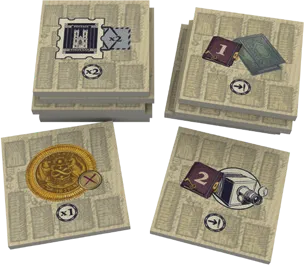 | 12 Village tiles (6 silver, 6 golden) |
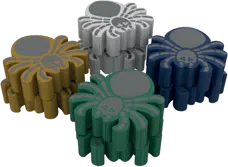 | 8 Spiders (2 per colour): Hazard marker and negative-points marker |
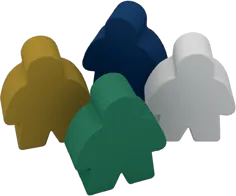 | 12 Explorers (3 per colour) for the Post Office, University and first island |
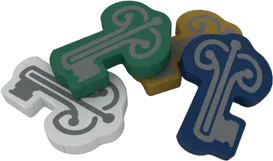 | 4 Key tokens: replace the scoring cubes |
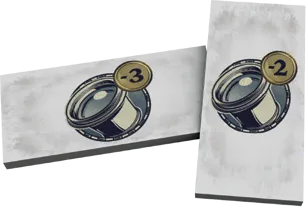 | 2 Discount tiles (−2 and −3) for the Map Lens locations |
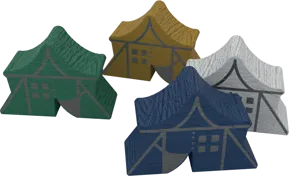 | Silver Village rewards: 4 Special Tents, 8 Special Stamps, 4 Special Workers, 4 Special Coins, 8 Special Placement tokens |
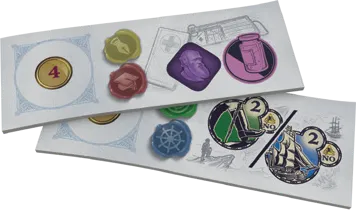 | 2 Special Action tiles, 8 Objective tiles, 2 Beagle Goal tiles, 2 Correspondence tiles, 4 Crew cards shuffled into the base sets |
Every card and tile is listed on Cards & Components.
Setup changes
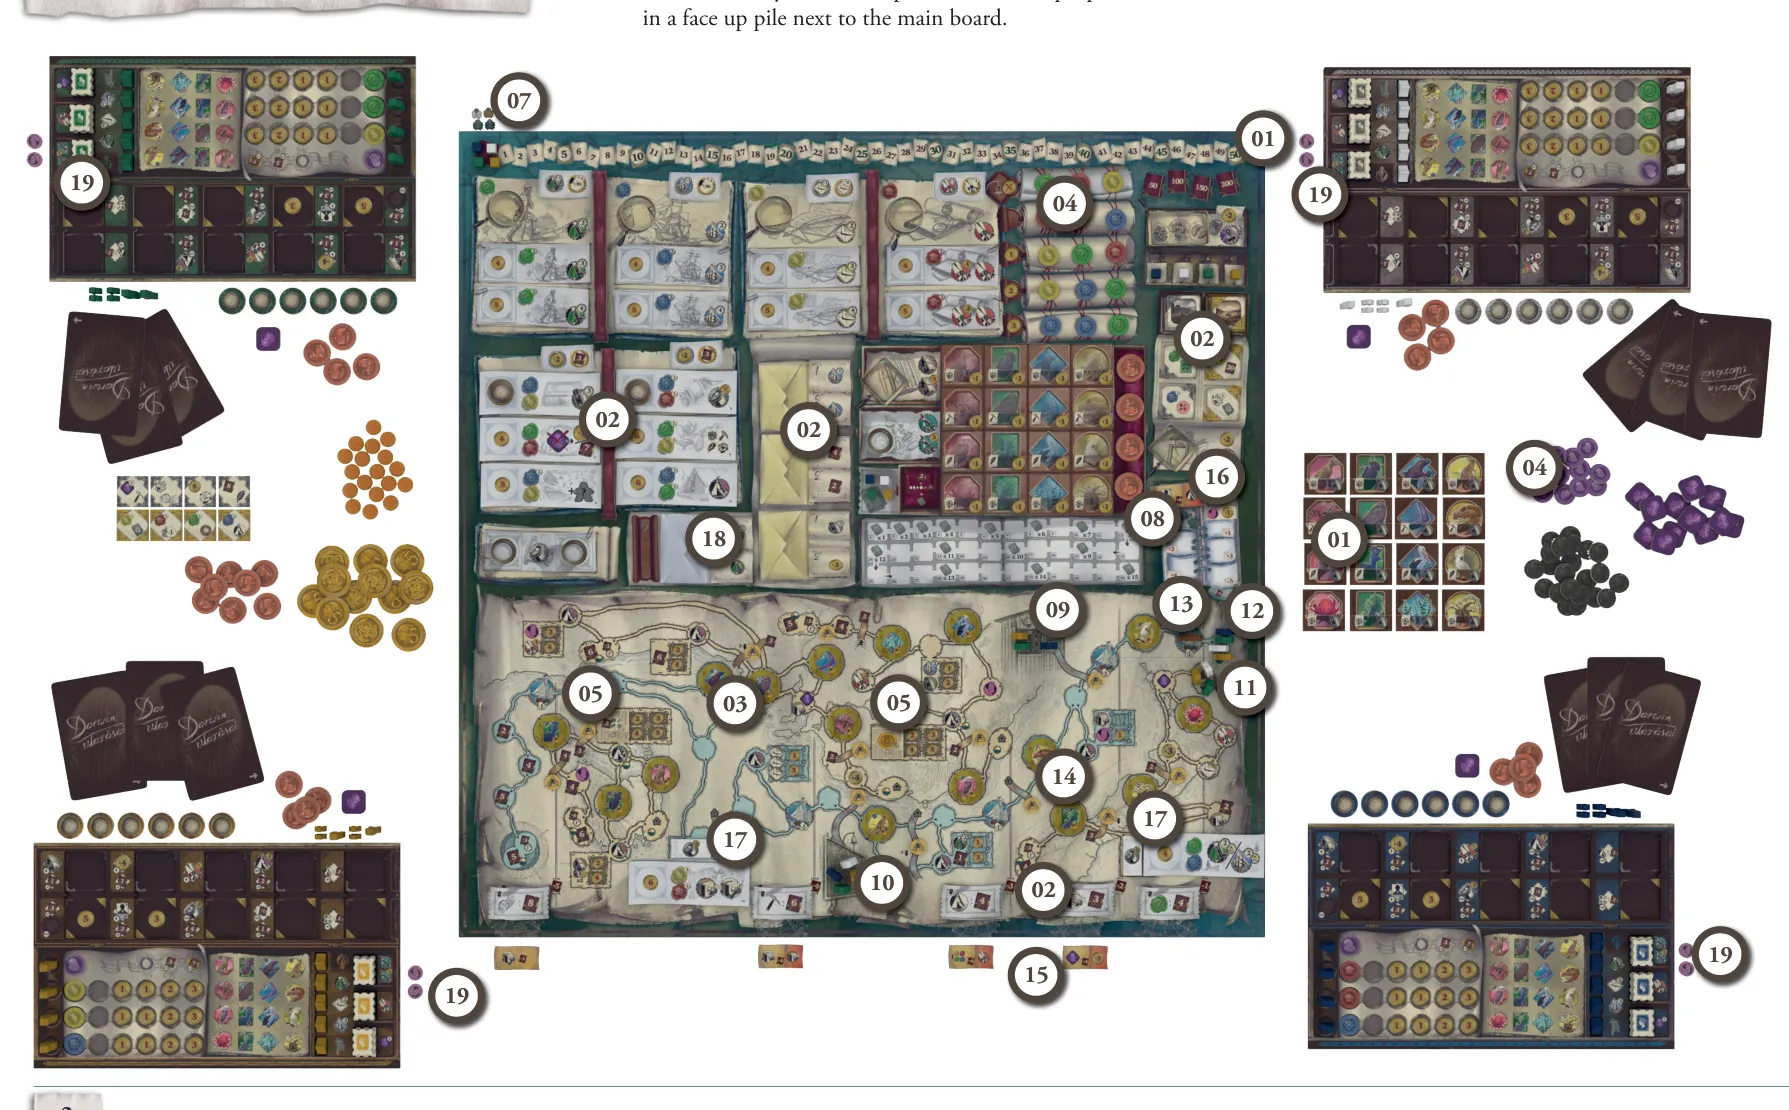
Do the normal main board and player setup with these changes (numbers as in the picture):
- Use the Oceania main board, personal boards, Museum tiles, Specimen tokens and Key tokens instead of the base ones.
- Shuffle the Oceania Special Action tiles, Objectives, Beagle Goals, Correspondence tiles and Crew cards into the base sets.
- Lay the Oceania Specimen tokens Hazard side up
 . Skip locations marked for more players, as usual.
- Draw 3 more Wax Seals for the new top row of the Academy. The Special Wax Seals (purple) go in a face-up pile beside the board.
- Shuffle silver and golden Village tiles separately. Put 1 golden on the golden Village and 1 silver on the silver Village; the rest go back in the box.
- Keep the Special Tents, Stamps, Workers, Coins and Placement tokens ready: each belongs to one silver Village tile.
- A Spider of each colour beside the victory point track: the Spider marker for negative points.
- A Spider of each colour on the top-left space of the Hazard track: the Hazard marker.
- An Explorer of each colour in the Post Office on the Ocean track.
- An Explorer of each colour in the University on the Ocean track.
- An Explorer of each colour on the start of the right-most Island track.
- Each Ship on the right-most space of the Ocean track.
- The HMS Beagle on the right-most Beagle space.
- A Hazard token on each spider ribbon of the Ocean and Island tracks, skipping ribbons marked for more players.
- Sort the Consequence tiles by back (A, B, C) and shuffle each stack. Put one of each face up on the spiderweb spaces below the board, as shown: C, B, B, A, A from left to right. The rest go back in the box.

- Move the right-most Consequence tile above the Hazard track: it is the current tile for round 1.
- Draw 2 unused Special Action tiles for the two Special Action spaces on the map. Put the −2 Discount tile beside the one on the first Island track and the −3 beside the one on the Ocean track, unlock side up.
- Shuffle 5 unused Correspondence tiles into a face-up stack on the new Envelope.
- Each player covers one Objective bonus and one empty-Stamp-stack bonus on their personal board with Antidote tokens. Players may choose different bonuses.
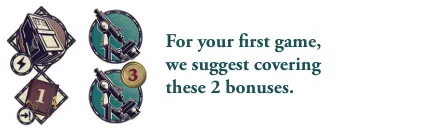
The interactive setup checklist covers the base game and Fireland; use the list above for Oceania.
The Oceania map
The map is explored from right to left. It has four Island tracks; all but the first are opened as in the base game, by silver ribbons on the Ocean track. Explorers never switch tracks and stop at the end of theirs.
Post Office
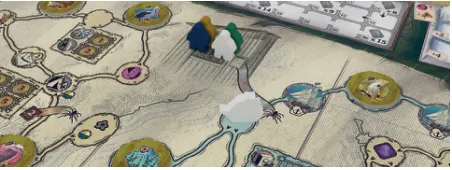
When your Ship passes the silver ribbon to the Post Office, move your Explorer from there to the horn icon beside the new Envelope: it is now your Employee. From then on a Correspondence action may place Stamps on the new Envelope and on one regular Envelope. The tile on the new Envelope changes every round. Without an Employee you cannot use the new Envelope (FAQ).
University
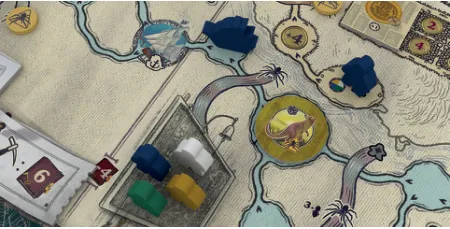
When your Ship passes the silver ribbon to the University, move your Explorer to the bell icon beside the new top Scroll row of the Academy: it is now your Professor. Your Academy actions may then take one seal per turn from the top row, with no Coin penalty for taking or placing it. The Professor gives no extra seal; it only opens the row. It also works for Academy actions gained in the Reward phase (FAQ).
Villages
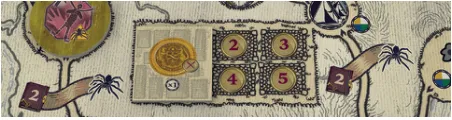
Two Villages, one silver and one golden. When your Explorer stops on a Village you may Establish a Campsite there: one Tent per player per Village. Villages are not Campsites and their Tents can never be reactivated. Every player fits on a Village space, so nobody jumps over it (FAQ).
Silver Villages pay at once:
| Tile | You gain |
|---|---|
| 1 | Special Coin: discard it during any action to ignore one Coin cost or penalty of that action (FAQ) |
| 2 | 2 Special Stamps: each is placed as 1 Stamp but counts as 2 for majorities, and doubles that Envelope’s reward (two on one Envelope still double it only once). They are discarded first and leave the game |
| 3 | Special Tent: later, place it instead of a regular Tent on any non-Village Campsite and take that Campsite twice (FAQ) |
| 4 | 2 Special Placement tokens: discard one to place a worker on an occupied Lens location, even a personal one, with no placement penalty. The Lens owner still gets 1 Coin |
| 5 | Crew card: at setup the Crew cards discarded in the draft (first game: one per player, revealed) lie face up by the board. Do all Crew actions of one of them without its requirements, then flip it |
| 6 | Special Worker: once per game, on any location with no placement penalty and no seal requirement; it has both distinctions |
Golden Villages score at the end:
| Tile | Points at final scoring |
|---|---|
| 7 | 1 per Book Multiplier on the Theory of Evolution track |
| 8 | 2 per specimen researched |
| 9 | 1 per Wax Seal on your board, Special ones included |
| 10 | 3 per personal Lens token placed |
| 11 | 3 per Tent on the map |
| 12 | 2 per Objective completed |
Map Lens locations
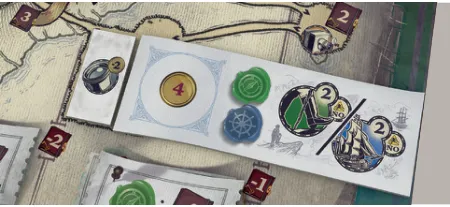
Two locked Lens locations sit on the map, each beside a Special Action tile. They open only when your Ship or Explorer stops on them: you may then unlock the adjacent tile at once, paying the unlock cost minus the Discount tile (−3 on the Ocean track, −2 on the first island). Afterwards flip the Discount tile over the tile’s seal requirements.
From then on, anyone whose Ship or Explorer has reached or passed that location may place a worker there on any turn with no seal requirements (FAQ). Stopping there later has no effect. If Consequence 7 takes away your Explorer on the first island, you lose access to that tile.
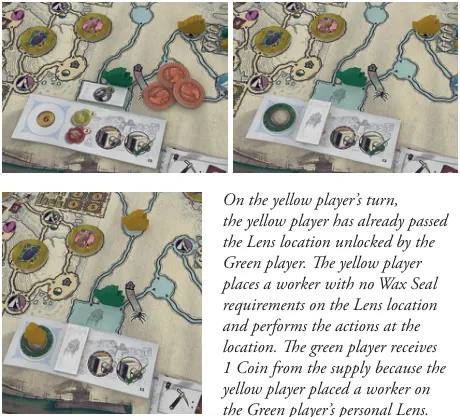
New Campsite
 Deliver a specimen to the Museum and take its Coins and Theory of Evolution steps twice.
The Hazard track
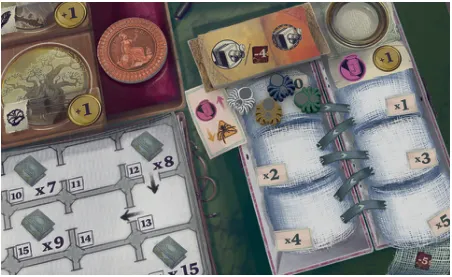
Your Hazard marker shows how many Hazards you met this round. Past the fifth step it stops moving and you lose 5 points for each further Hazard.
Encounter a Hazard — any action or reward with moves your Hazard marker one step down:
 The first player to research each Oceania specimen meets a Hazard and flips the token; later researchers are safe.
 The first player to cross a ribbon with a Hazard token meets a Hazard and takes the token. Some Objectives and a Beagle Goal count these tokens. Only crossing a ribbon gives a token (FAQ).
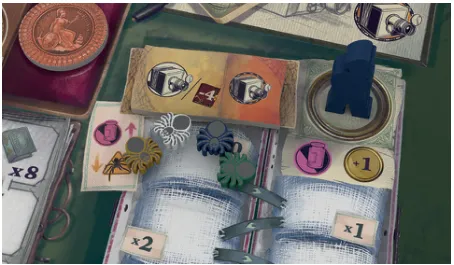
Receive an Antidote —  each time an action or reward shows it, you may move your Hazard marker one step back up. It cannot be saved.
Antidote Lens location — place a worker above the Hazard track: receive an Antidote and gain 1 Coin.
Reward phase changes
- Correspondence: resolve the new Envelope last. Special Stamps are always discarded before regular ones and leave the game; discarded Stamps go to a shared pile.
- Consequence tile — before scoring the Beagle Goal. If nobody moved off the start of the Hazard track, discard it with no effect. Otherwise:
- A and B tiles: each player forfeits the item on the left once per step they advanced (0–5 times). For each item you cannot forfeit, lose 4 points. You must forfeit items you have; you cannot choose points instead.
- C tiles: each player loses the points shown once per step advanced.
- Award the tile: the player furthest down the Hazard track takes it; on a tie it is discarded (FAQ). An A or B tile’s one-time reward can be used on any of your turns, then discard it. Each tile still in your area at the end scores 2 points.
Victory point markers never move back because of Consequences: count negative points with your Spider marker on the score track instead.
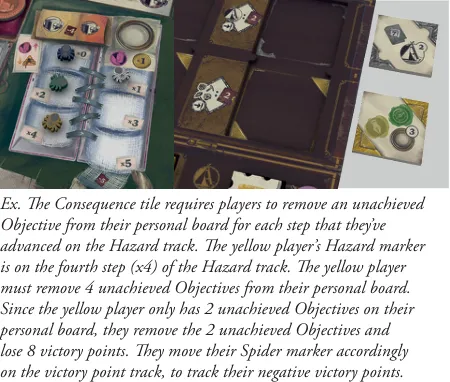
Consequence tiles
| Tile | Consequence (per step) | One-time reward |
|---|---|---|
| 1 | Discard an unachieved Crew card | Reactivate one of your Tents (not in a Village; a reactivated Special Tent counts once — FAQ) |
| 2 | Discard a Temporary Knowledge token | Gain 3 Coins |
| 3 | Discard 2 Stamps from Envelopes (with only one Stamp, lose points and keep it) | Correspondence action placing 1 Stamp |
| 4 | Discard 3 Coins (with fewer, lose points and keep them) | No placement penalty on an occupied Diary section |
| 5 | Remove a Research token from your board | Navigation action |
| 6 | Remove an unachieved Objective from or beside your board | Take an available Objective |
| 7 | Remove an Explorer from the board (Employee and Professor count; locked ones in the Post Office or University do not) — it returns to your supply (FAQ) | Exploration action |
| 8 | Remove any Wax Seal from your board, starting seals included; close the gaps to the left | Academy action for one Wax Seal |
| 9 | Lose 1 point per specimen researched | — |
| 10 | Lose 1 point per 2 Wax Seals on your board | — |
| 11 | Lose 1 Book Multiplier | — |
| 12 | Lose 1 point per Objective achieved | — |
Cleanup changes
After the base steps:
- Move the right-most Consequence tile from below the board above the Hazard track.
- Reset every Hazard marker to the start.
- Discard the top Correspondence tile on the new Envelope.
When refilling the Academy, the new row is the top row: it is cleared like the base top row (FAQ). If the Wax Seal pile runs out, shuffle the discards and keep filling.
Personal boards
The Oceania boards also work with the base map or Fireland: then swap in the Oceania specimens and Museum tiles and lay the Museum Overlay tile over the Museum. If you run out of Research tokens, use any replacement.
| Reward | Effect |
|---|---|
 | Every Lens location you unlock costs 2 Coins less |
 | Every Establish a Campsite costs 1 Coin less |
 | When scoring a Beagle Goal, 1 extra point each time you meet its condition |
 | Final scoring: 2 points per specimen researched |
 | Final scoring: 2 points per Tent on the main board |
 | Research up to 2 specimens already in the Museum display: the first free, the second for 3 Coins |
 | Return one placed worker to any open row on your board — not the Special or Darwin worker (FAQ) |
New Objective rewards:
| Reward | Effect |
|---|---|
 | Deliver 1 specimen whose Museum tile is not yet on display (FAQ) |
 | Do all actions of one of your unachieved Crew cards without its requirements, then flip it (FAQ) |
 | Take 1 Wax Seal from the rows open to you, with no Coin penalty for taking or placing it |
New cards and tiles
- Objective requirement:
 at least that many Hazard tokens.
- Beagle Goals: O1 — 4 points per Explorer on the board, Employee and Professor included (also usable with the base game and Fireland); O2 — 3 points per Hazard token.
- Correspondence: O1 — 1st: 2 Coins and every other player advances one Hazard step (tied winners are all safe — FAQ); 2nd: 2 Coins. O2 — 1st: 2 Coins and an Antidote; 2nd: 2 Coins.
- Special Action tiles: O1 — 1 Temporary Knowledge and an Antidote; O2 — advance up to 2 steps on one Ocean or Island track, ignoring Hazards if you like; you still get everything else (FAQ).
 Modifier icon: how many extra items that action gives.
Final scoring
In addition to the normal scoring:
- the golden Village tile, if you have a Tent there;
- 2 points per Consequence tile left in your area, C tiles included;
- no points for the completed Objective under your Antidote token;
- finally subtract the points under your Spider marker.
Oceania solo
Use the base solo rules with these changes for Alfred:
- Post Office: he unlocks his Employee normally and then treats the new Envelope as a fourth Envelope below the third.
- University: he unlocks his Professor normally; the new top row is then his cheapest row, but he takes at most one seal from it per turn.
- Villages: he places Tents normally but takes no Village bonus: his worker moves 3 spaces on the Bonus track instead, and he scores nothing for a golden Village.
- Map Lens locations: he unlocks them normally. His Exploration and Navigation icons send a worker to the matching map Special Action tile (if unlocked and free) before the Special Action Diary. Whenever he uses one of those tiles, he ignores its action and moves his worker 3 Bonus spaces.
- Hazards: he pays 5 Coins to ignore each Hazard (no token, no flip); if he cannot pay, he advances normally.
- Antidotes: he gains 3 Coins instead; his marker moves back only at the reset.
- Consequences: they do not affect him; he loses 4 points per Hazard step instead, tracked with his Spider marker. If he wins the tile, put it on his draw pile: on his next turn his worker moves one Bonus space before he draws, then discard it.
Expansion modules
These modules come in the Oceania box and work with Oceania, the base game or Fireland. Every tile is described on Cards & Components.
Special Action Board
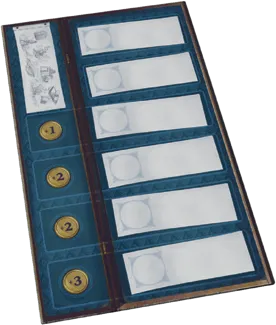
Changes how Special Action tiles are unlocked.
- Put the board beside the main board and shuffle all Special Action tiles face down on its upper-left space.
- Draw 2 for the top-left and top-right spaces of the Special Action Diary, with neutral Lens tokens as usual. With Oceania, also draw 2 for the map.
- Draw 6 more for the six spaces of the board.
When you unlock a Lens location you may instead take a tile from the board: pay its unlock cost plus the Coin cost of its row, put it on any empty space of the Special Action Diary and unlock it as normal. Only if the Diary still has a free space. Shift the remaining tiles up and draw a new one into the lowest space. Free-unlock, locked-action and copy effects still pay the row cost and cannot target the map tiles (FAQ).
Fragmented Letters
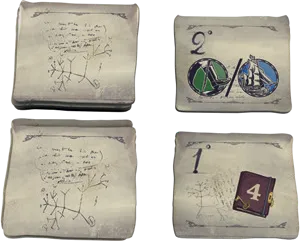
Half-tiles that combine into new Correspondence tiles. Return the base Correspondence tiles to the box. Remove the Antidote/Hazard letters without Oceania and the Time letters without Fireland. Shuffle the 1° and 2° halves separately and put a 1° (top half) and a 2° (bottom half) on each of the three Envelopes. With Oceania, also stack five 1° and five 2° halves on the new Envelope; at Cleanup discard the top tile of each stack there. They work exactly like Correspondence tiles.
Travel Special Action tiles
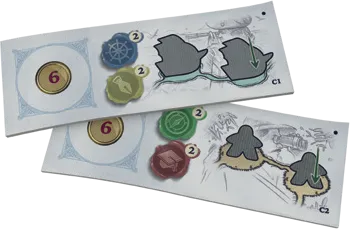
- C1: move your Ship to the space in front of any opponent’s Ship and do that space’s action. If it is on the last space, join it there. Ribbons you cross trigger as normal. With Fireland, pick any of your Ships but stay on its Ocean track.
- C2: the same for one of your Explorers, in front of an opponent’s Explorer on the same Island track.
Neither moves you backwards (FAQ).
Distinction tiles
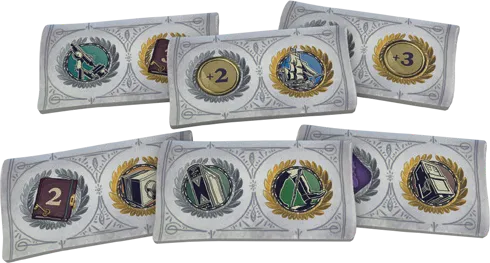
Shuffle the 6 tiles face down and lay them face up over the printed distinctions above the Main Diaries and the Special Action Diary. Distinctions then work as in the base game, with the bonuses on the tiles.
New Crew cards
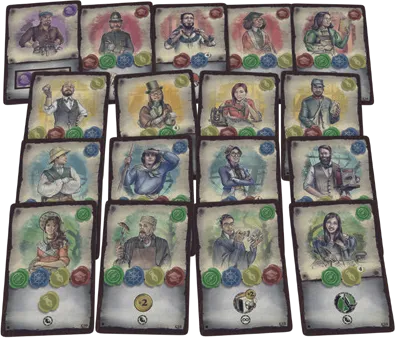
17 cards shuffled into the Crew deck before the Standard Setup deal. They give ongoing or once-per-round abilities, so they are not flipped when achieved: point a Crew marker at the worker that achieved the card. Rotate a once-per-round card 90° when you use it; turn them all back as the last step of Cleanup. If an effect copies one of these unachieved cards, you use its ability only once. The cards are listed on Cards & Components.
Chaffinch and amber Research tokens
- Chaffinch tokens (15): cover the points of an Island-track ribbon once someone has scored them, as a reminder.
- Amber Research tokens (20): mark specimens you researched but nobody has delivered yet; swap them for clear tokens on delivery.