Retrieving Dice and Player Order
Coimbra's phase C — favor tiles in the castle, buying character cards in the cities, die tokens and the distress action — and phase D, the new player order by crowns.
Order of play
Phase C does not follow player order. The locations are evaluated top to bottom: castle, upper city, central city, lower city. In each, the owner of the leftmost die takes one action there (or the distress action), then puts that die, still in its holder, on an empty shutter space of their player board. Then the new leftmost die acts, and so on until the location is empty.
The castle: favor tiles
Take any favor tile still beside the castle, carry out its immediate bonus and keep it in front of you until the end of the round. Favor tiles are free. They also give 0–3 crowns for phase D.
| Picture | Favor tile |
|---|---|
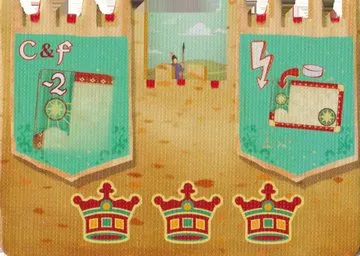 | 3 crowns: While you hold it, every voyage costs 2 less. Also invest in one voyage now. |
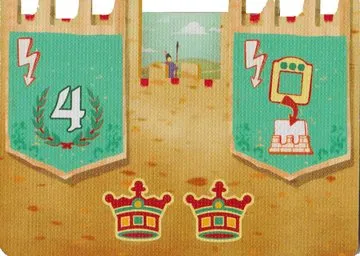 | 2 crowns: 4 points, and you may put the cap tile on one of your dice in a city: +3 to its value. |
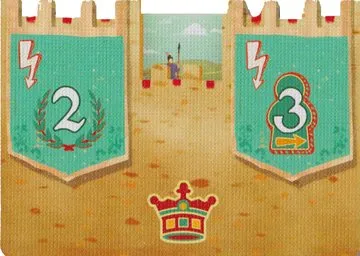 | 1 crown: 2 points and up to 3 pilgrim steps. |
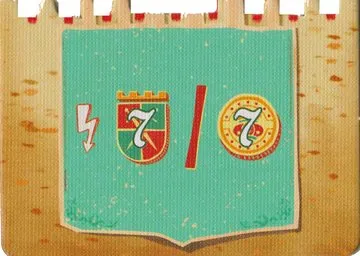 | 0 crowns: 7  guards or 7  coins. |
The cap tile. The capped die moves at once to the place its new value (up to 9) earns in its city row. When it is triggered, the card costs the combined value.
The cities: character cards
Choose one card in the row beside the location being evaluated and buy it.
Paying for a card
- The icon in the card’s upper left corner says what you pay: coins or guards.
- The cost equals the value of your die (with the cap tile: die + 3).
- Pay by moving the marker back on your player board, take the card and move your disk up the track of its class by its influence value.
Bonus zones
Then place the card by its bonus:
| Bonus | What to do |
|---|---|
 Immediate | Use it once now, then put the card to the right of your player board. |
 Phase E | Put it below your player board; it adds to income every round. |
 Game end | Put it at the bottom right; it scores at the end. |
 Phase C (start cards only) | Below your board; triggers whenever its condition is met in phase C. |
Next, check whether buying this card triggers one of your phase C start cards. Last, if a crown token sat on the card, take it: it counts 2 crowns this round.
Rewards may always be forfeited, in full or in part, and you choose the order of a card’s rewards.
Some cards also show diplomas (
 , wild
 ) that
score in sets. Every card is in Cards & Components.
Die tokens
With 2 or 3 players die tokens sit in the cities. When a die token is the leftmost die, discard the card with the highest influence value from that row (the leftmost of tied cards) face up, flip the token face down and carry on with the next die.
End of each row
After the last die in a city has been triggered, discard the cards left in its row face up, flip its die tokens face up again and move on to the next location.
Distress action
If you cannot or do not want to take the location’s action, gain up to 2 coins and
up to 2 guards instead.
Phase D: new player order
Each player adds up their crowns:
- crown tokens taken this round (2 each);
- crowns on the favor tiles taken this round;
- the crowns beside their current player order flag: flag 1 none, flag 2 one, flags 3 and 4 two.
The most crowns moves to flag 1, the next to flag 2, and so on. Ties reverse the tied players’ current order. The new order applies to all later phases of the round.