Cards & Components
Every face of Coimbra: the board and player board, all 56 character cards, 15 voyages, 24 monasteries, favor and influence scoring tiles, die tokens, crown tokens and the icons.
Every distinct face of the game, grouped by type, each with what it does and a link to the rule that uses it. Pictures come from a public Tabletop Simulator mod of the English edition; two monasteries the mod lacks come from the publisher’s rulebook. The Royal Treatment upgrade set changes only the look of the pieces, not the rules.
Boards
| Picture | Board |
|---|---|
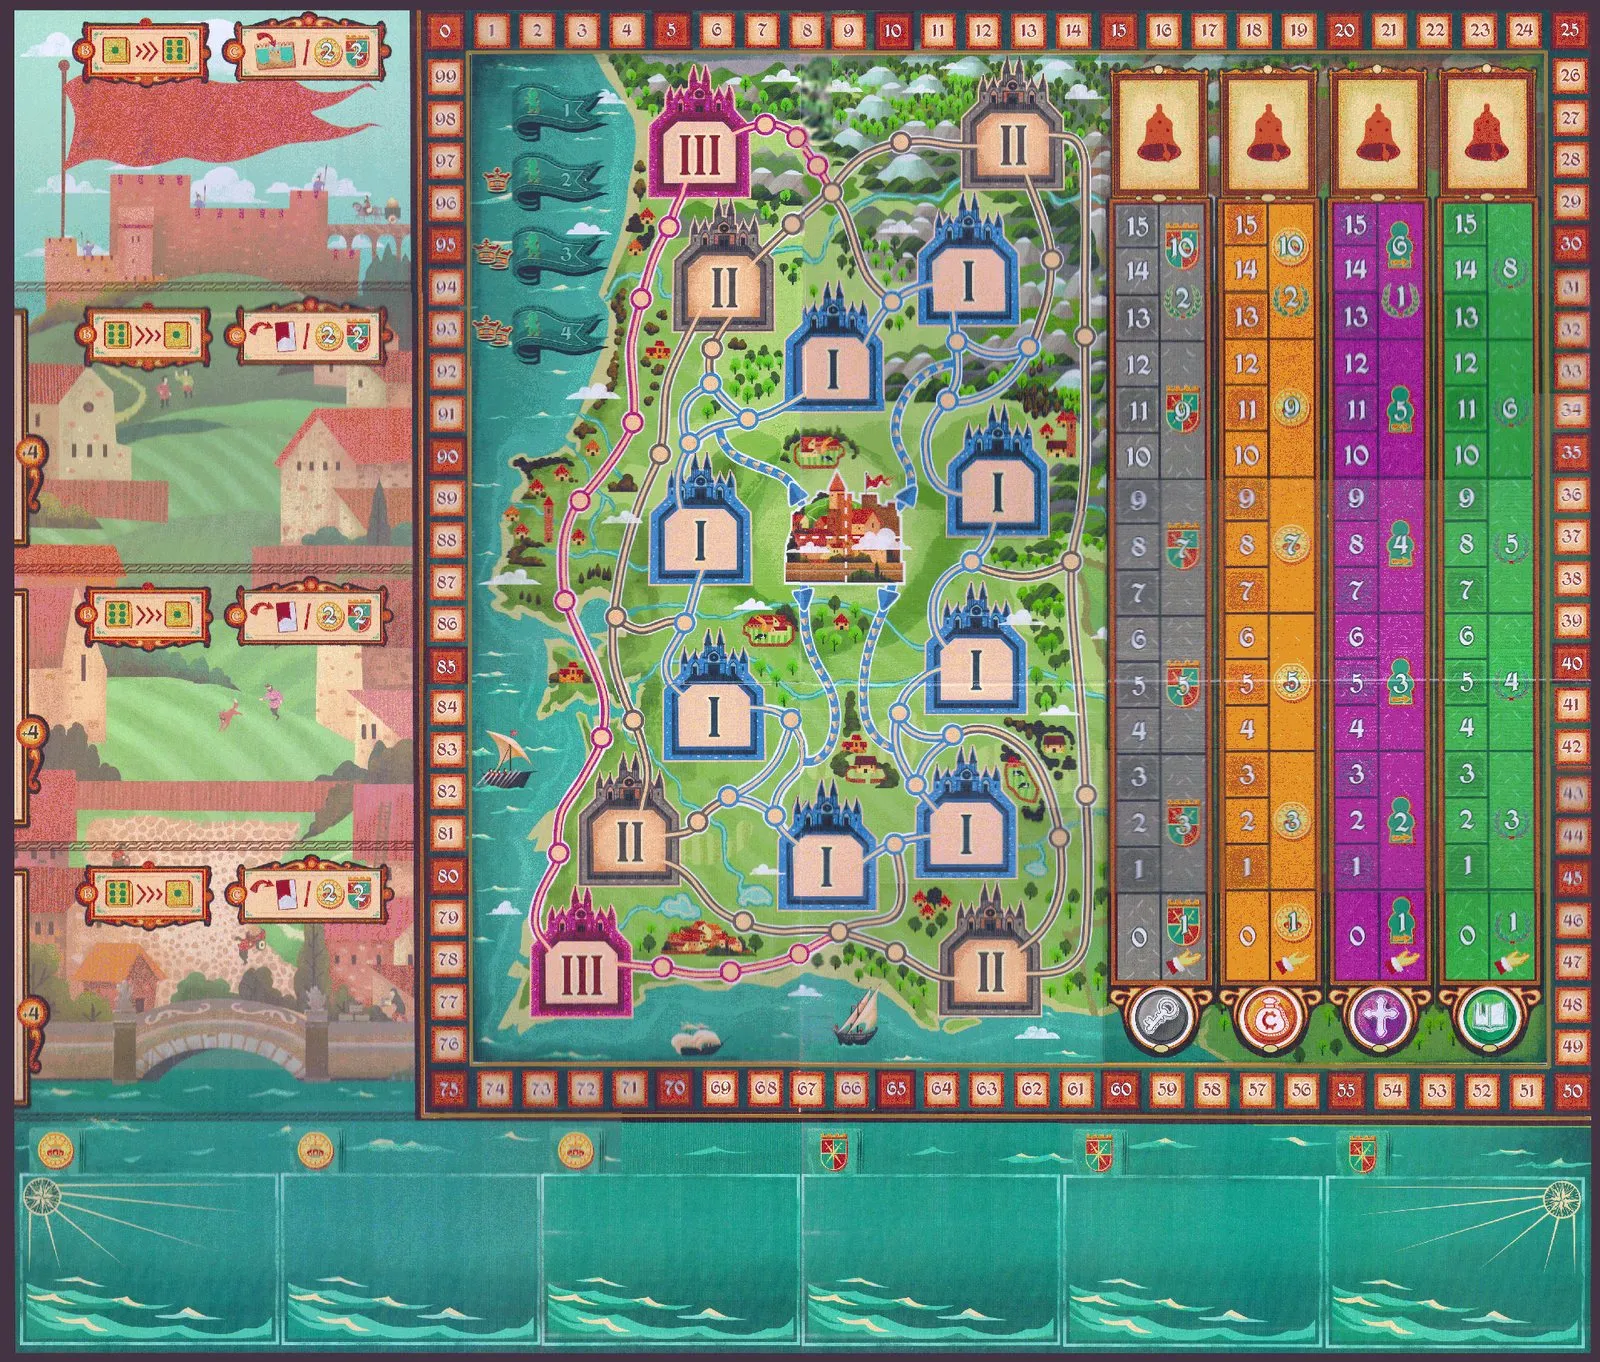 | Game board — castle and three cities, score track, player order flags, pilgrim map, influence tracks and voyage spaces (numbered tour). |
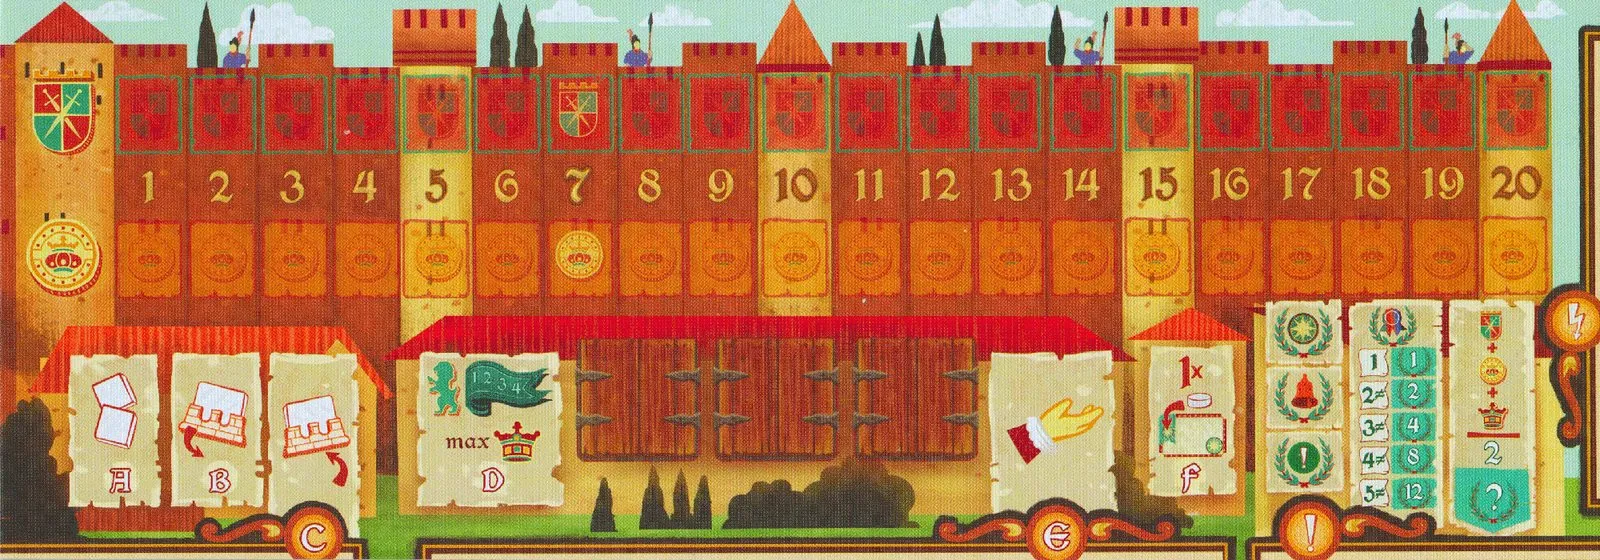 | Player board (4) — guard and coin tracks, shutter spaces, phase reminders and bonus zones (numbered tour). |
Rulings about the boards:
- Do my dice move my disks up the influence tracks in phase E?
- Can two players start on the same corner of Coimbra if the first one has already moved away?
- What does the “+4” beside each city row mean?
- Two dice in the same city show the same value. Which one is evaluated first?
- Can more dice be placed in a location than there are cards in its row?
- A die token is triggered and two cards tie for the highest influence value. Which is removed?
- Which player order is used in phase F?
- Is the white die wild when retrieving dice in phase C?
Cards
56 character cards (8 start cards, then 24 for rounds 1–2 and 24 for rounds 3–4, an even mix of the four classes) and 15 voyage cards.
How to read a character card
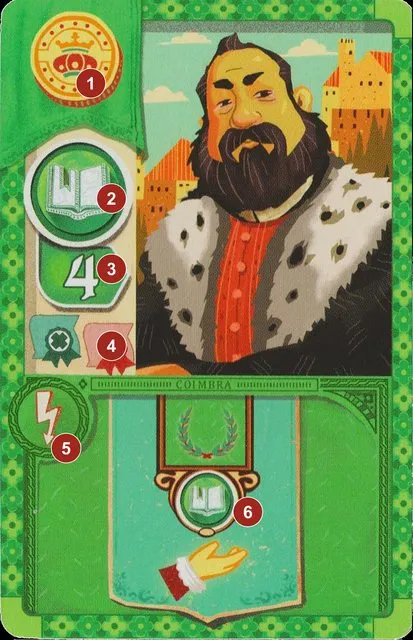
- Cost —
 coins or
 guards. The price is the value of your die, not a printed number (paying).
- Class —
 council member,
 merchant,
 cleric or
 scholar.
- Influence — how far your disk moves up that class’s track when you take the card.
- Diplomas — scored in sets at the end (diplomas); not every card has one.
- When the bonus works —
 once, when you take it;
 every Phase E;
 at game end;
 in Phase C (start cards only) (bonus zones).
- The bonus itself, explained in the tables below.
A card with several rewards: take them in any order, and skip any you cannot or do not want to take — the card still counts for its influence.
Rulings:
- Does a card’s bonus have to be resolved left to right?
- Can I buy a card whose immediate bonus I cannot or do not want to use?
Start cards
8 cards, dealt in pairs at setup. They cost nothing and carry no crown token. All players choose their pair and their starting corner first; only then do the start bonuses and pilgrim steps resolve.
| Picture | Card |
|---|---|
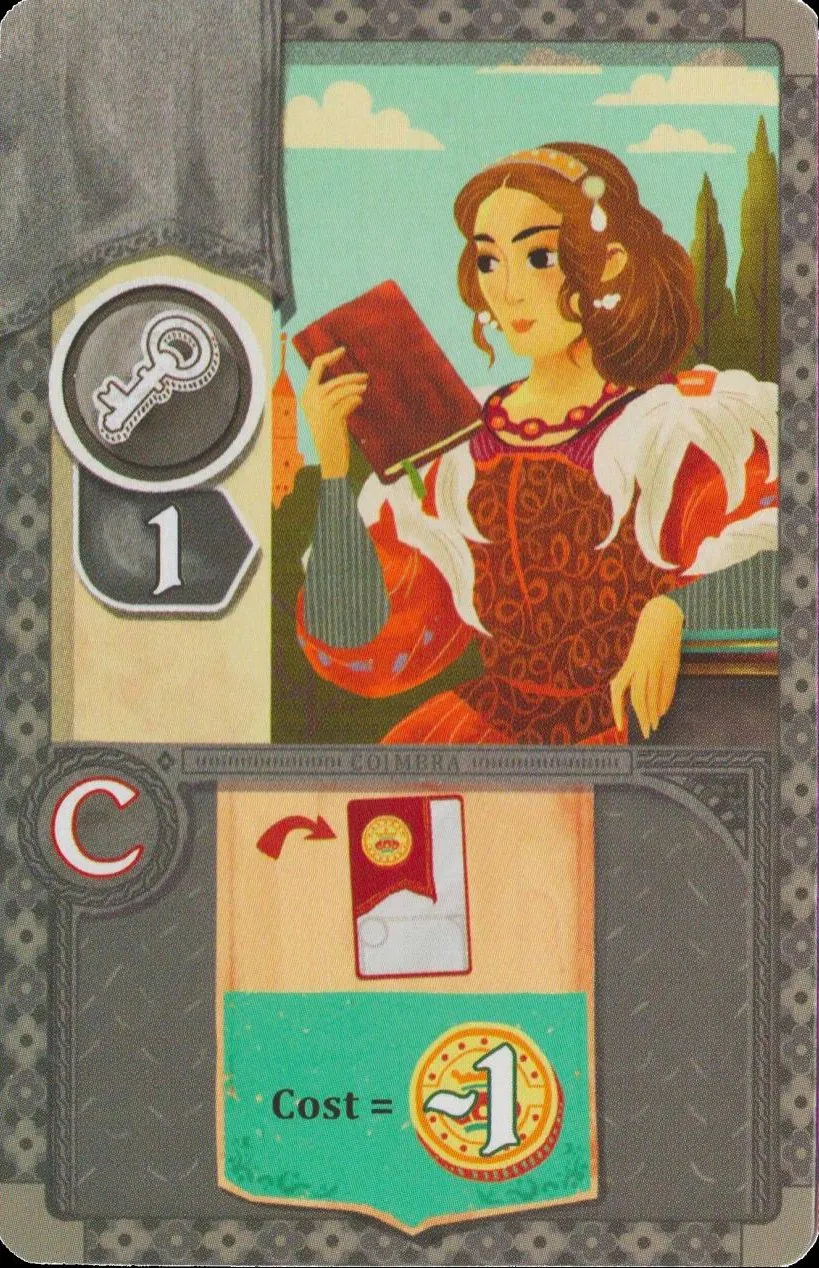
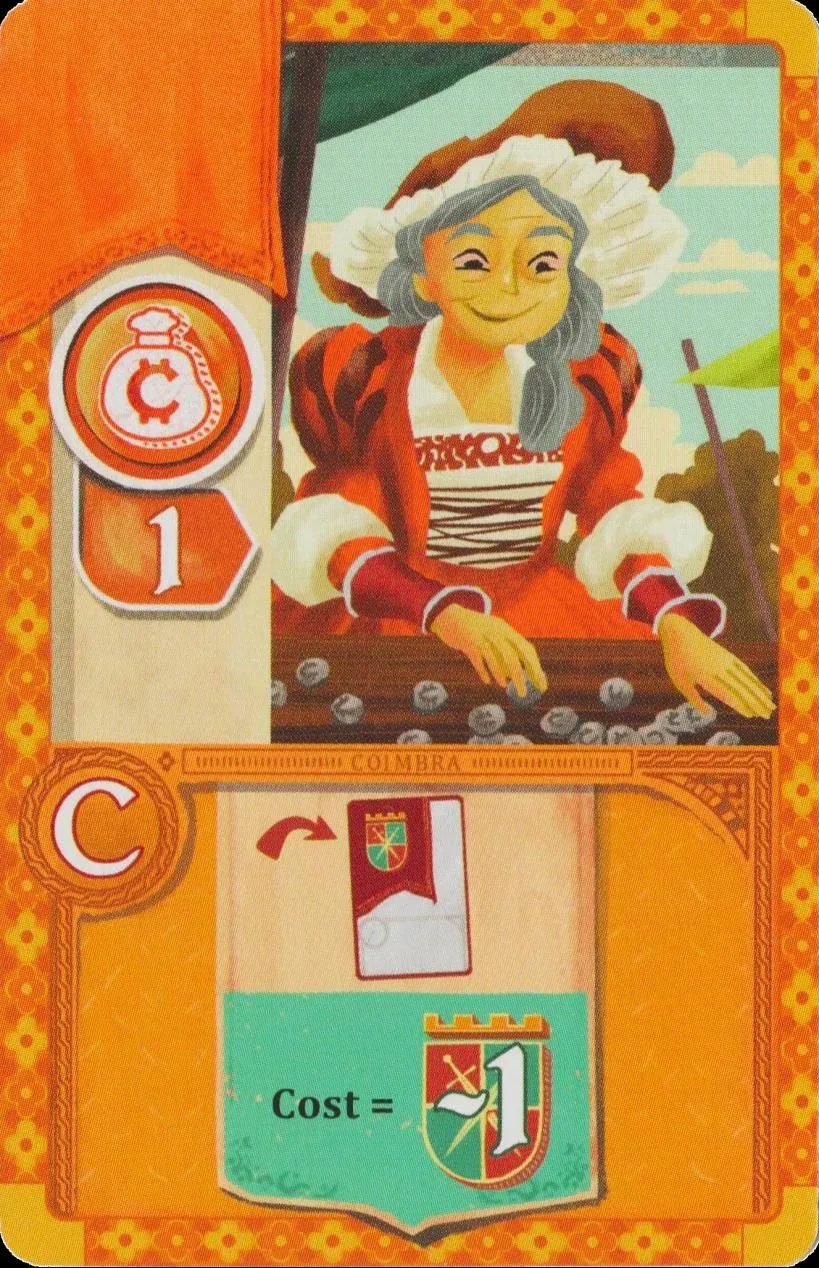 | Start 1 · Merchant · influence 1 Phase C, all game: Whenever you buy a card with a guard cost in phase C, pay 1 guard less (it can be 0). |
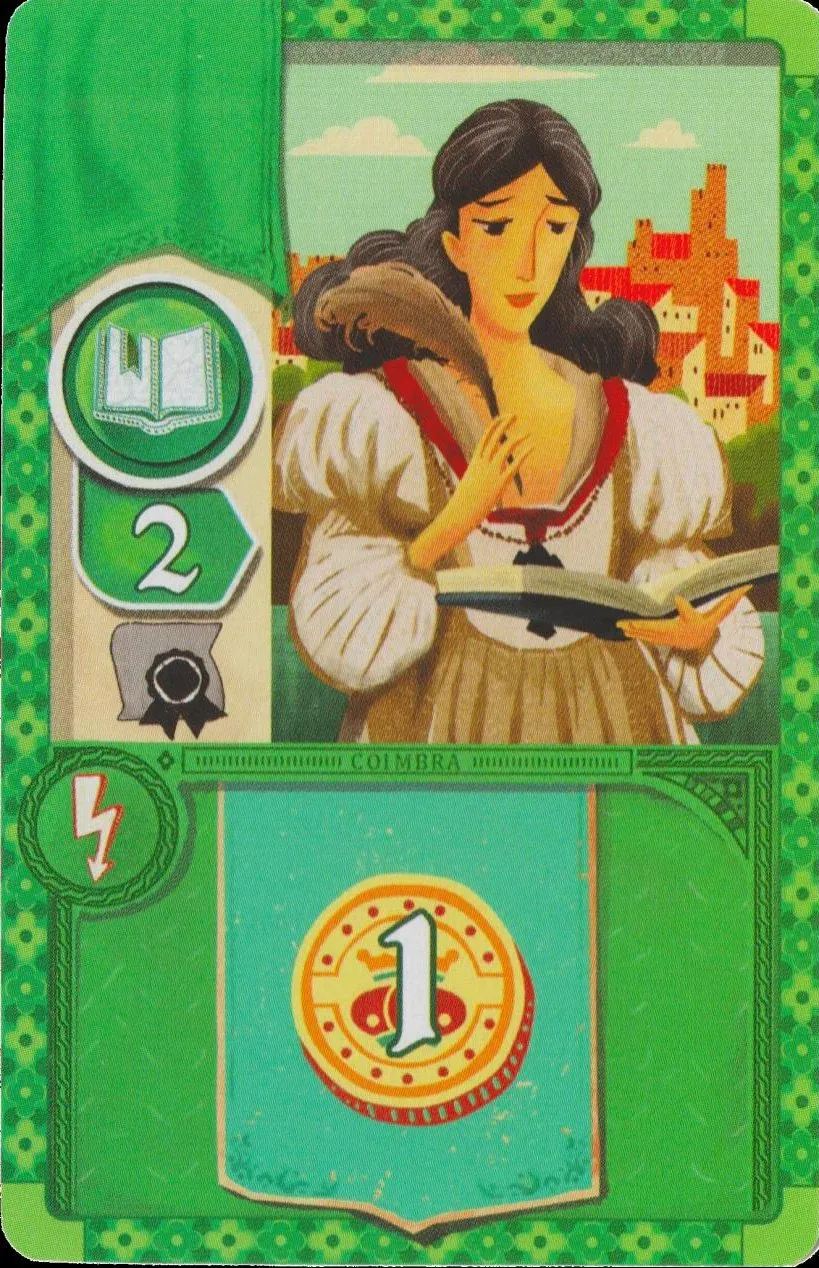 | Start 2 · Scholar · influence 2 Diploma  At setup: 1 . |
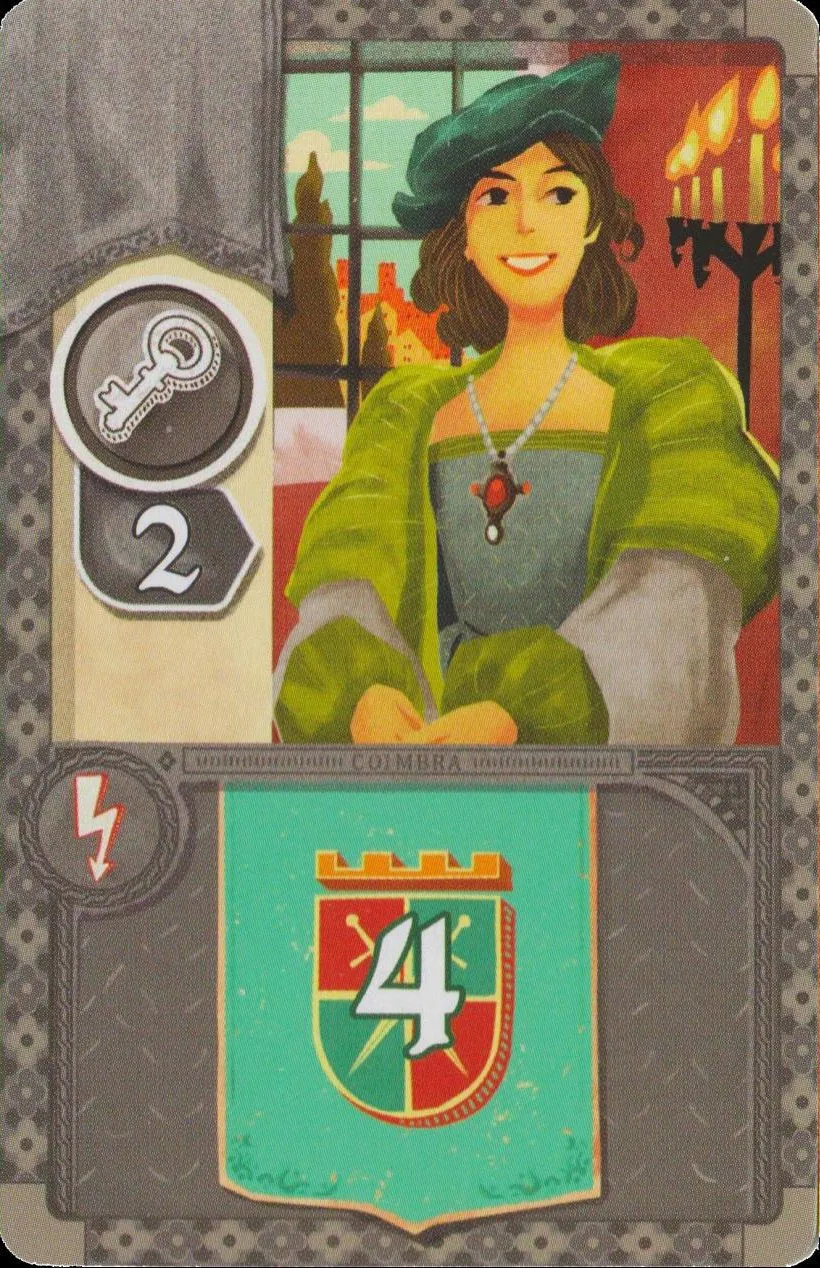 | Start 3 · Council member · influence 2 At setup: 4 . |
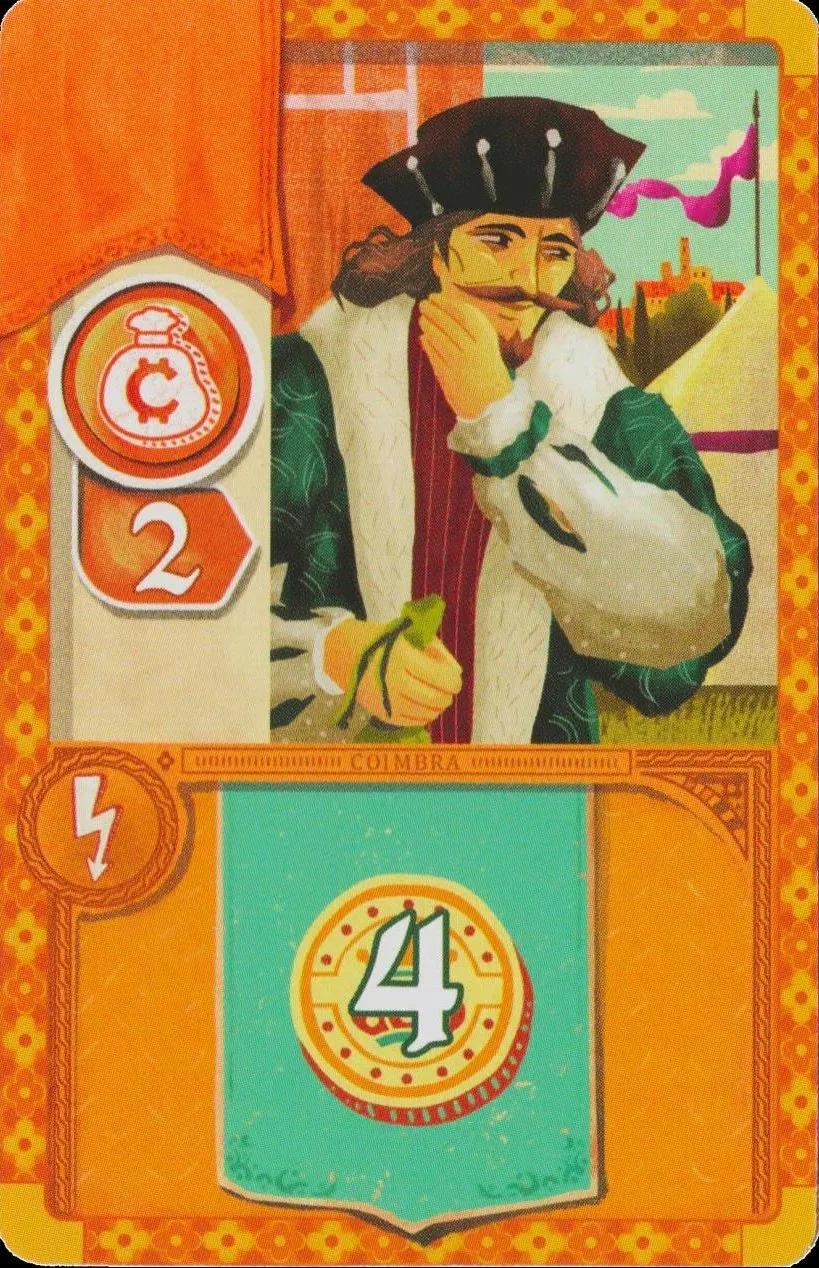 | Start 4 · Merchant · influence 2 At setup: 4 . |
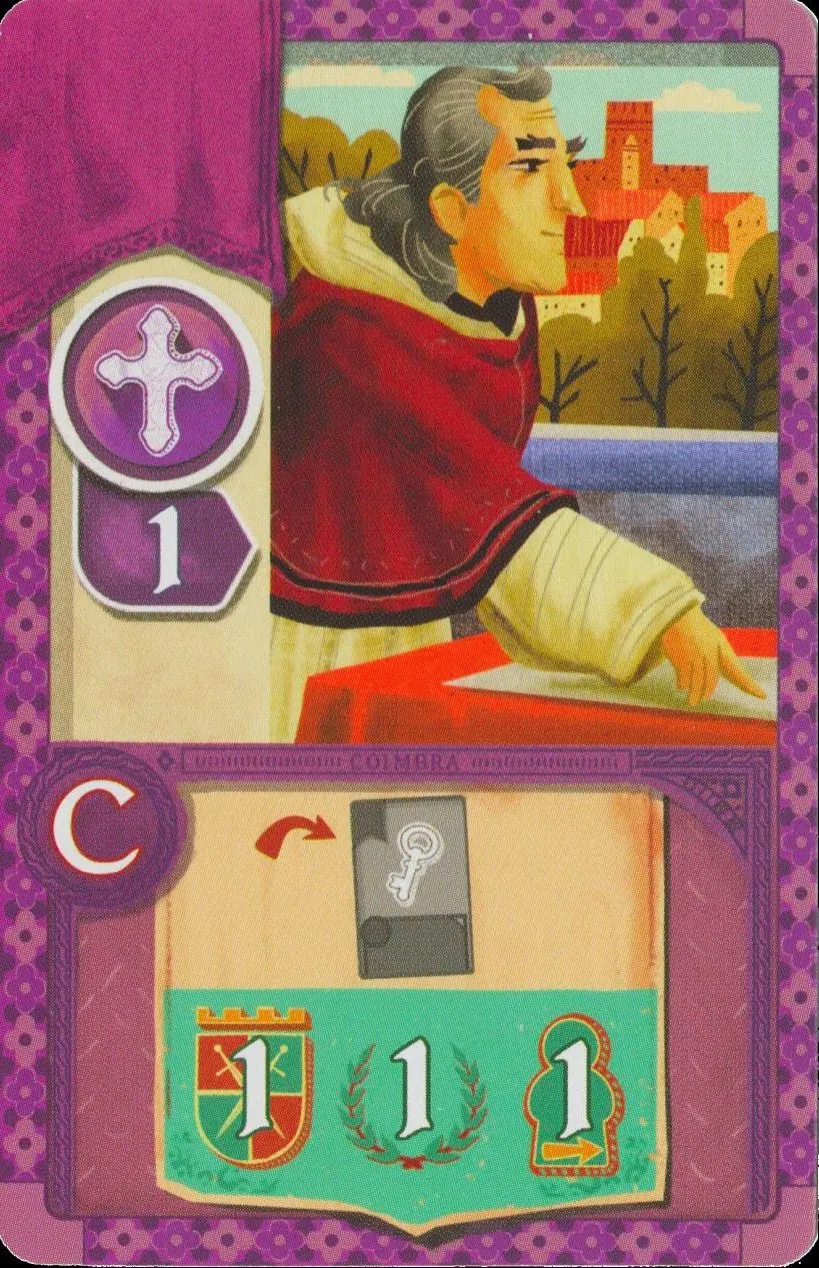 | Start 5 · Cleric · influence 1 Phase C, all game: Whenever you buy a council member in phase C: after its own bonus, also 1 , 1 and 1 . |
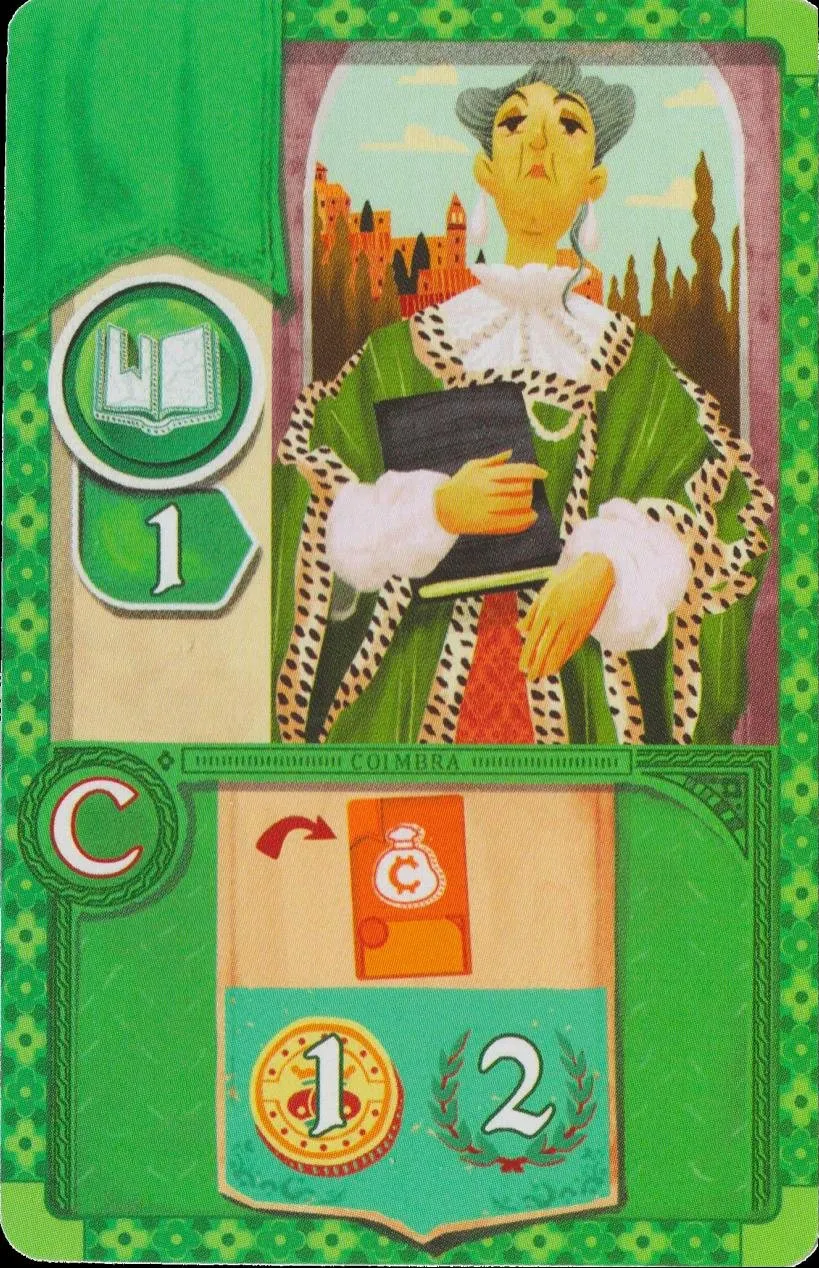 | Start 6 · Scholar · influence 1 Phase C, all game: Whenever you buy a merchant in phase C: after its own bonus, also 1 and 2 . |
 | Start 7 · Council member · influence 1 Phase C, all game: Whenever you buy a card with a coin cost in phase C, pay 1 coin less (it can be 0), including a card you acquire from the discard pile. Ruling: Does the start card’s 1-coin discount apply to a card taken from the discard pile? |
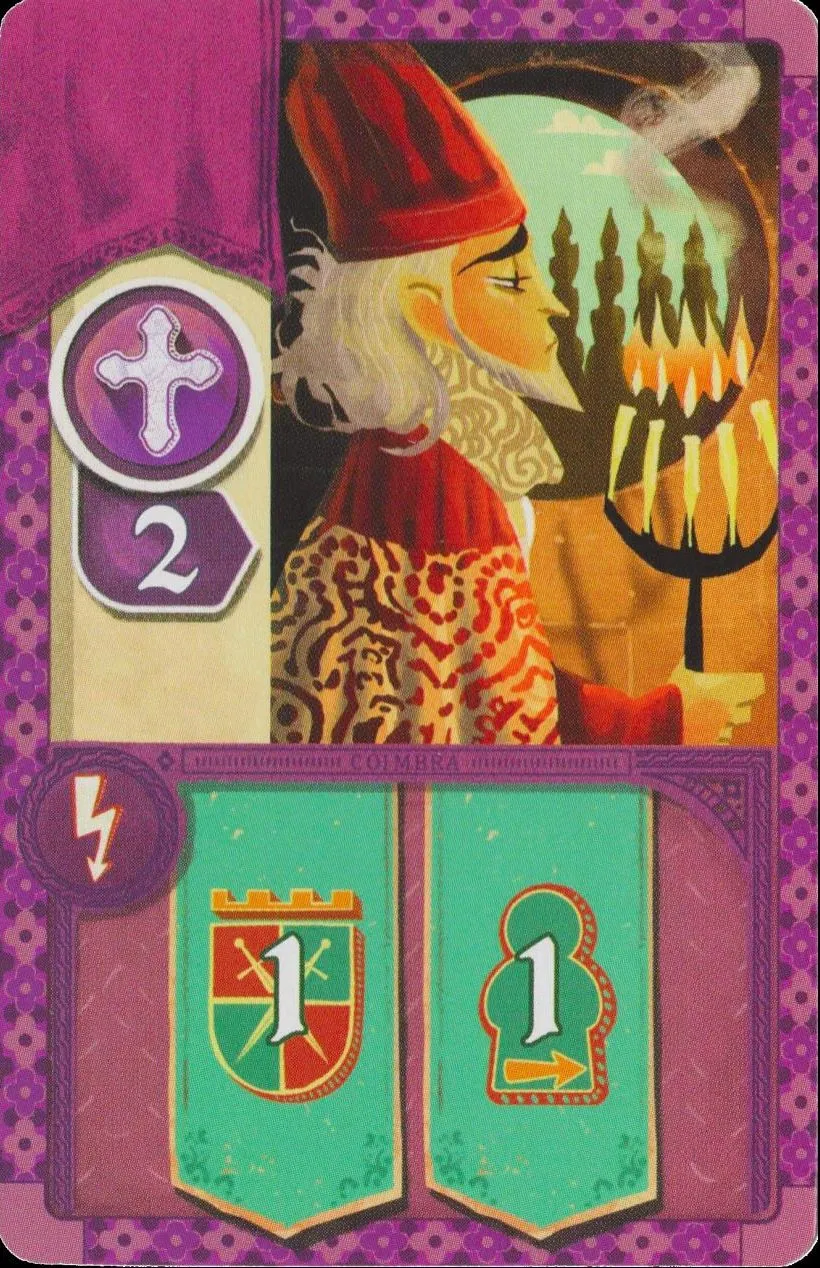 | Start 8 · Cleric · influence 2 At setup: 1 and 1 . |
Rulings:
- Can one player end up with two phase C start cards?
- A start card gives pilgrim steps, but I took my cards before choosing a corner. Are the steps lost?
Character cards II
24 cards, used in rounds 1–2. For the Phase E cards that count dice of one colour, the white die never counts as that colour — Does the white die count as a colour for “per die of this colour” phase E bonuses?.
| Picture | Card |
|---|---|
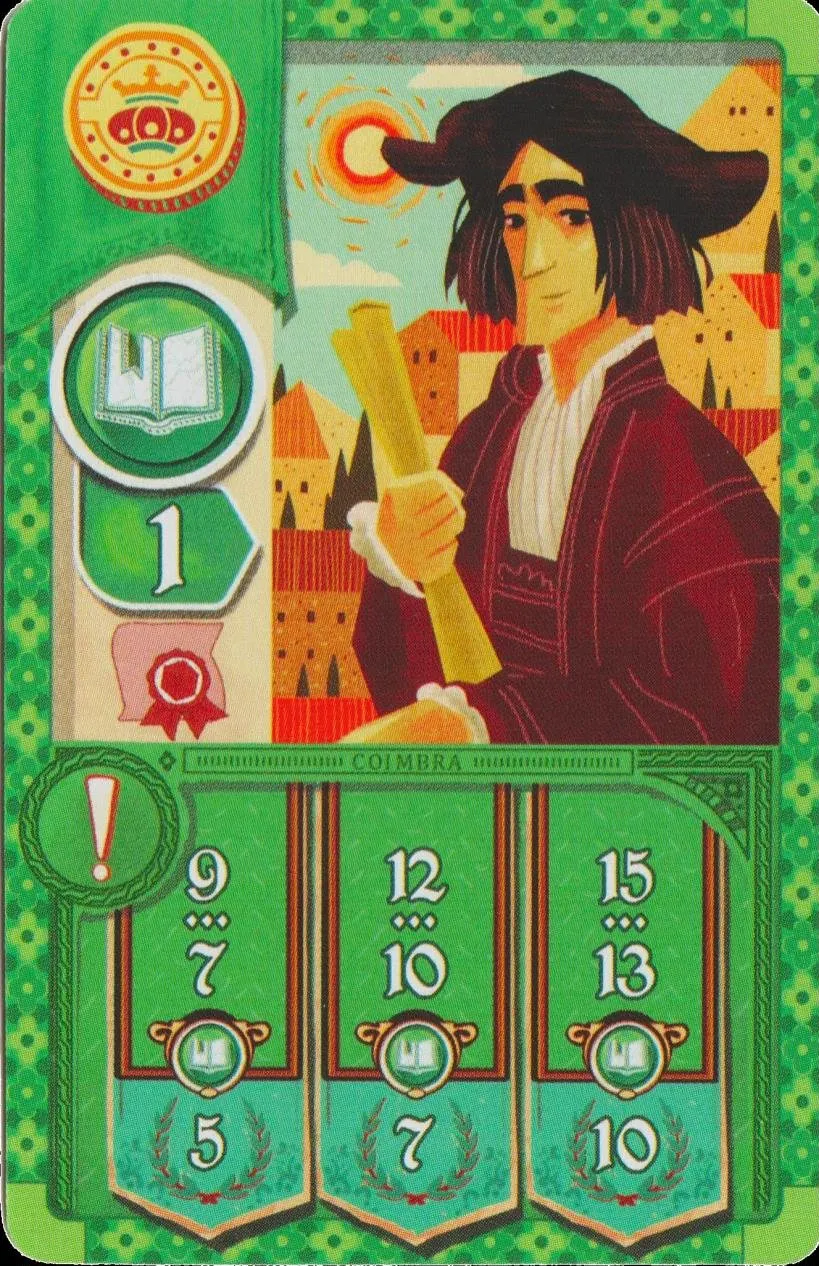 | II 1 · Scholar · influence 1 Pay with coins · Diploma  Game end: Your disk on the scholar (green) track: 7–9 → 5 , 10–12 → 7, 13–15 → 10. |
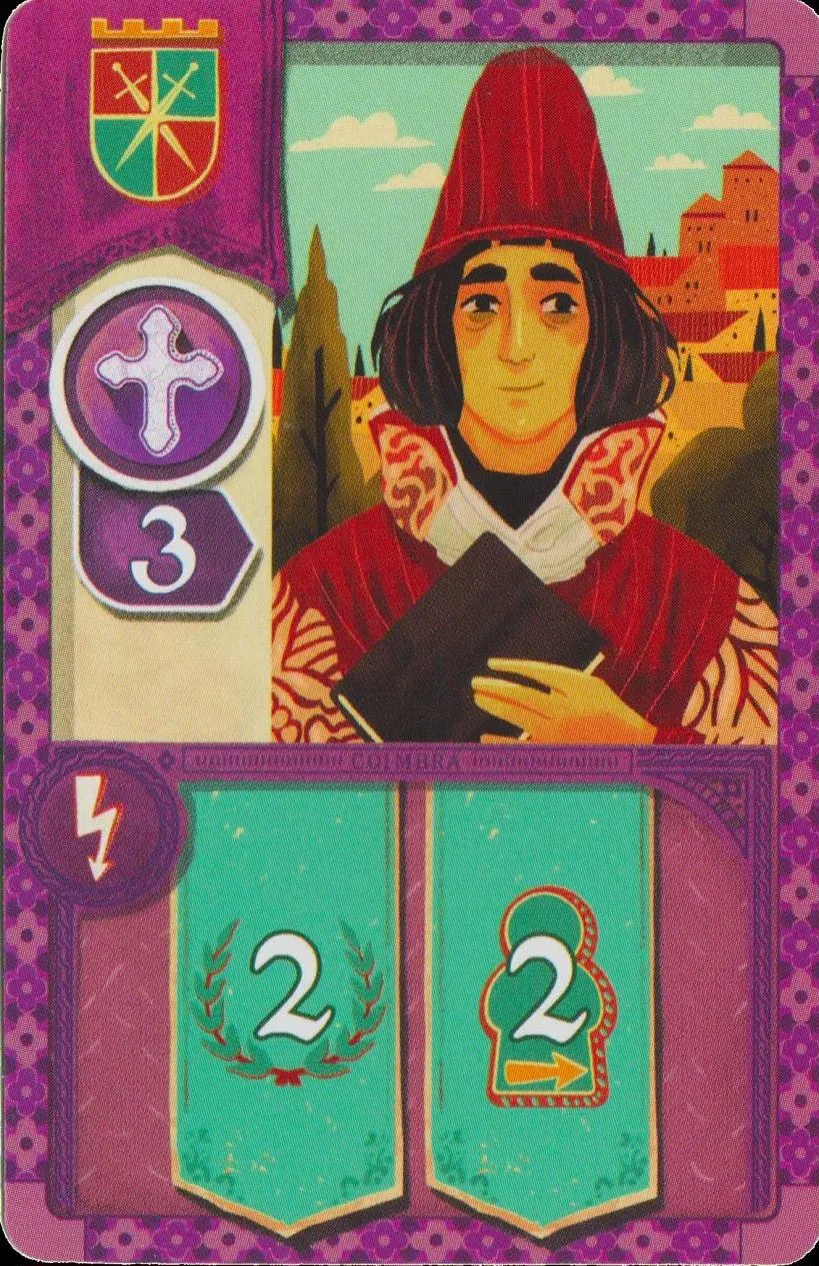 | II 2 · Cleric · influence 3 Pay with guards When bought: 2 and 2 . |
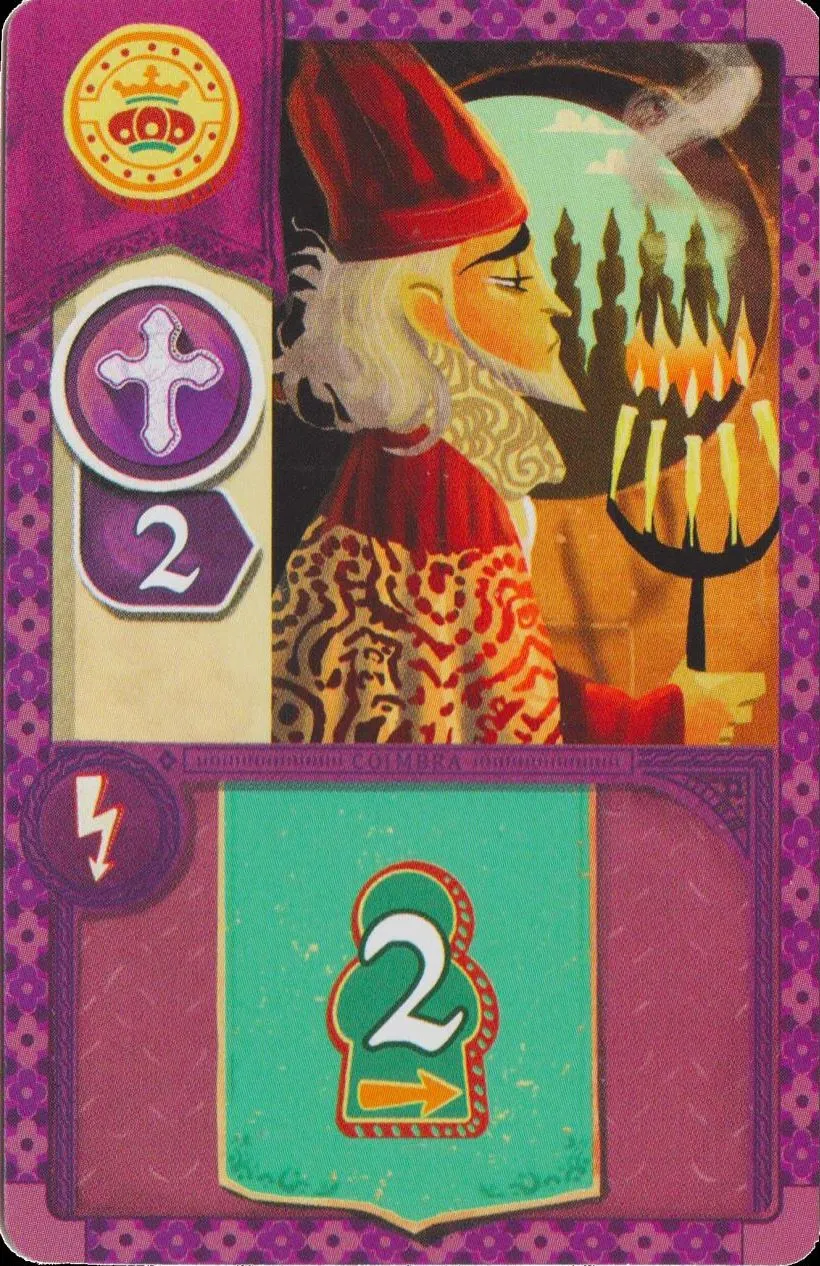 | II 3 · Cleric · influence 2 Pay with coins When bought: 2 . |
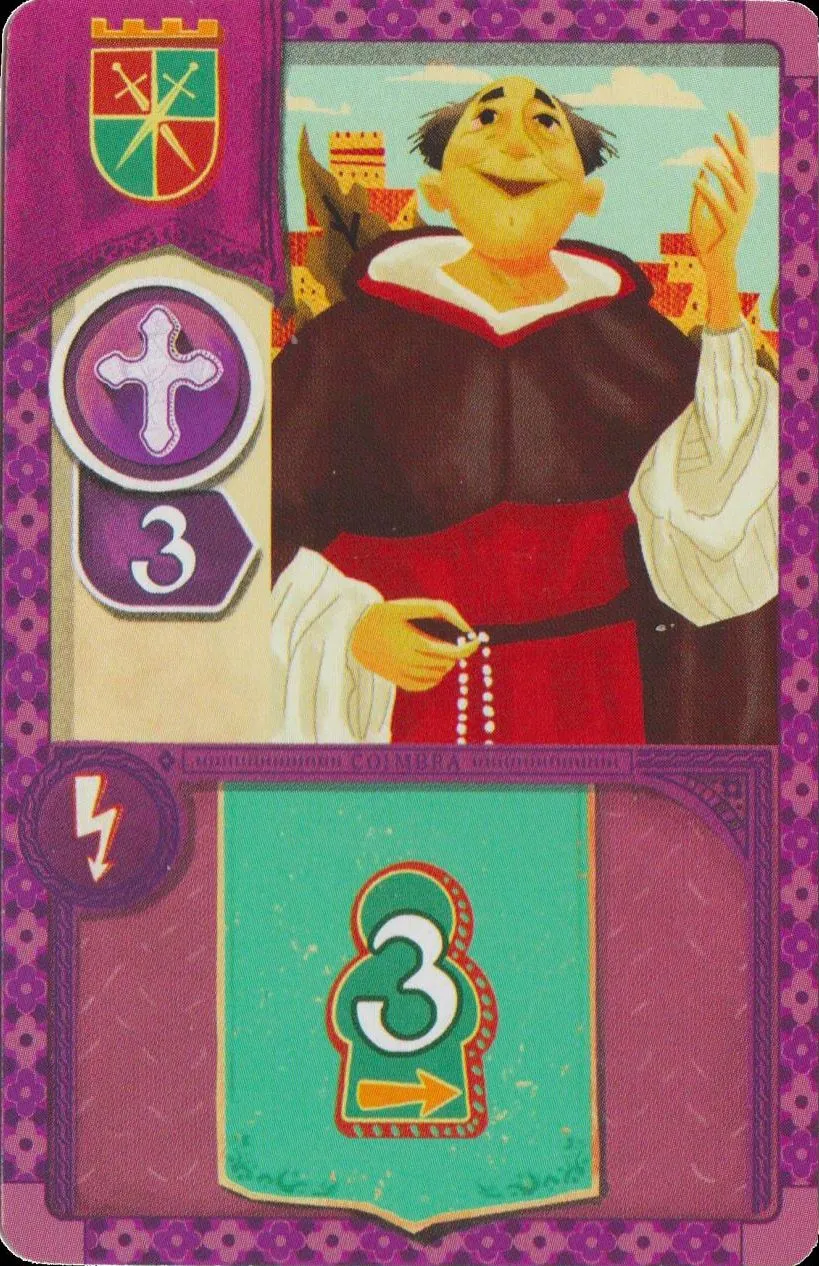 | II 4 · Cleric · influence 3 Pay with guards When bought: 3 . |
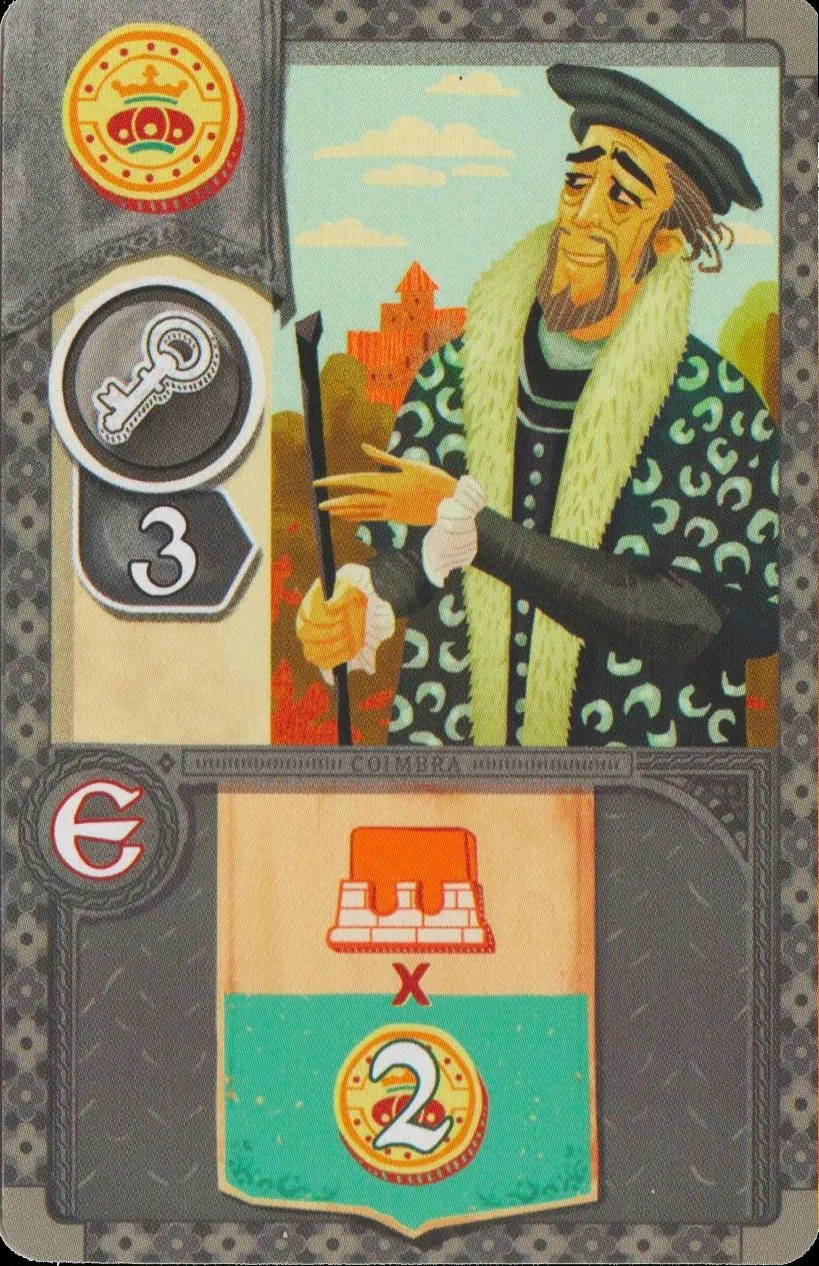 | II 5 · Council member · influence 3 Pay with coins Every Phase E: For each orange die on your shutter spaces, 2 more |
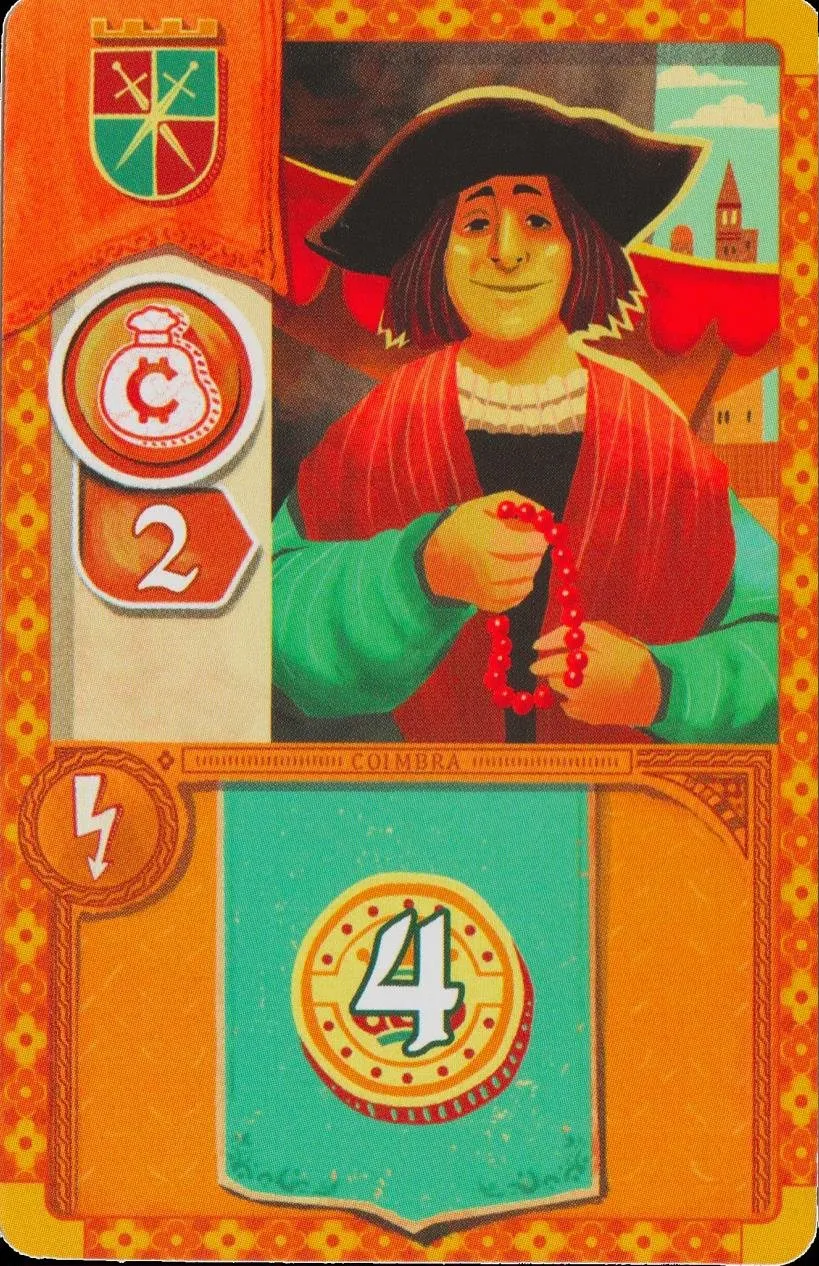 | II 6 · Merchant · influence 2 Pay with guards When bought: 4 . |
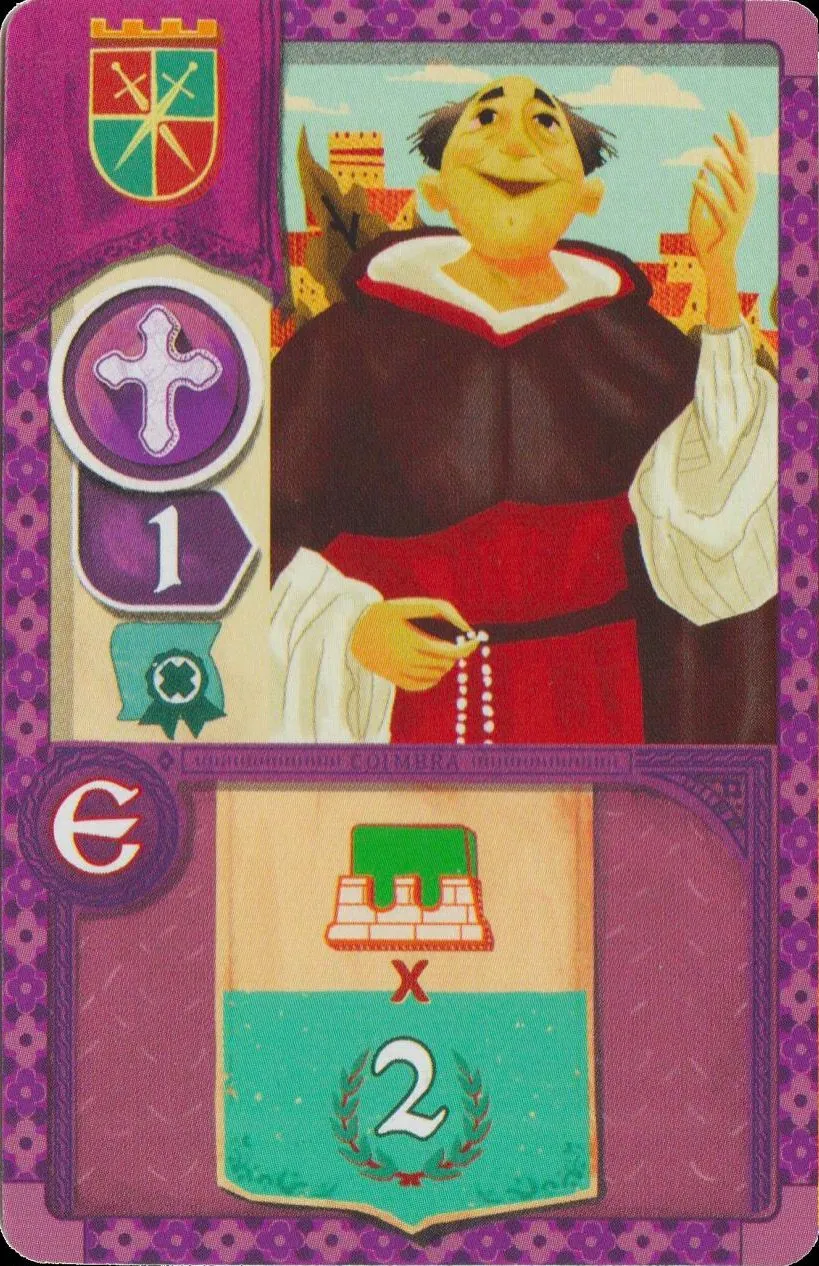 | II 7 · Cleric · influence 1 Pay with guards · Diploma  Every Phase E: For each green die on your shutter spaces, 2 more |
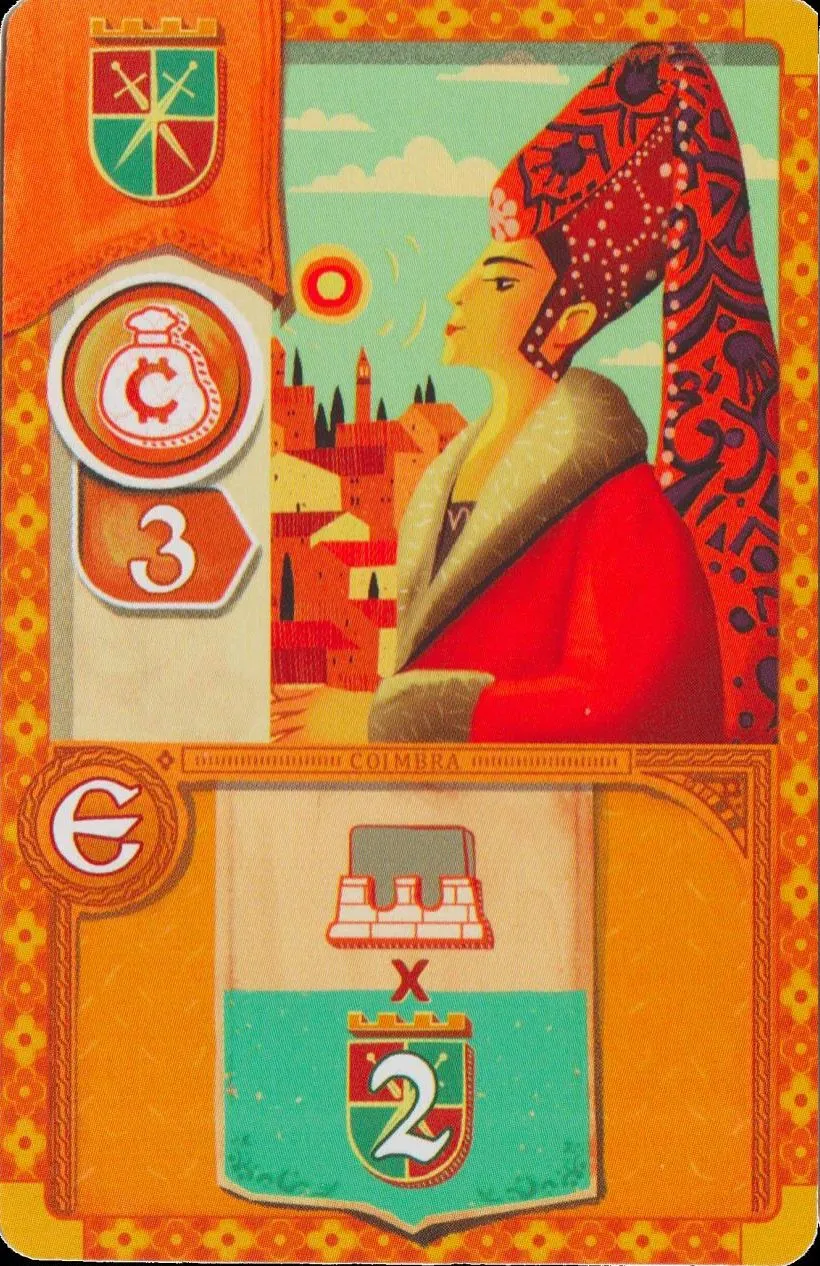 | II 8 · Merchant · influence 3 Pay with guards Every Phase E: For each gray die on your shutter spaces, 2 more |
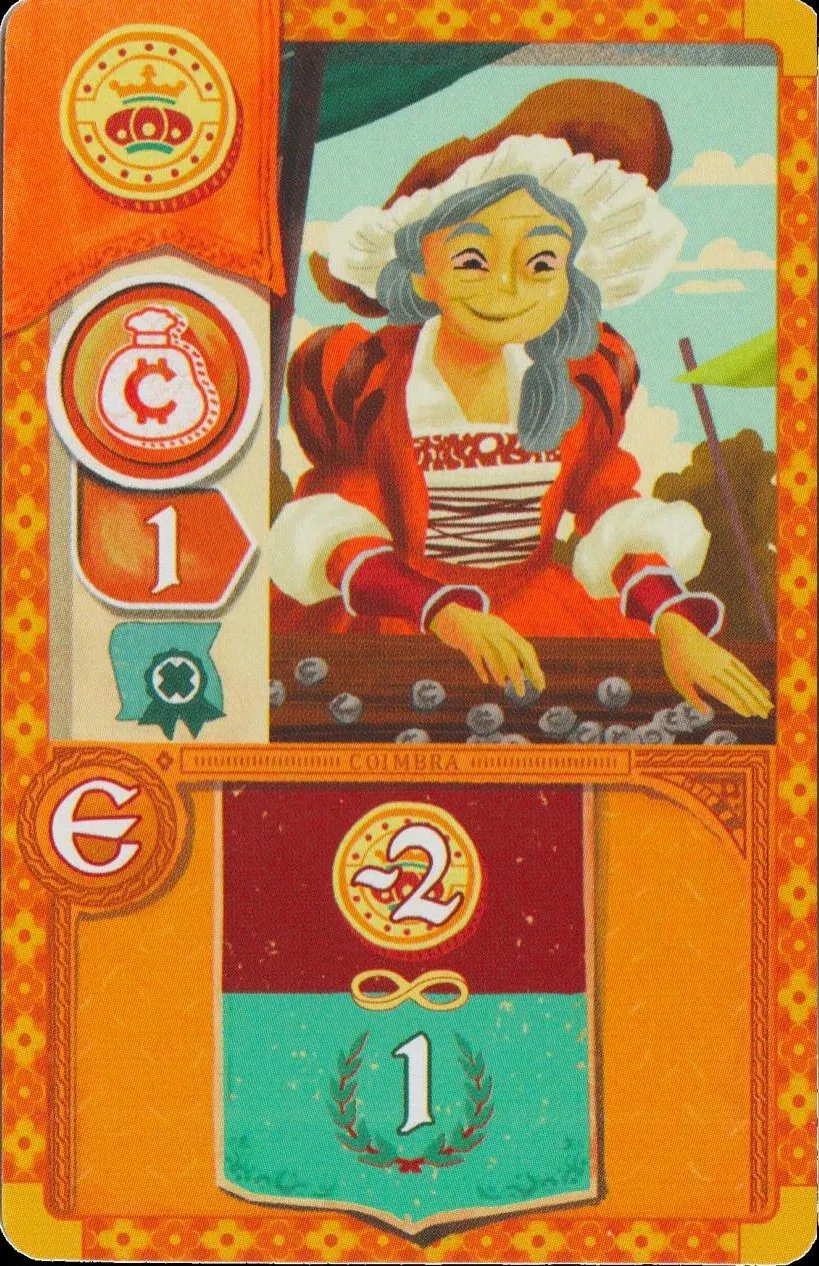 | II 9 · Merchant · influence 1 Pay with coins · Diploma Every Phase E: At any time in phase E, pay 2 for 1 , as often as you like, before or after income.Ruling: Can the phase E cards that turn coins or guards into points be used more than once in the same phase E? |
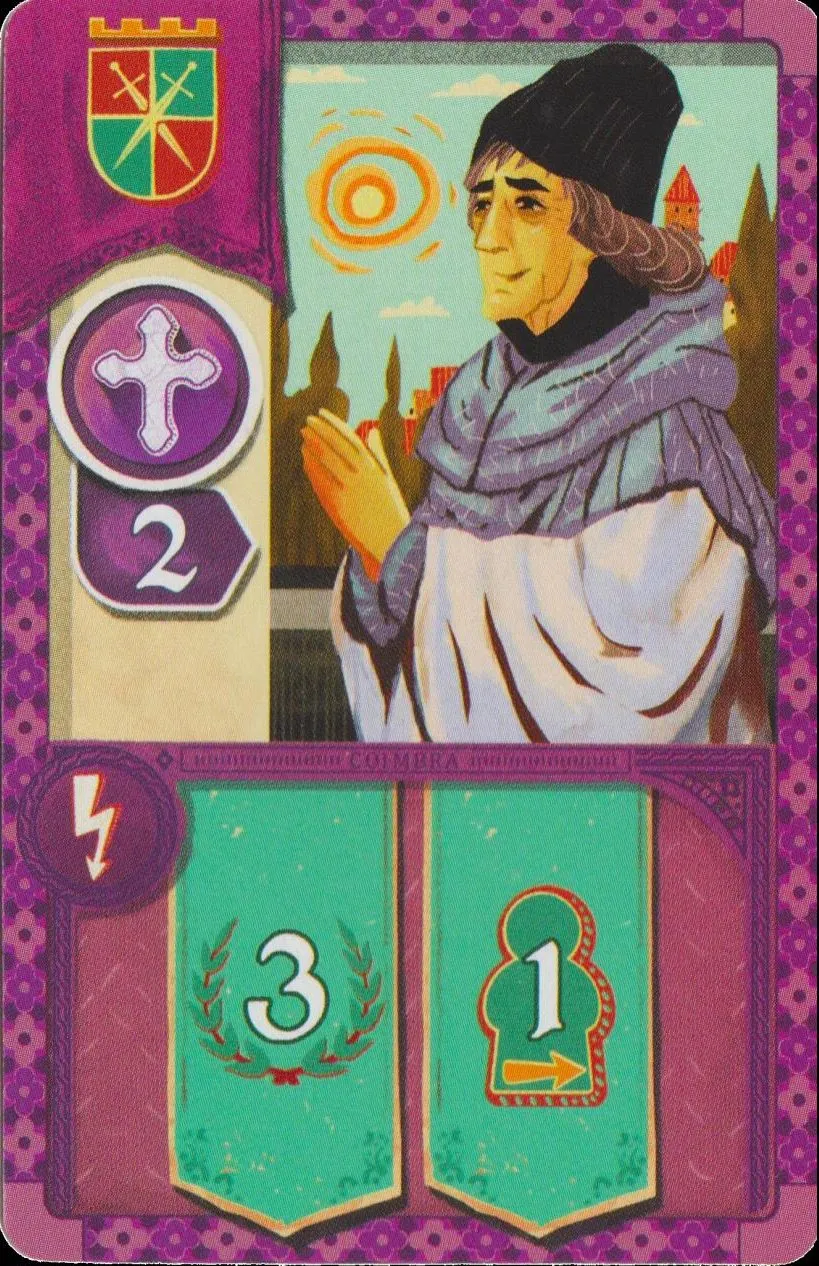 | II 10 · Cleric · influence 2 Pay with guards When bought: 3 and 1 . |
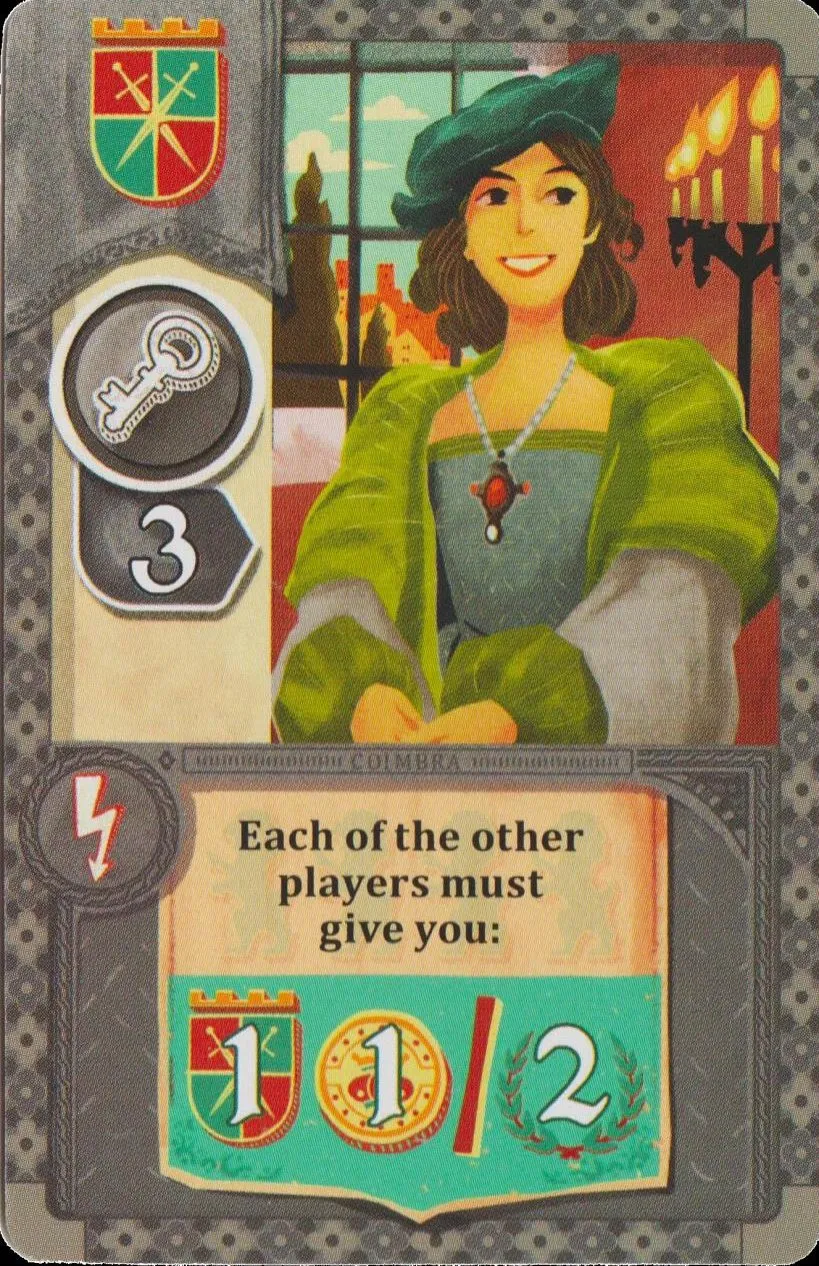 | II 11 · Council member · influence 3 Pay with guards When bought: Each other player gives you 1 and 1 , or 2 (their choice; no resources → points). If they cannot pay resources, they must give the points even if their score drops below zero.Ruling: An opponent must give me resources or victory points but has no resources. What happens? |
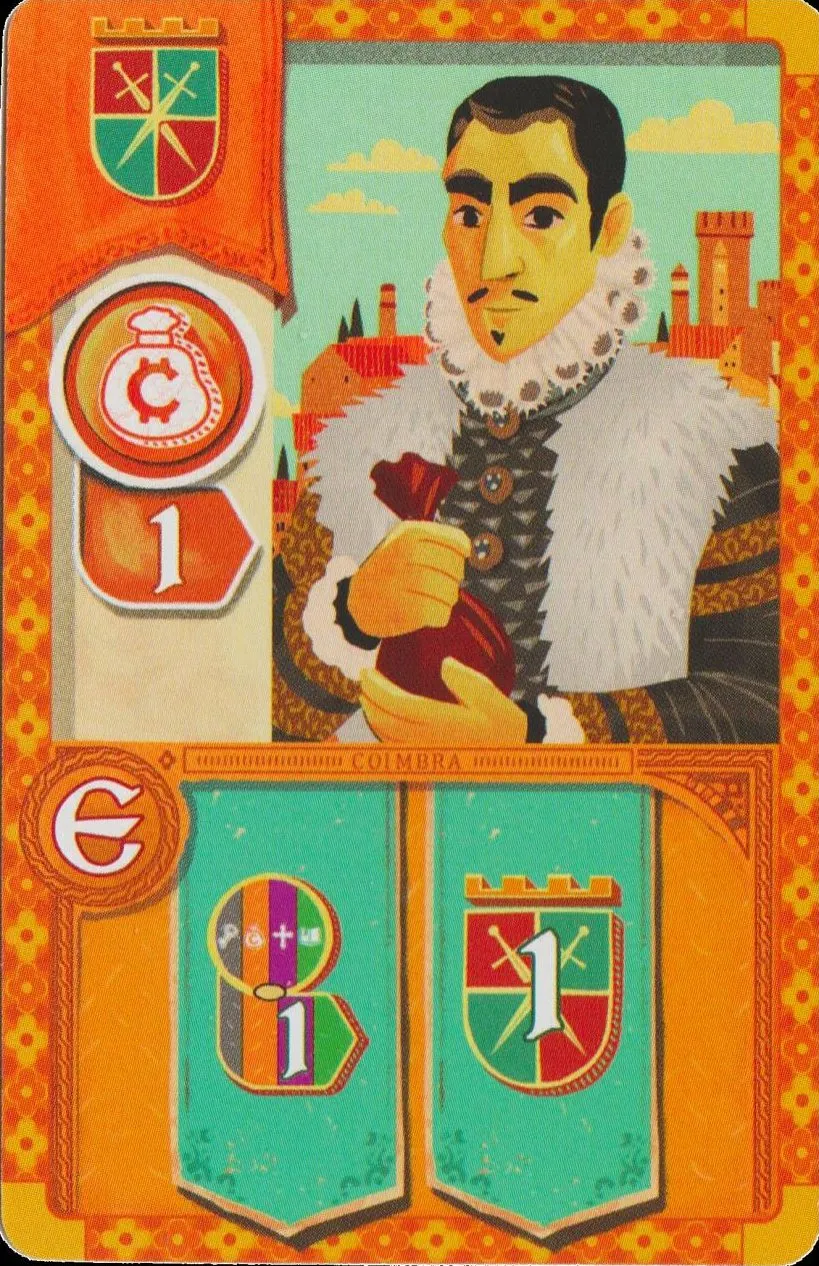 | II 12 · Merchant · influence 1 Pay with guards Every Phase E: At the start of phase E, move one disk 1 space up any influence track, and gain 1 .Ruling: Do the “+1 on a track” phase E cards act before or after income? |
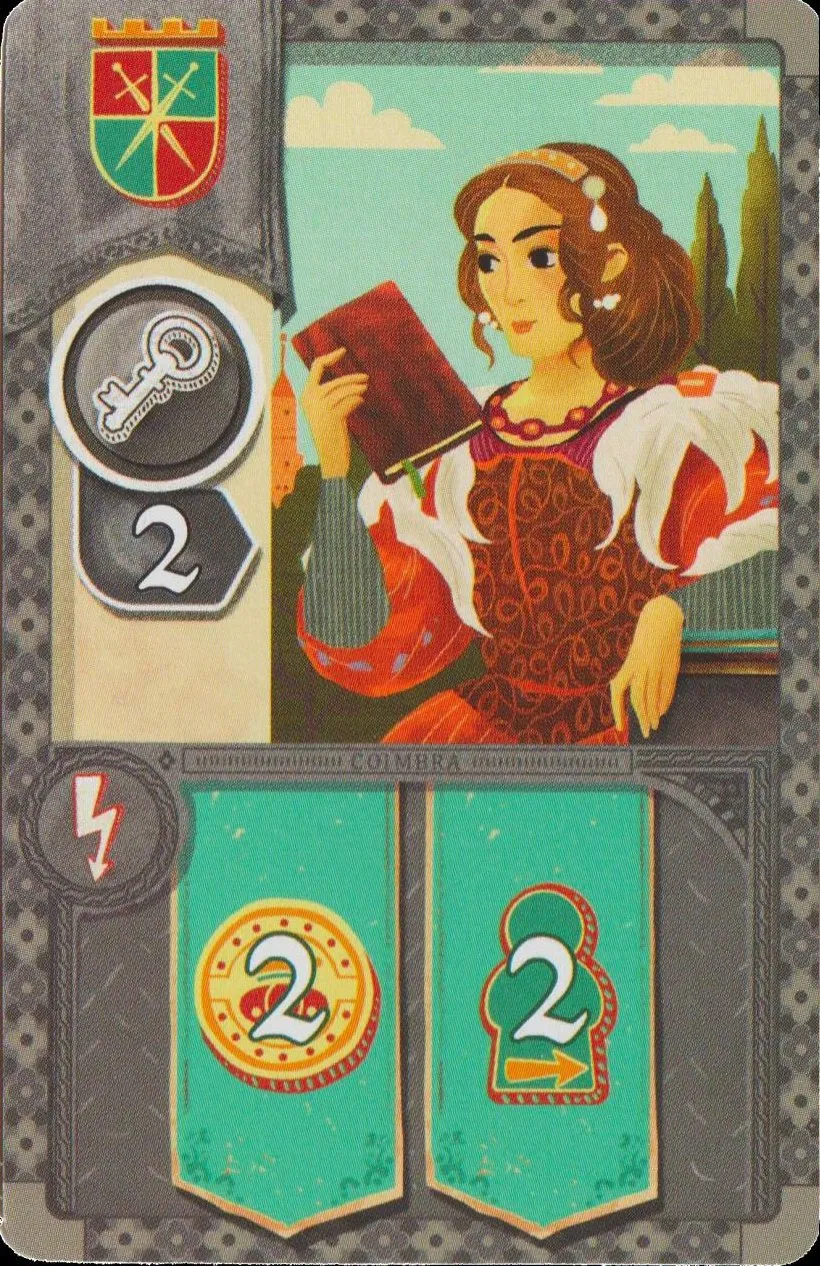 | II 13 · Council member · influence 2 Pay with guards When bought: 2 and 2 . |
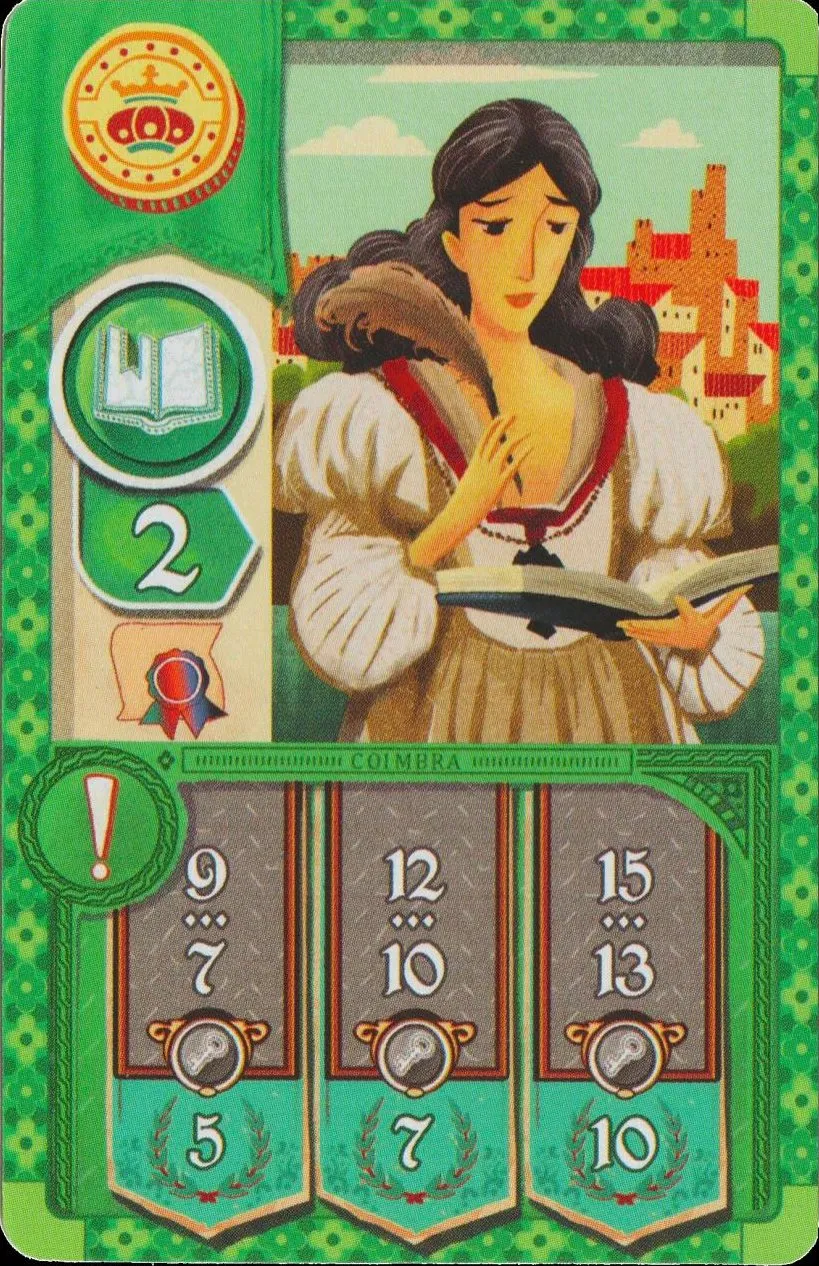 | II 14 · Scholar · influence 2 Pay with coins · Diploma  Game end: Your disk on the council (gray) track: 7–9 → 5 , 10–12 → 7, 13–15 → 10. |
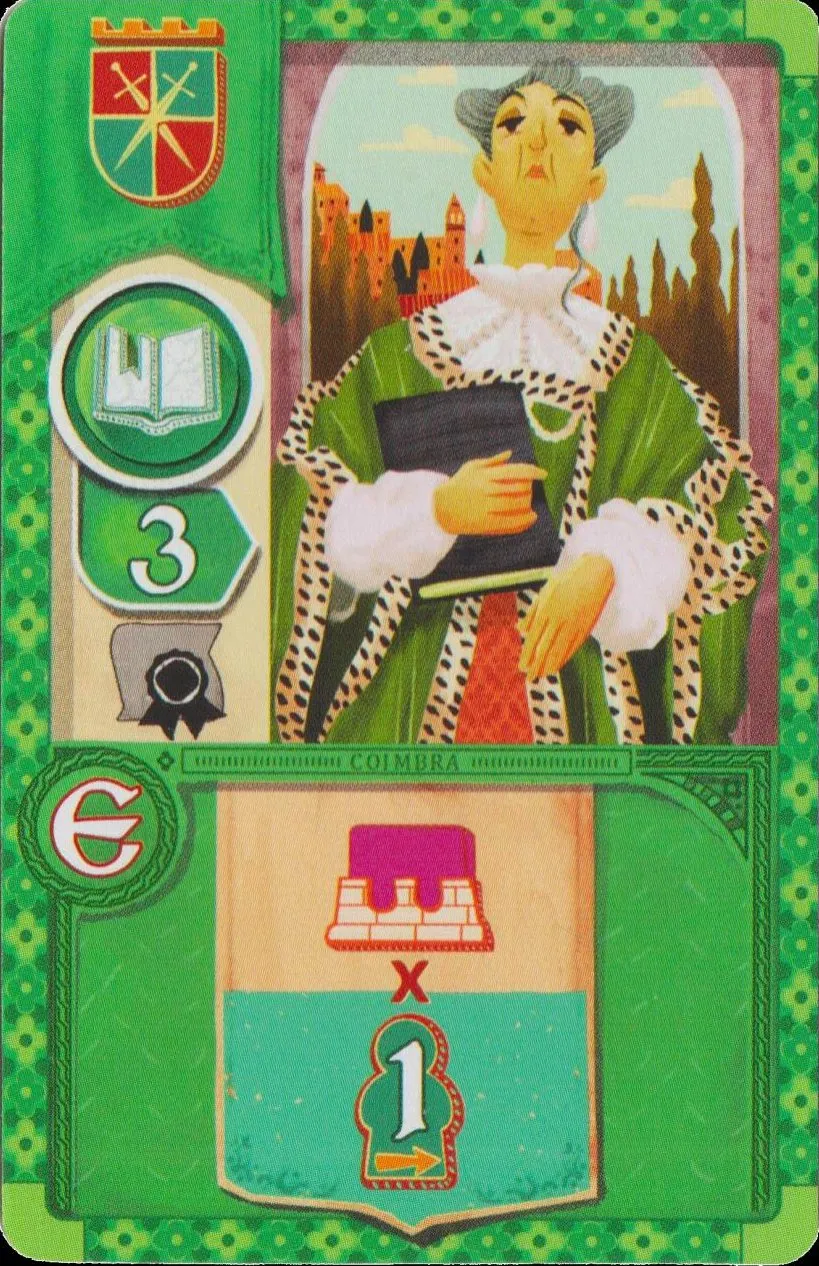 | II 15 · Scholar · influence 3 Pay with guards · Diploma Every Phase E: For each purple die on your shutter spaces, 1 more |
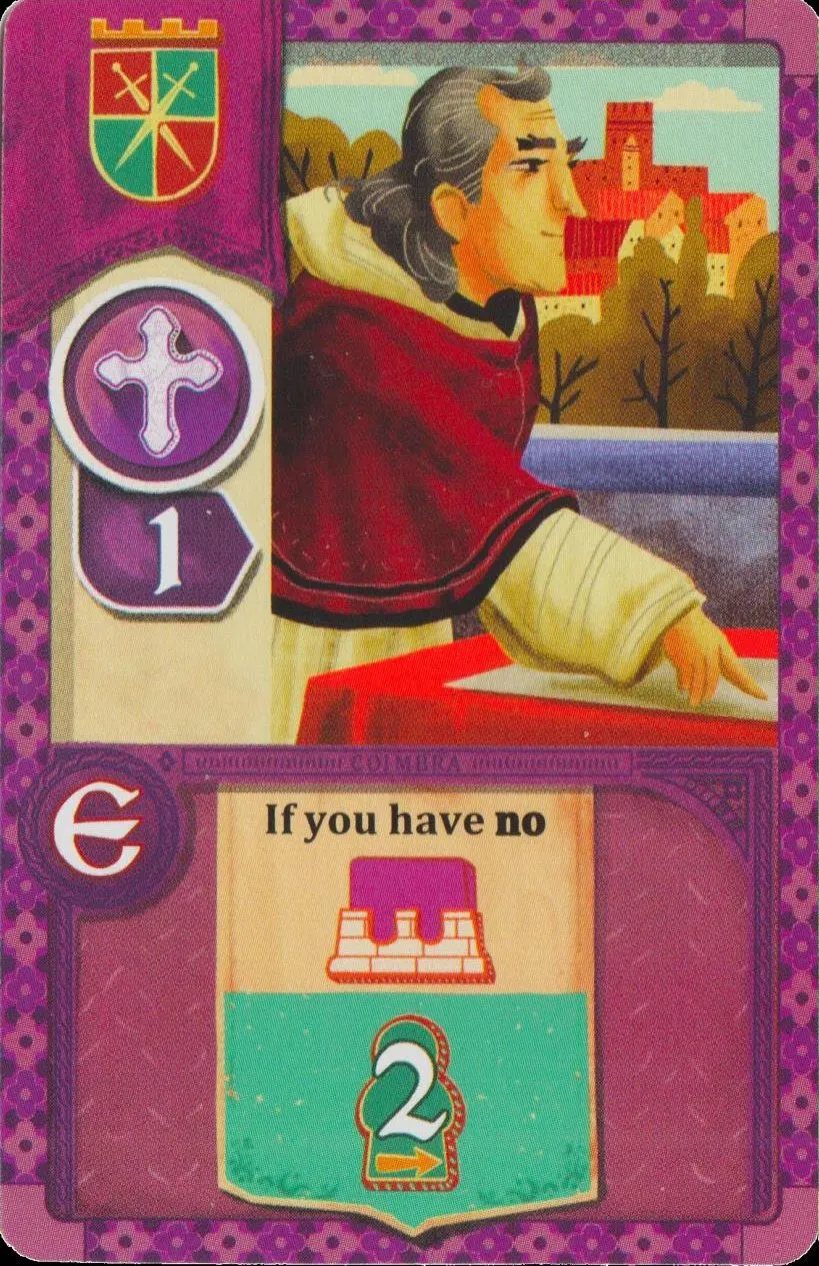 | II 16 · Cleric · influence 1 Pay with guards Every Phase E: At the start of phase E, 2 if none of your dice is purple (the white die is not purple). |
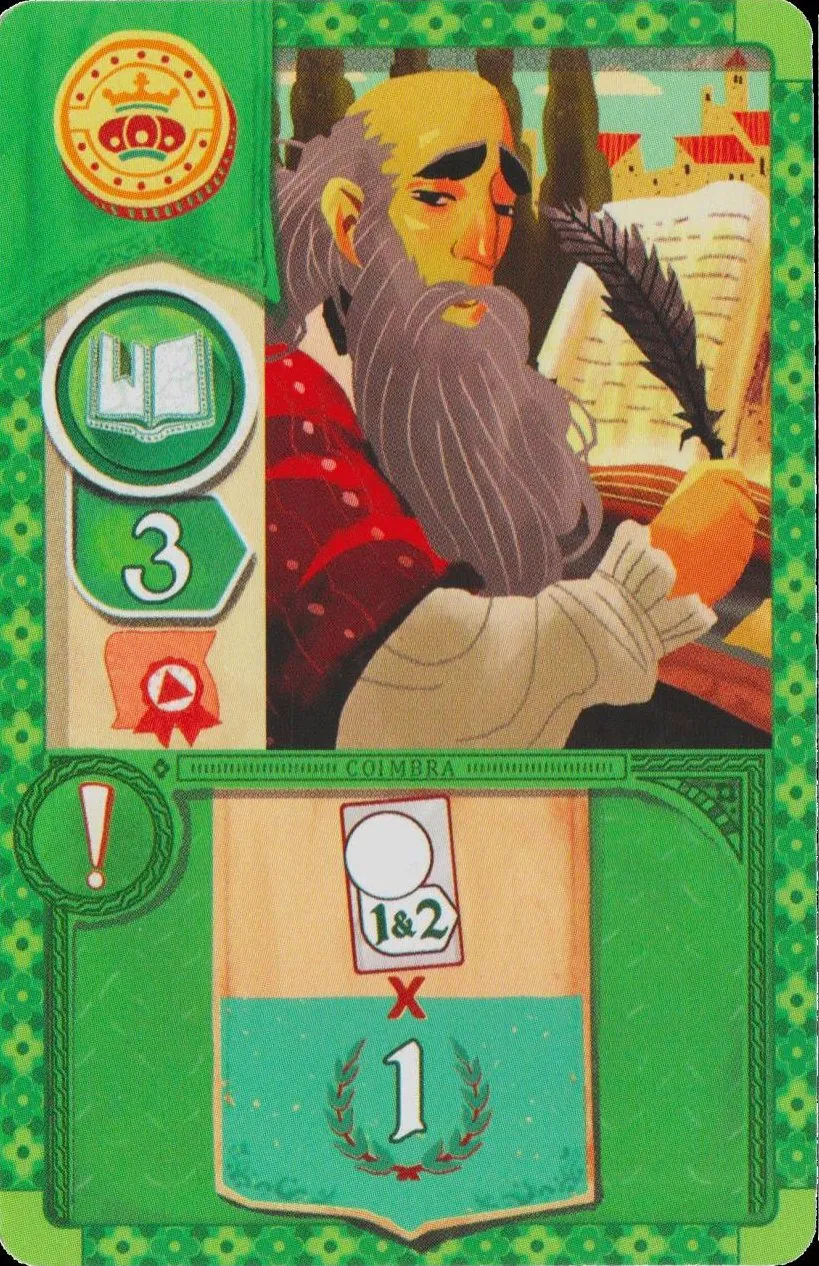 | II 17 · Scholar · influence 3 Pay with coins · Diploma  Game end: 1 for each of your character cards with influence value 1 or 2 (include each matching card once). |
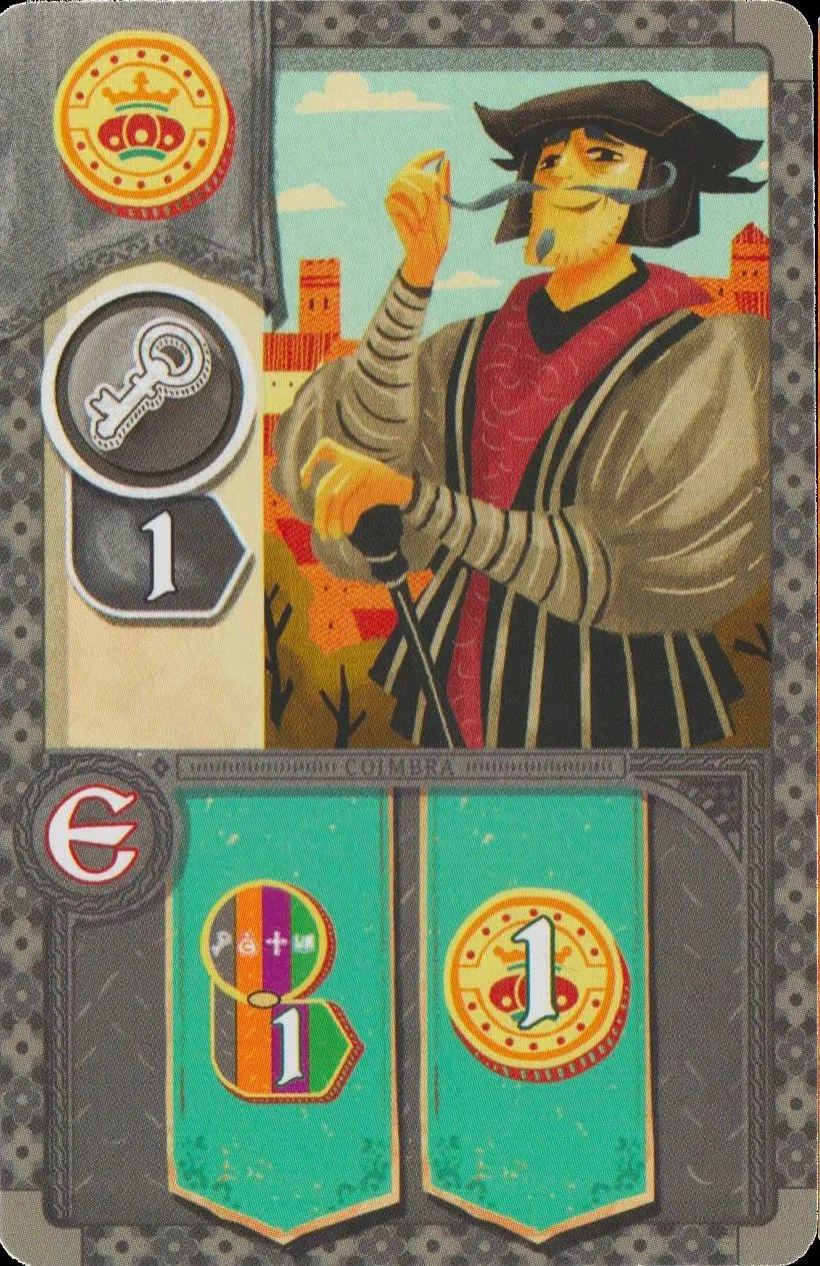 | II 18 · Council member · influence 1 Pay with coins Every Phase E: At the start of phase E, move one disk 1 space up any influence track, and gain 1 . Because this happens before income, the new track space pays out this round.Ruling: Do the “+1 on a track” phase E cards act before or after income? |
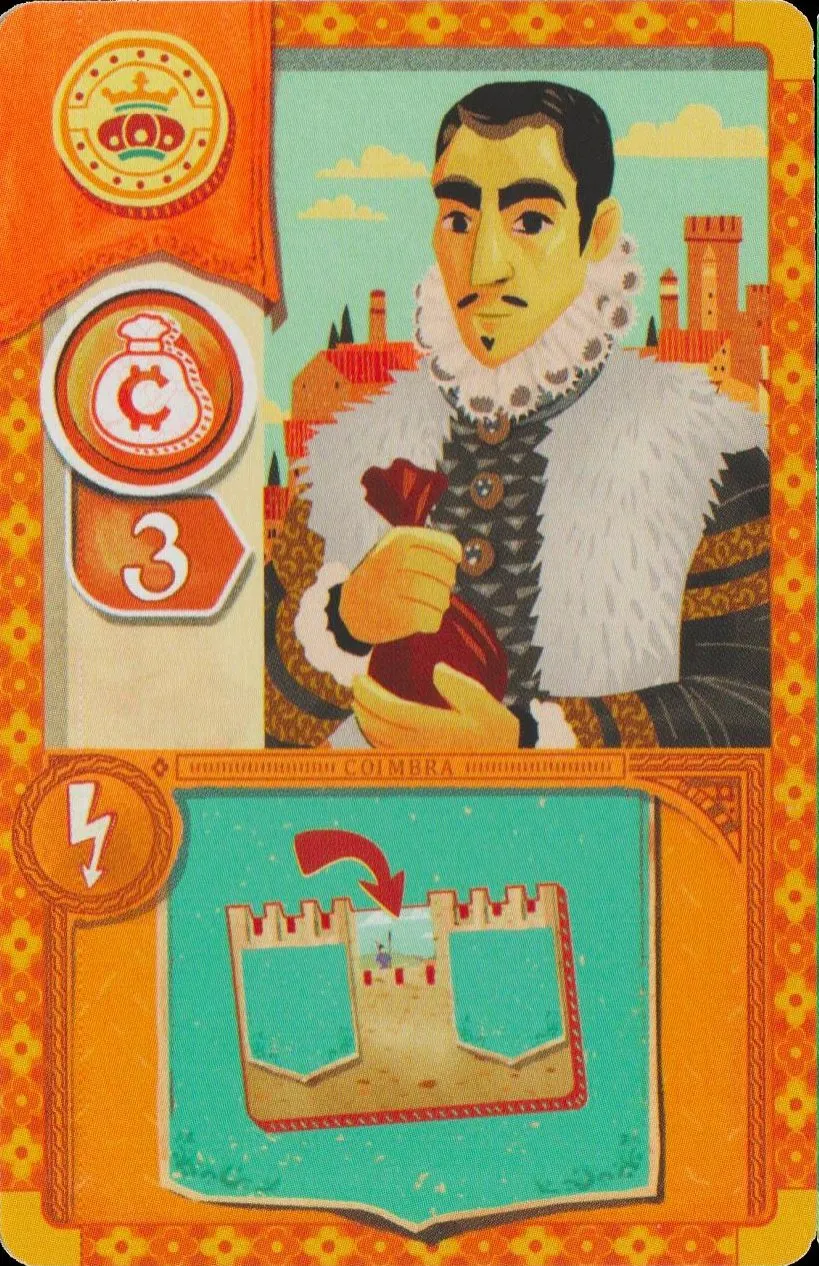 | II 19 · Merchant · influence 3 Pay with coins When bought: Take a favor tile still beside the castle and use it as usual. |
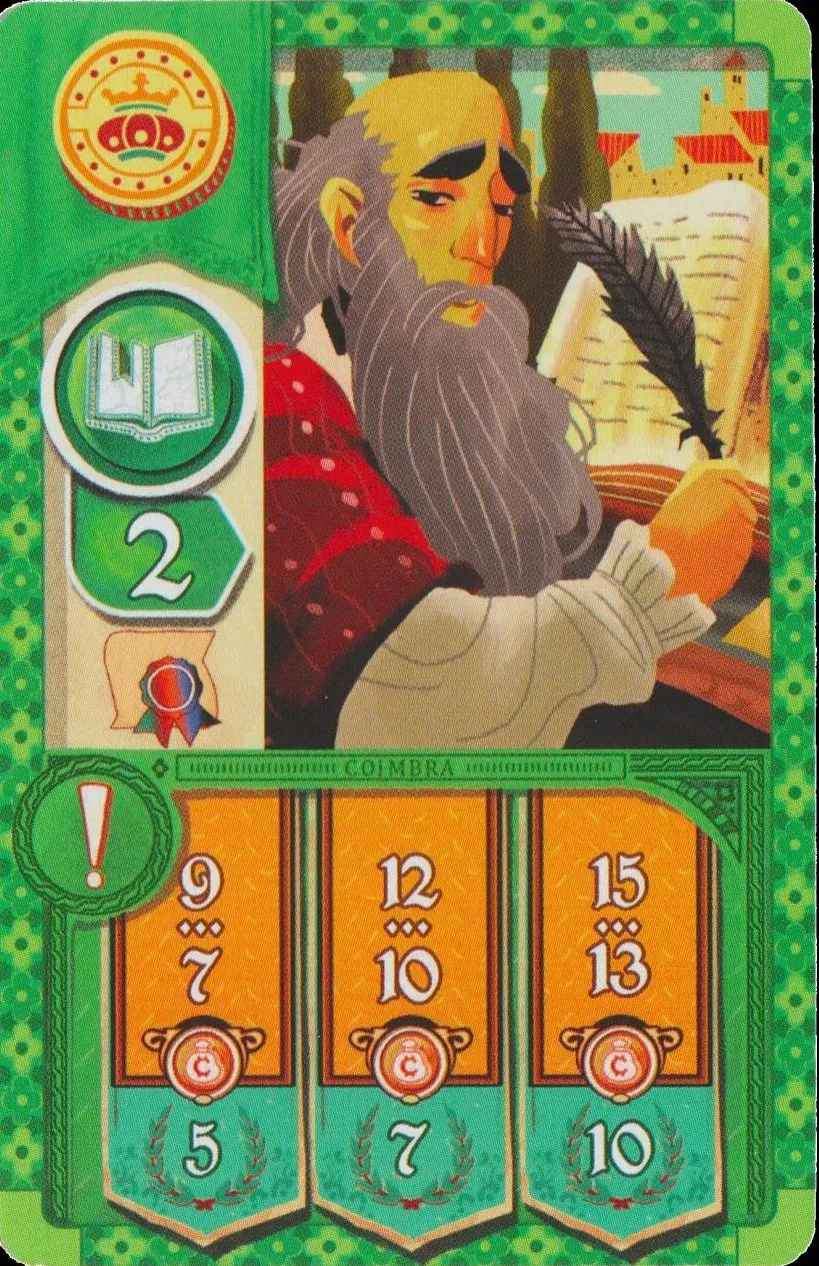 | II 20 · Scholar · influence 2 Pay with coins · Diploma Game end: Your disk on the merchant (orange) track: 7–9 → 5 , 10–12 → 7, 13–15 → 10. |
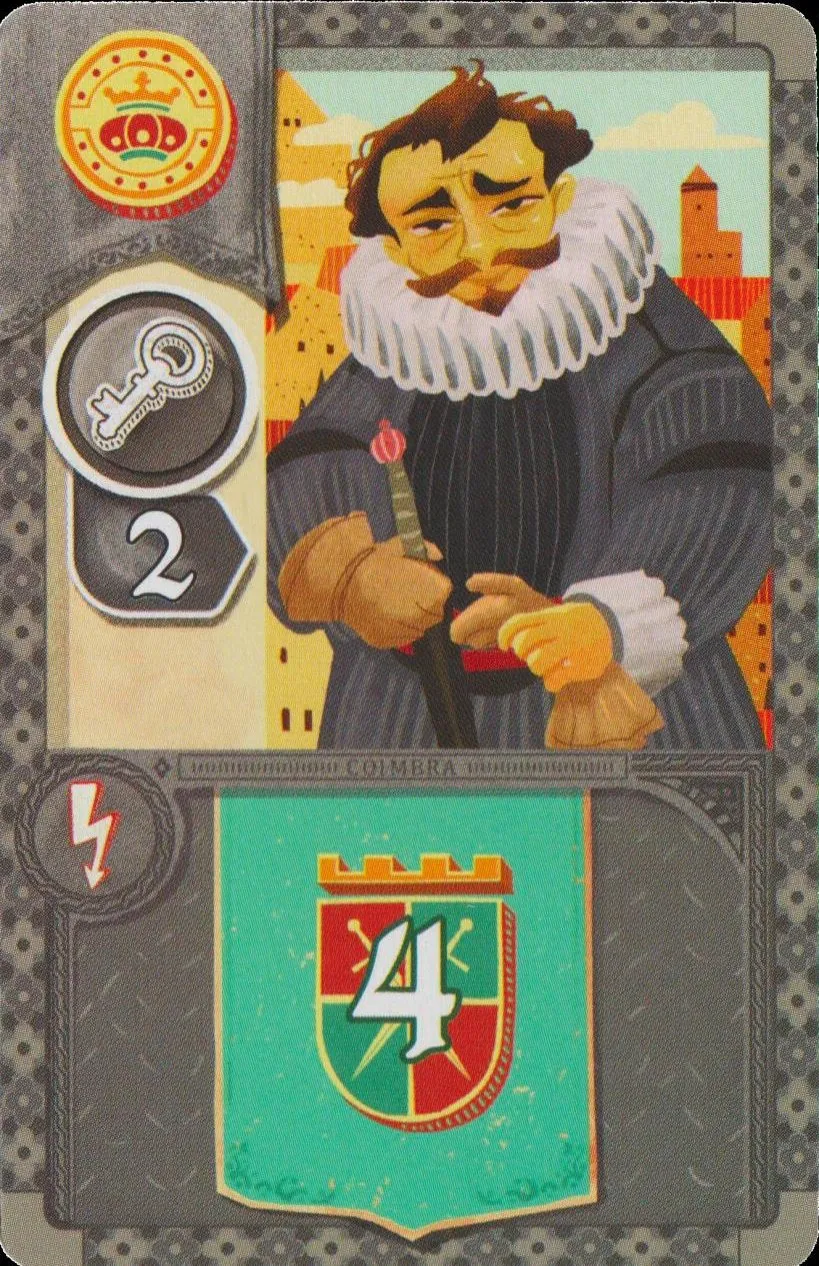 | II 21 · Council member · influence 2 Pay with coins When bought: 4 . |
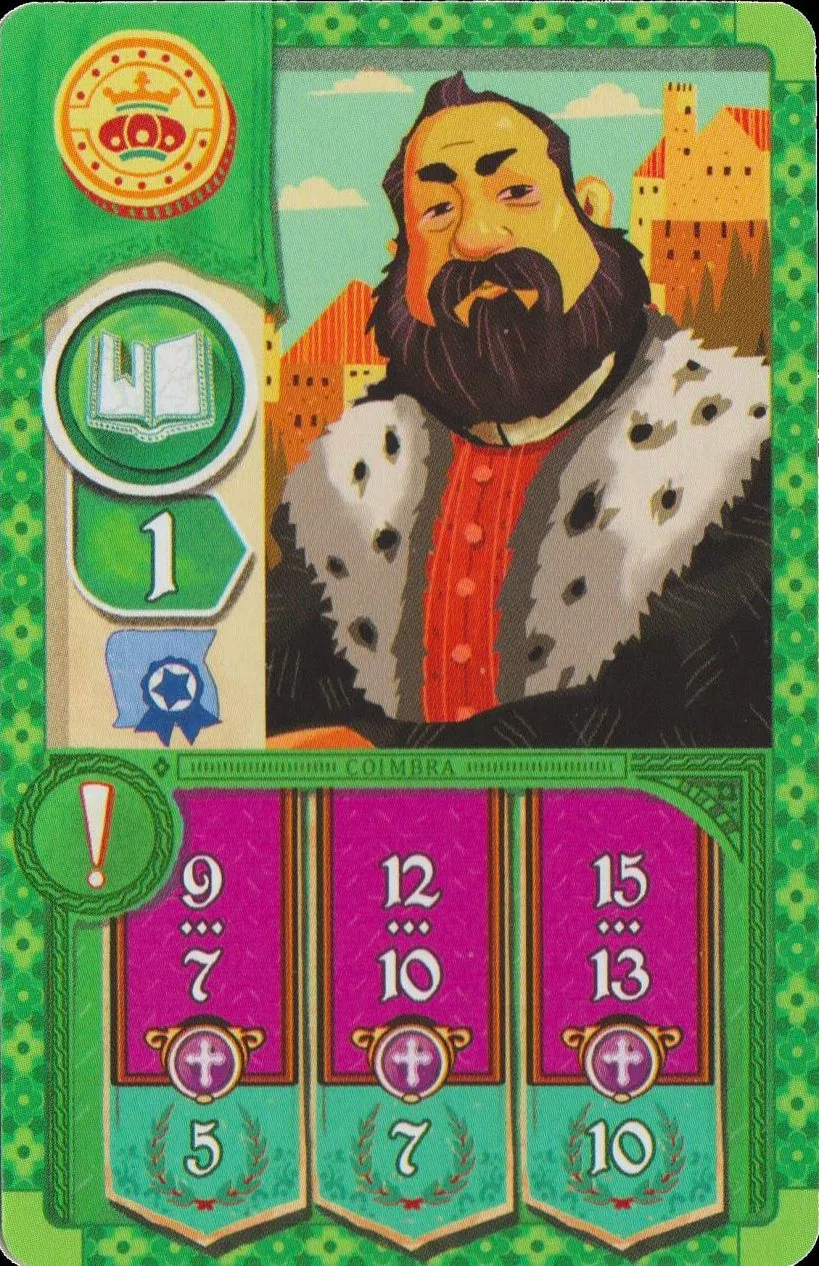 | II 22 · Scholar · influence 1 Pay with coins · Diploma  Game end: Your disk on the cleric (purple) track: 7–9 → 5 , 10–12 → 7, 13–15 → 10. |
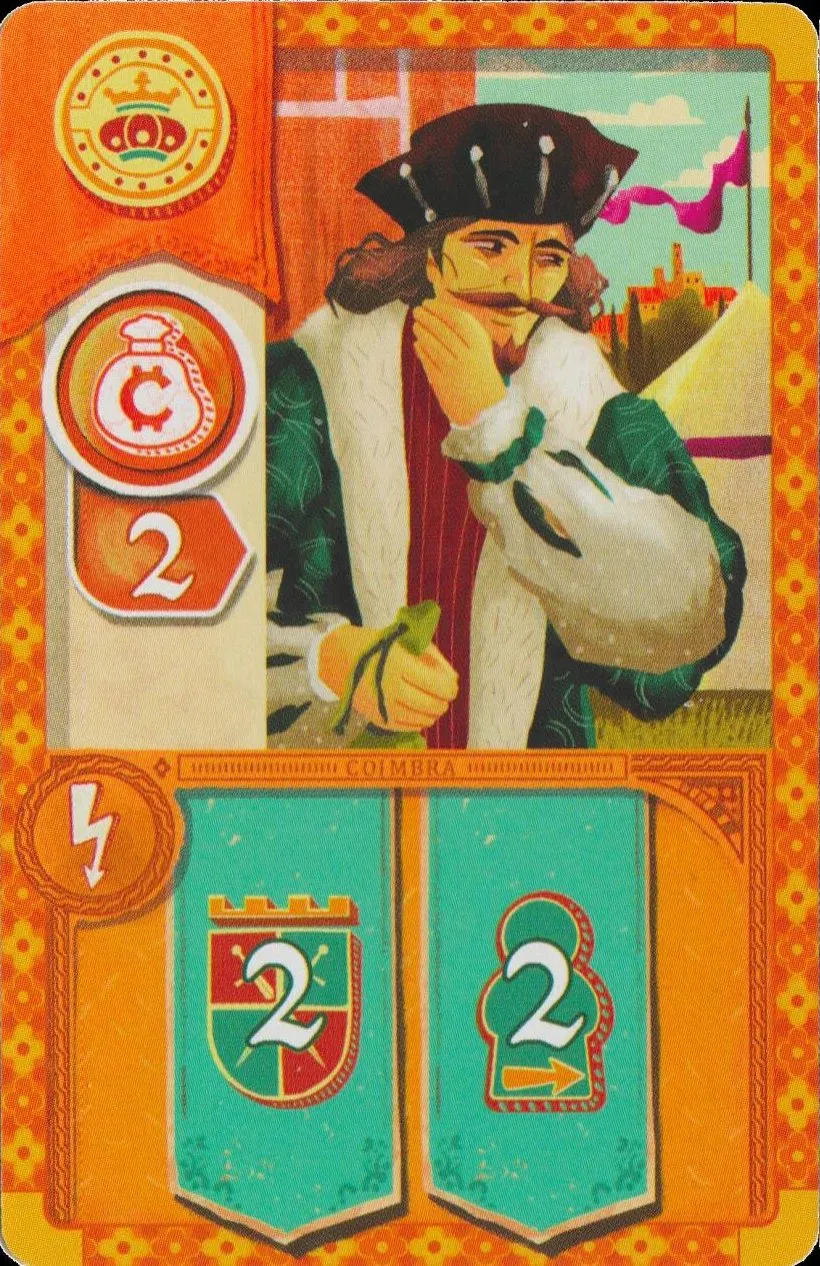 | II 23 · Merchant · influence 2 Pay with coins When bought: 2 and 2 . |
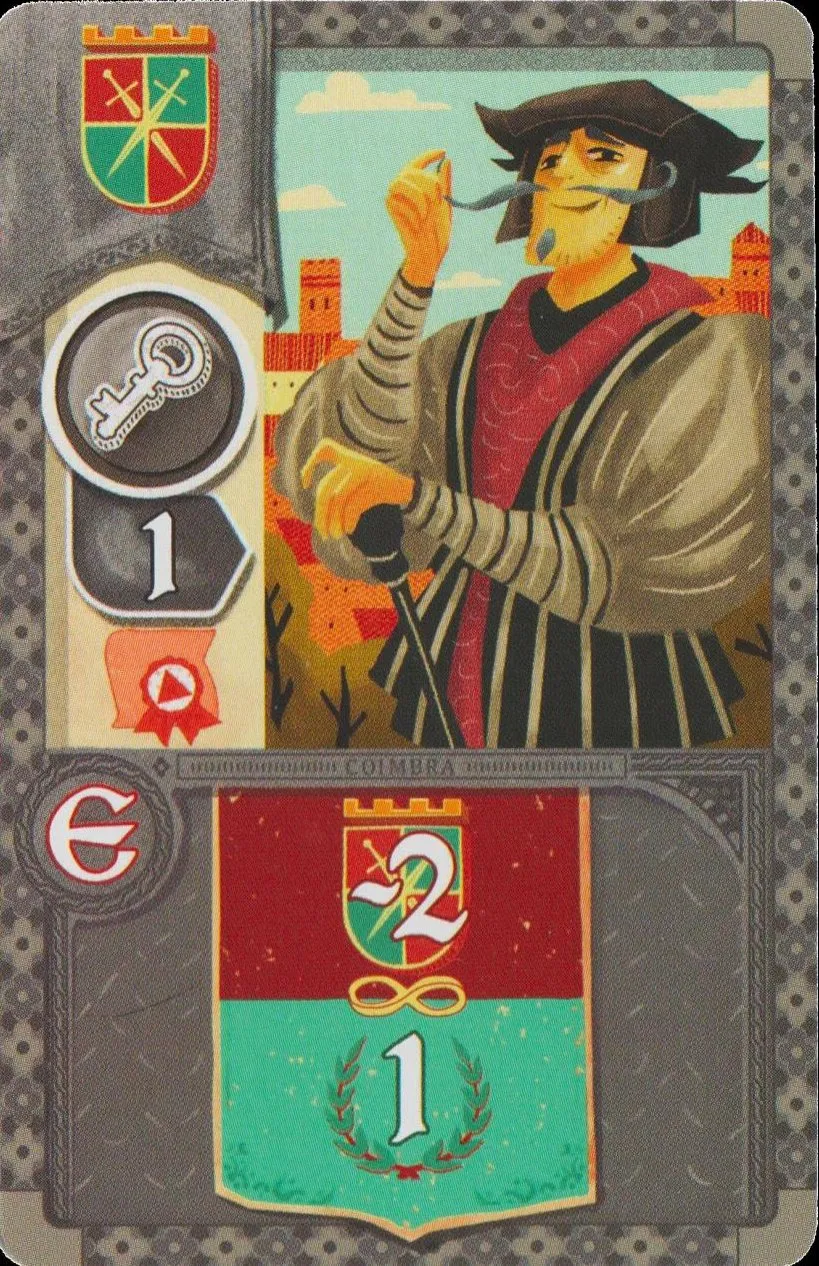 | II 24 · Council member · influence 1 Pay with guards · Diploma Every Phase E: At any time in phase E, pay 2 for 1 , as often as you like, before or after income.Ruling: Can the phase E cards that turn coins or guards into points be used more than once in the same phase E? |
Character cards III
24 cards, used in rounds 3–4.
| Picture | Card |
|---|---|
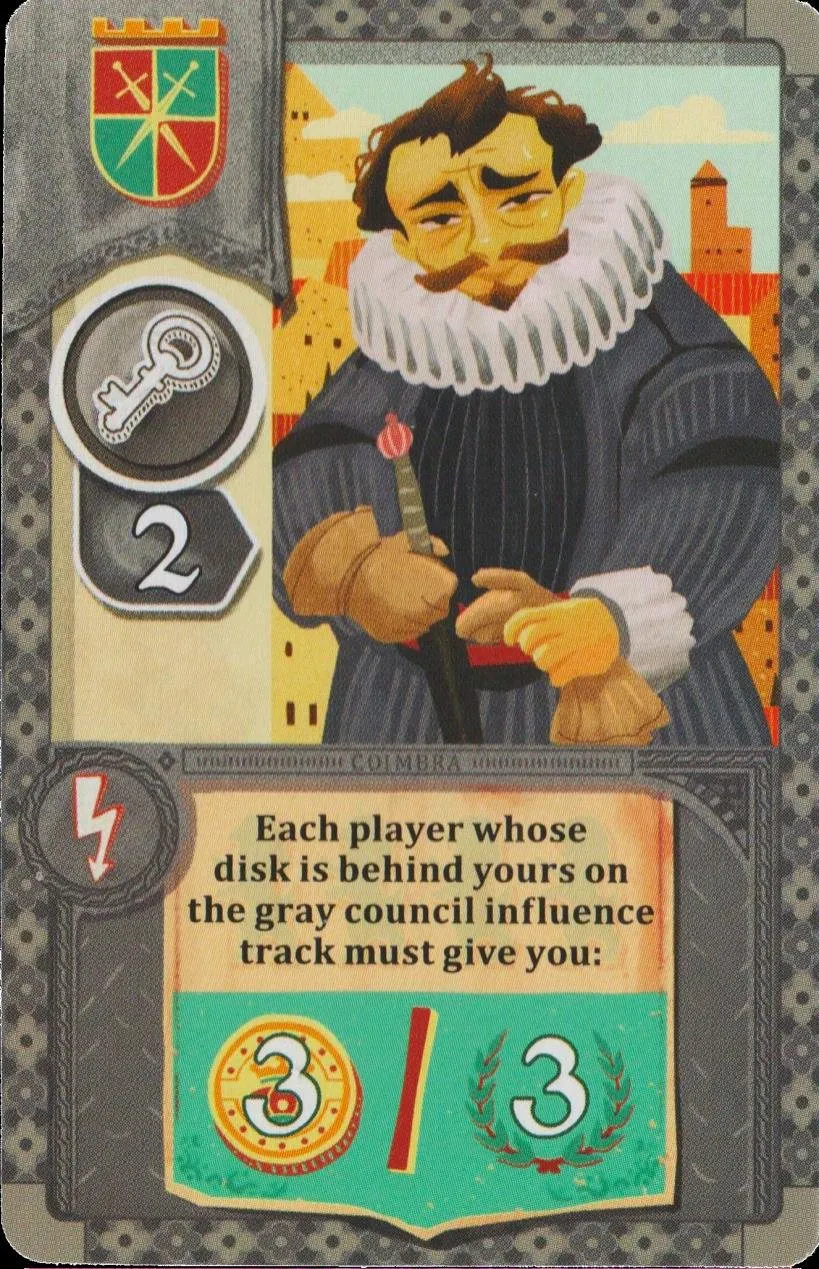 | III 1 · Council member · influence 2 Pay with guards When bought: Every player behind you on the council track gives you 3 or 3 (their choice; no coins → points). If they cannot pay the resource option, they must give the points even if their score falls below zero.Ruling: An opponent must give me resources or victory points but has no resources. What happens? · Who is “behind” me on the council track for the cards that make others pay? |
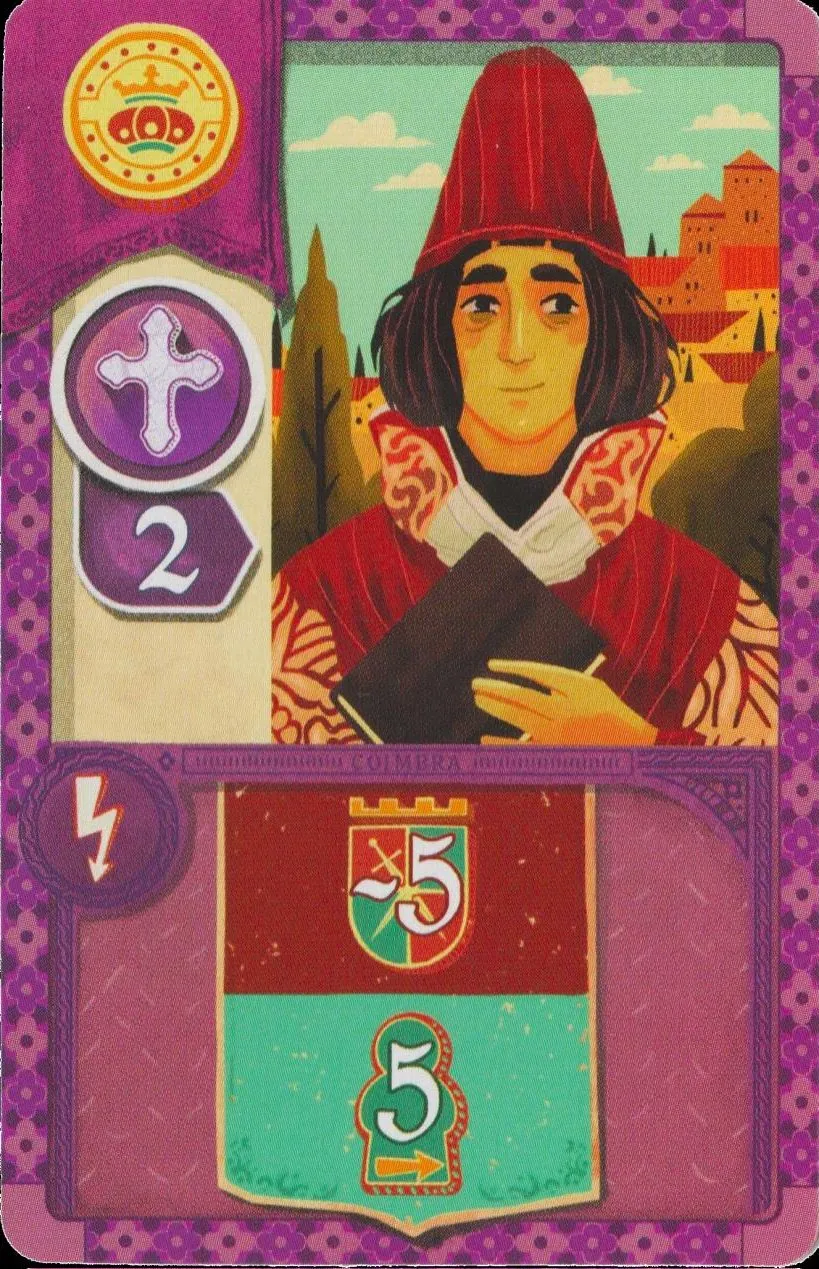 | III 2 · Cleric · influence 2 Pay with coins When bought: Pay 5 to move up to 5 ; the cost stays 5 even if you take fewer steps.Ruling: The card that trades 5 guards for up to 5 steps — can I pay less for fewer steps? |
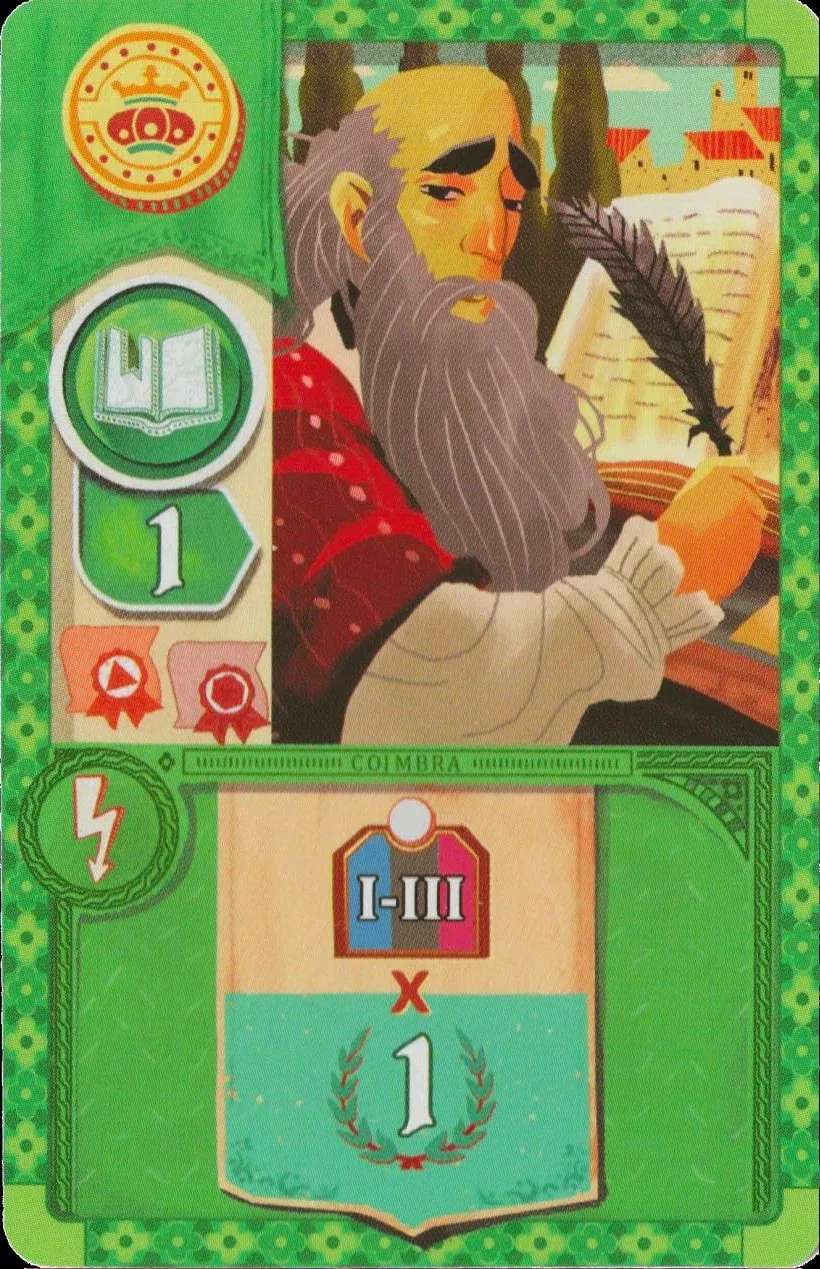 | III 3 · Scholar · influence 1 Pay with coins · Diploma When bought: 1 for each monastery holding your disk. |
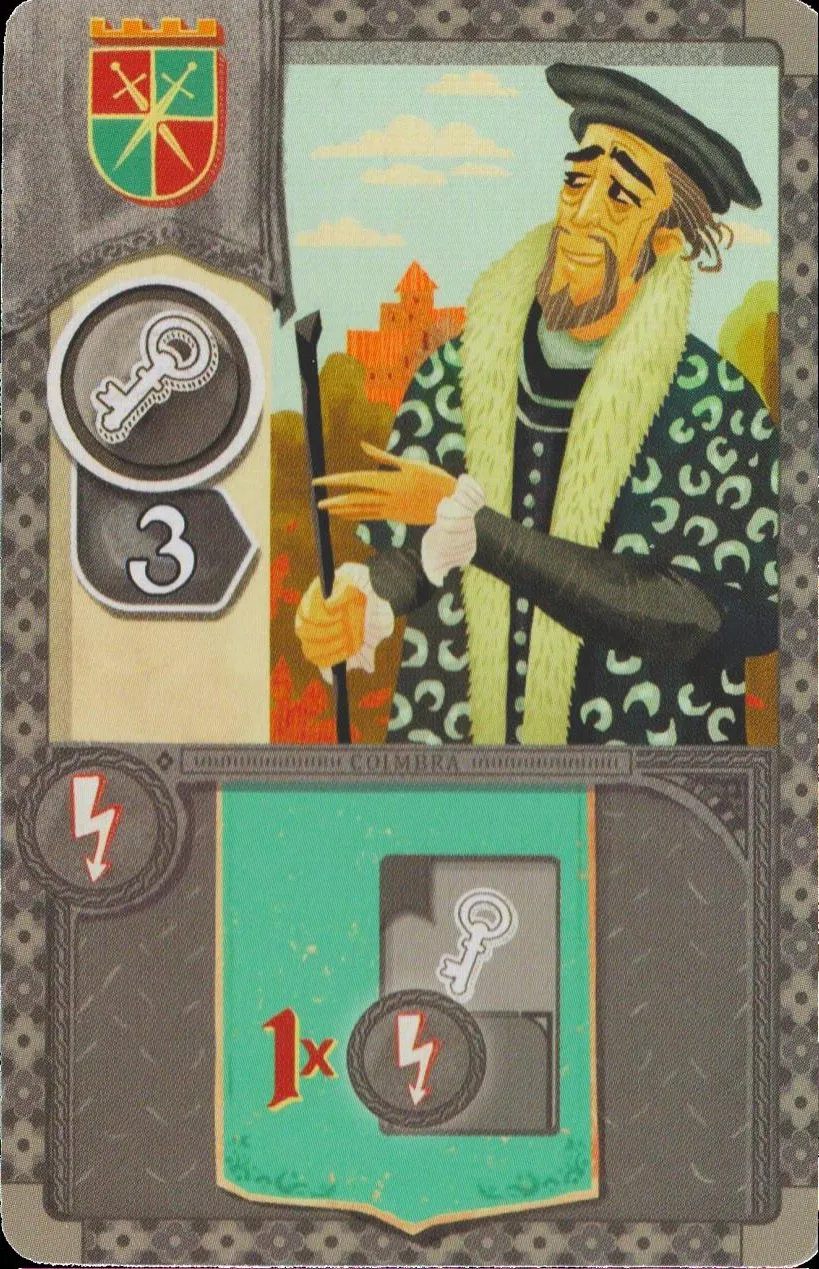 | III 4 · Council member · influence 3 Pay with guards When bought: Use the immediate bonus of one of your council members once more. |
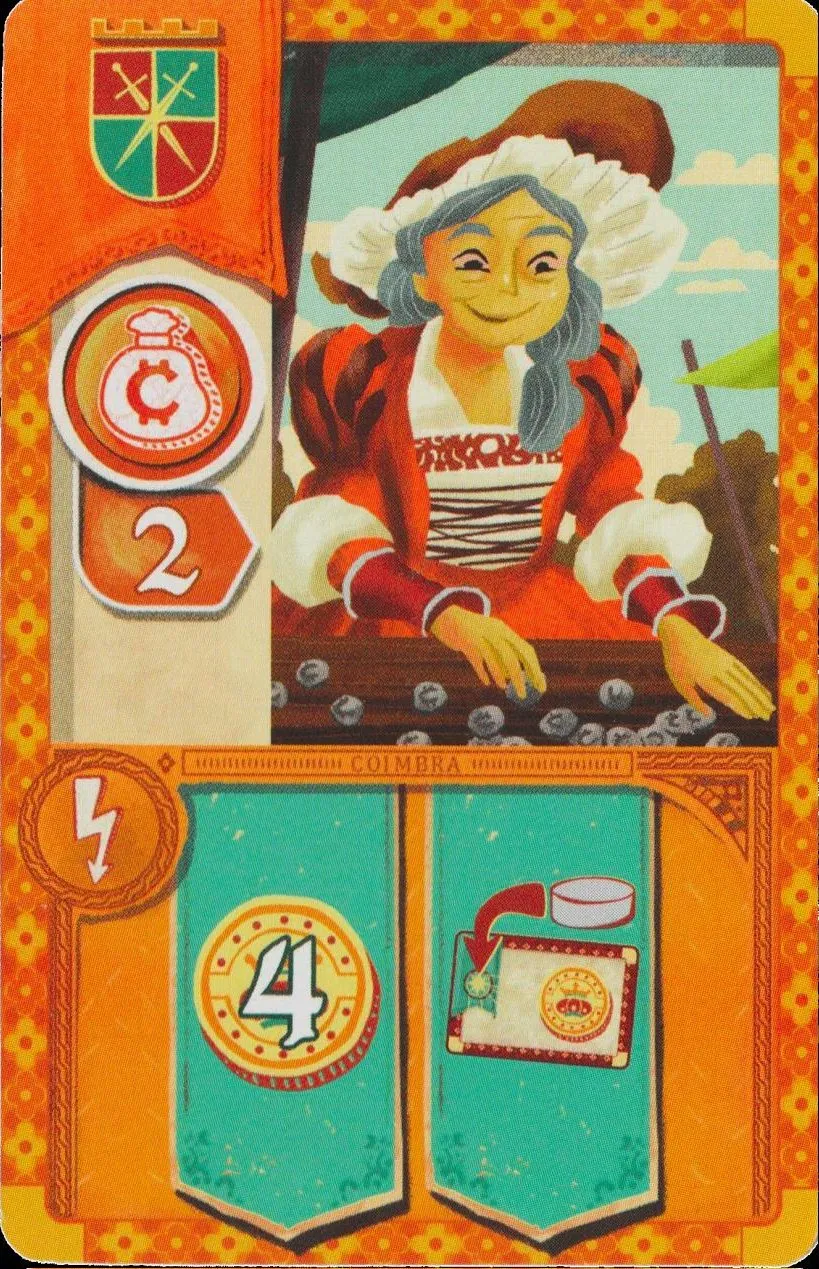 | III 5 · Merchant · influence 2 Pay with guards When bought: 4 , and invest in one voyage — a coin-cost one only. |
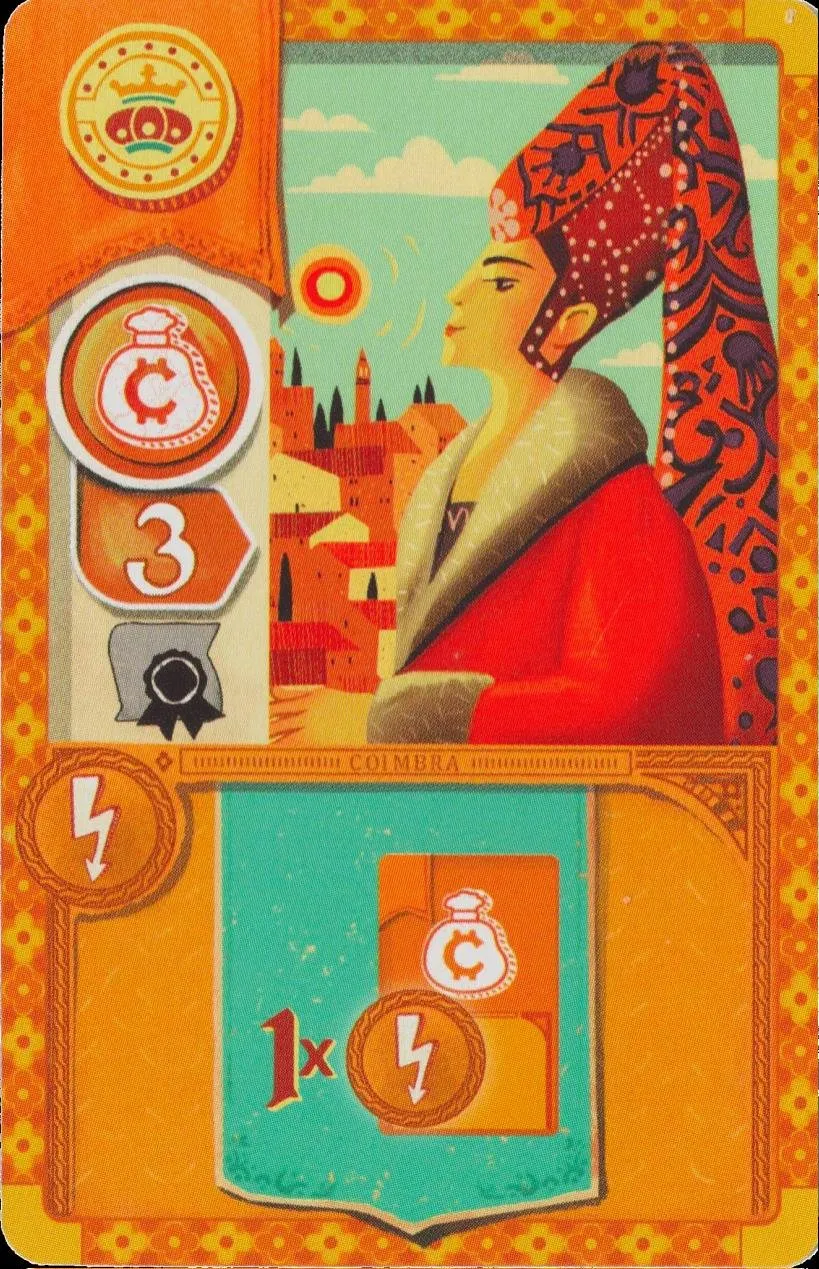 | III 6 · Merchant · influence 3 Pay with coins · Diploma When bought: Use the immediate bonus of one of your merchants once more. |
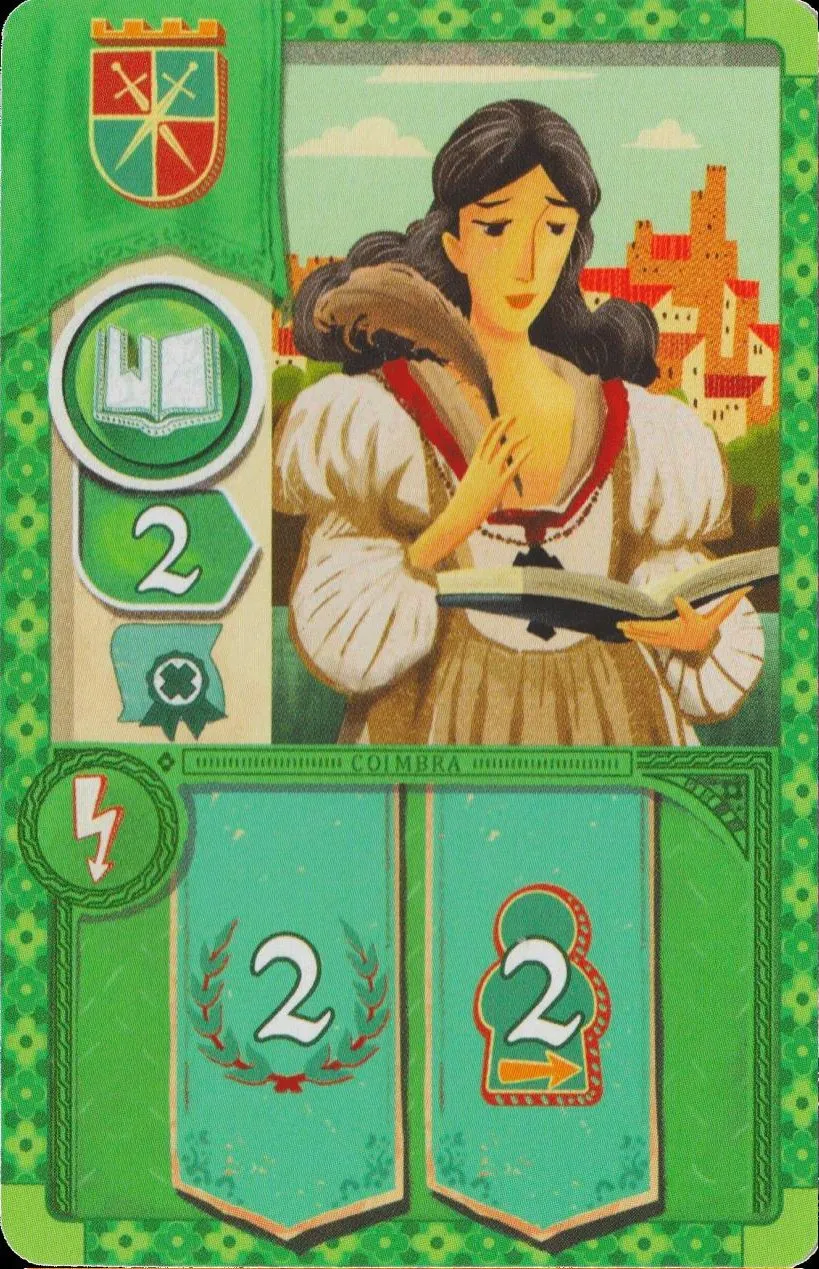 | III 7 · Scholar · influence 2 Pay with guards · Diploma When bought: 2 and 2 . |
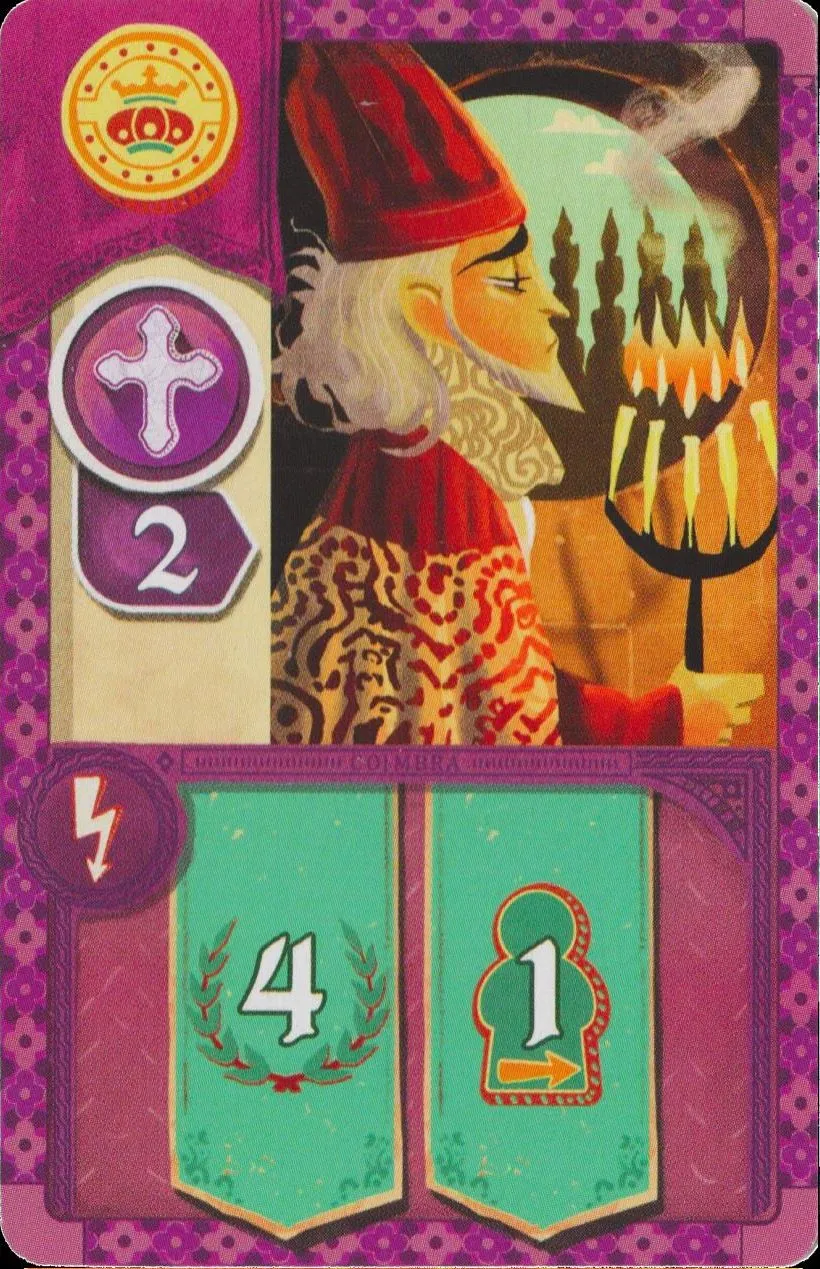 | III 8 · Cleric · influence 2 Pay with coins When bought: 4 and 1 . |
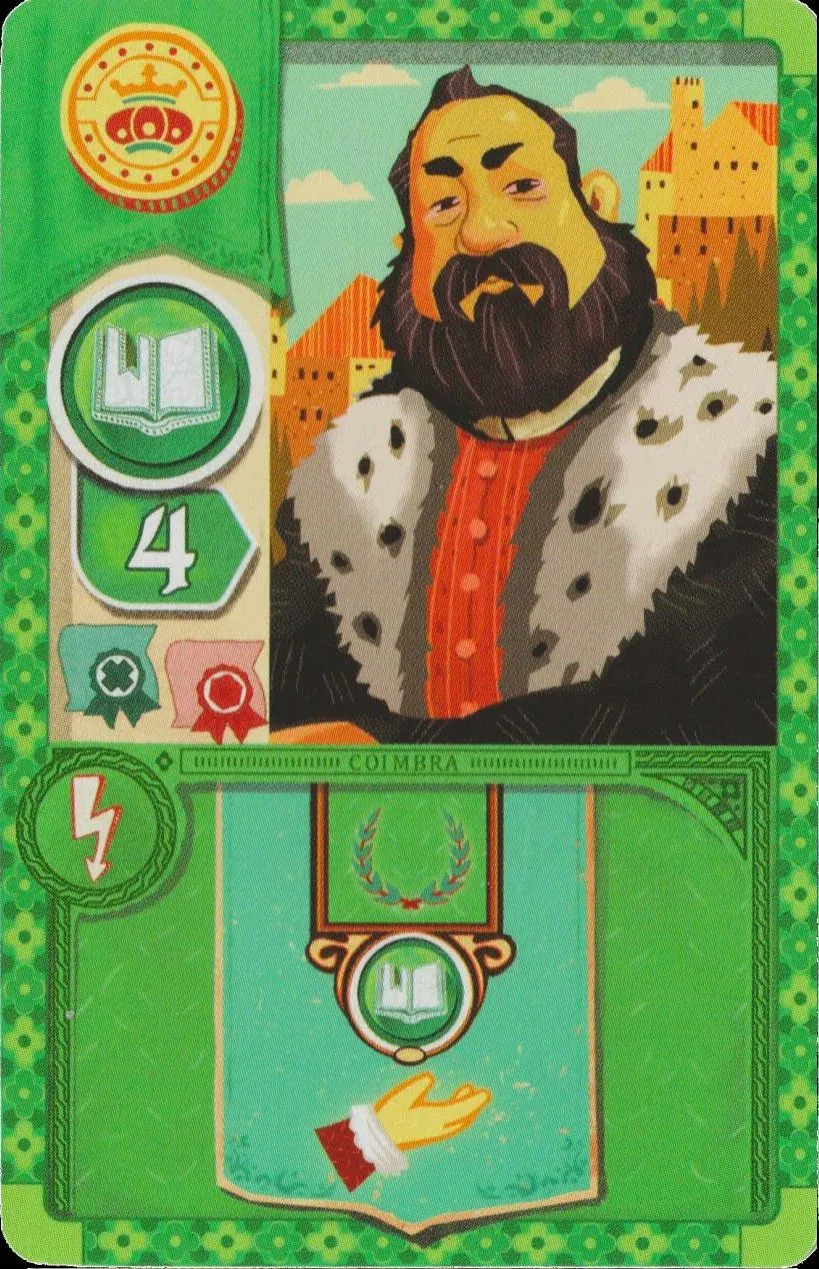 | III 9 · Scholar · influence 4 Pay with coins · Diploma When bought: Gain the current income of the scholar track, as a green die would. |
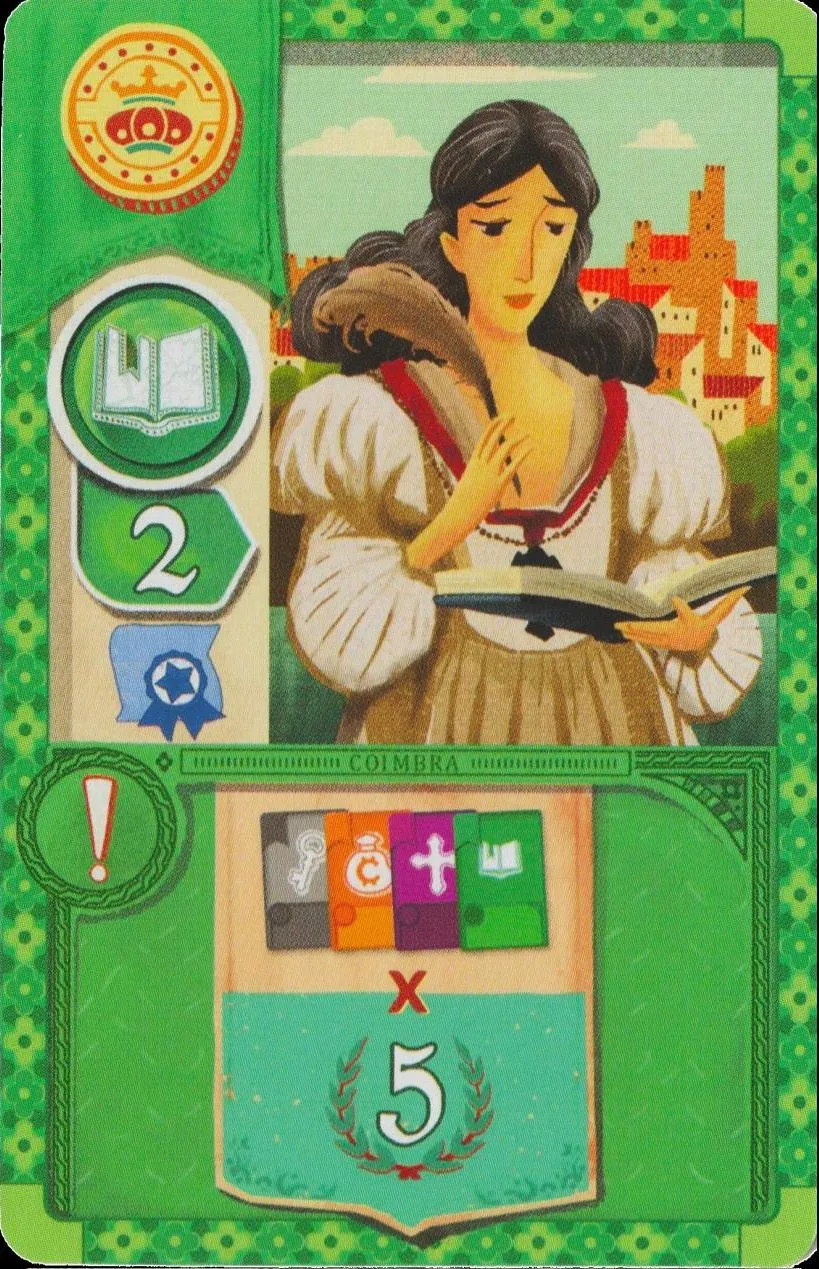 | III 10 · Scholar · influence 2 Pay with coins · Diploma Game end: 5 for each set of 4 cards, one of each class (this card counts).Ruling: Does the scholar that scores 5 points per set of four classes count itself? |
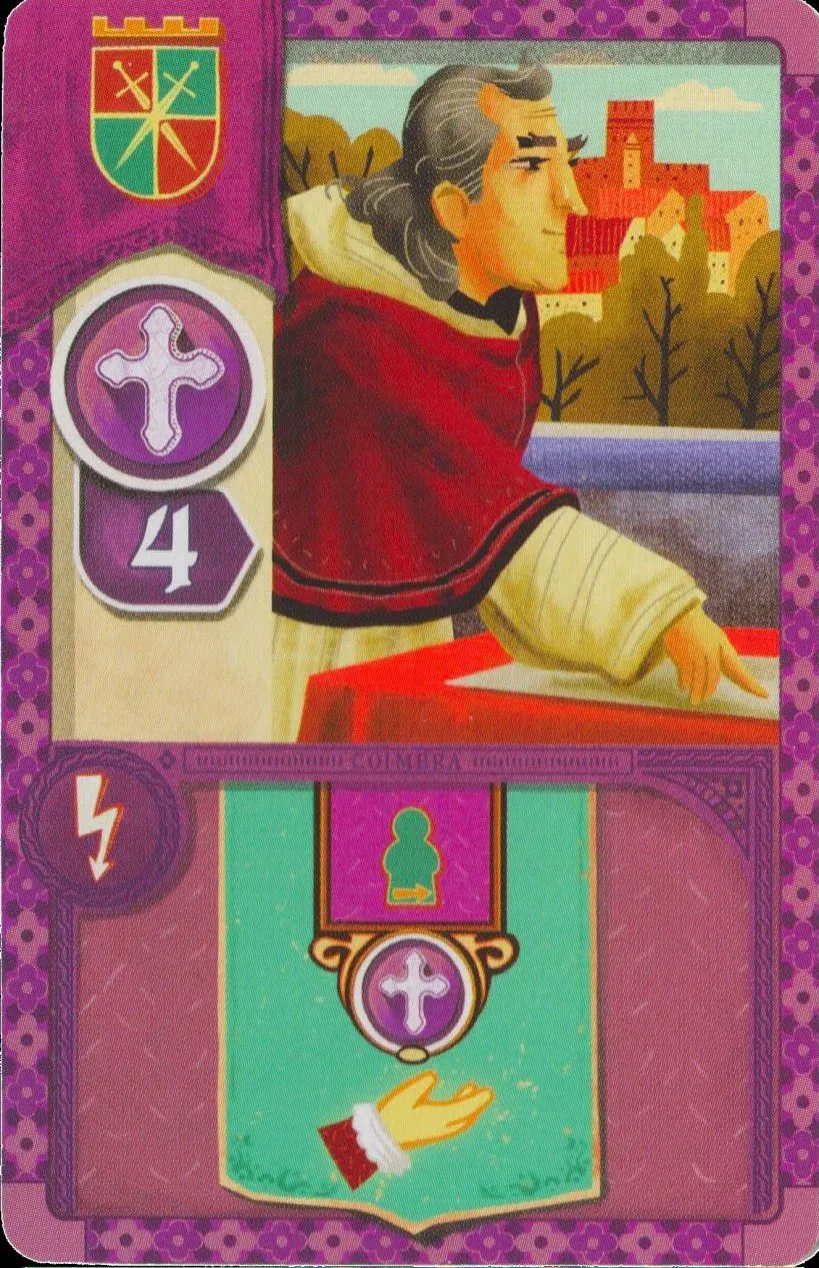 | III 11 · Cleric · influence 4 Pay with guards When bought: Gain the current income of the cleric track, as a purple die would. |
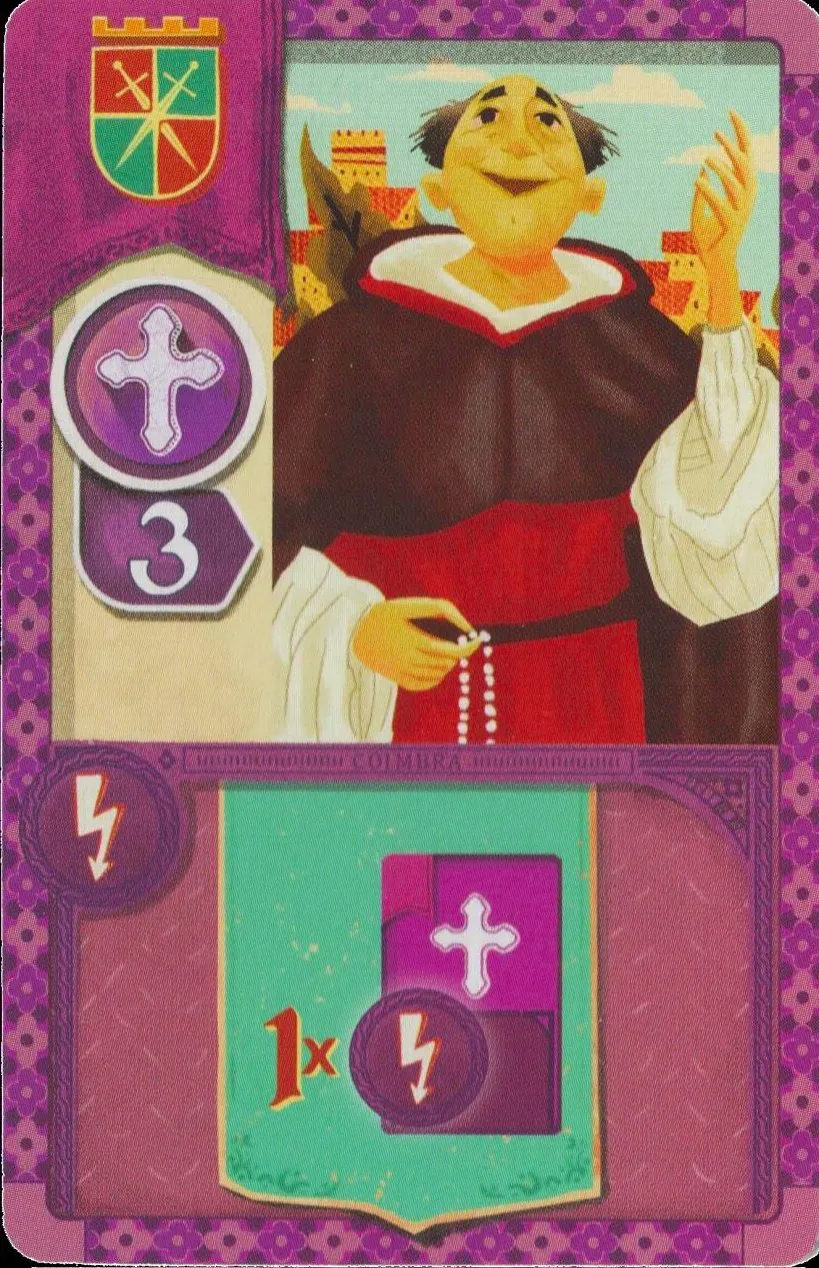 | III 12 · Cleric · influence 3 Pay with guards When bought: Use the immediate bonus of one of your clerics once more. This card can repeat an earlier card already in your zone; the FAQ leaves same-turn discard-pile timing unsettled.Ruling: Can the card that repeats a cleric’s immediate bonus repeat the discard-pile card I am still resolving? |
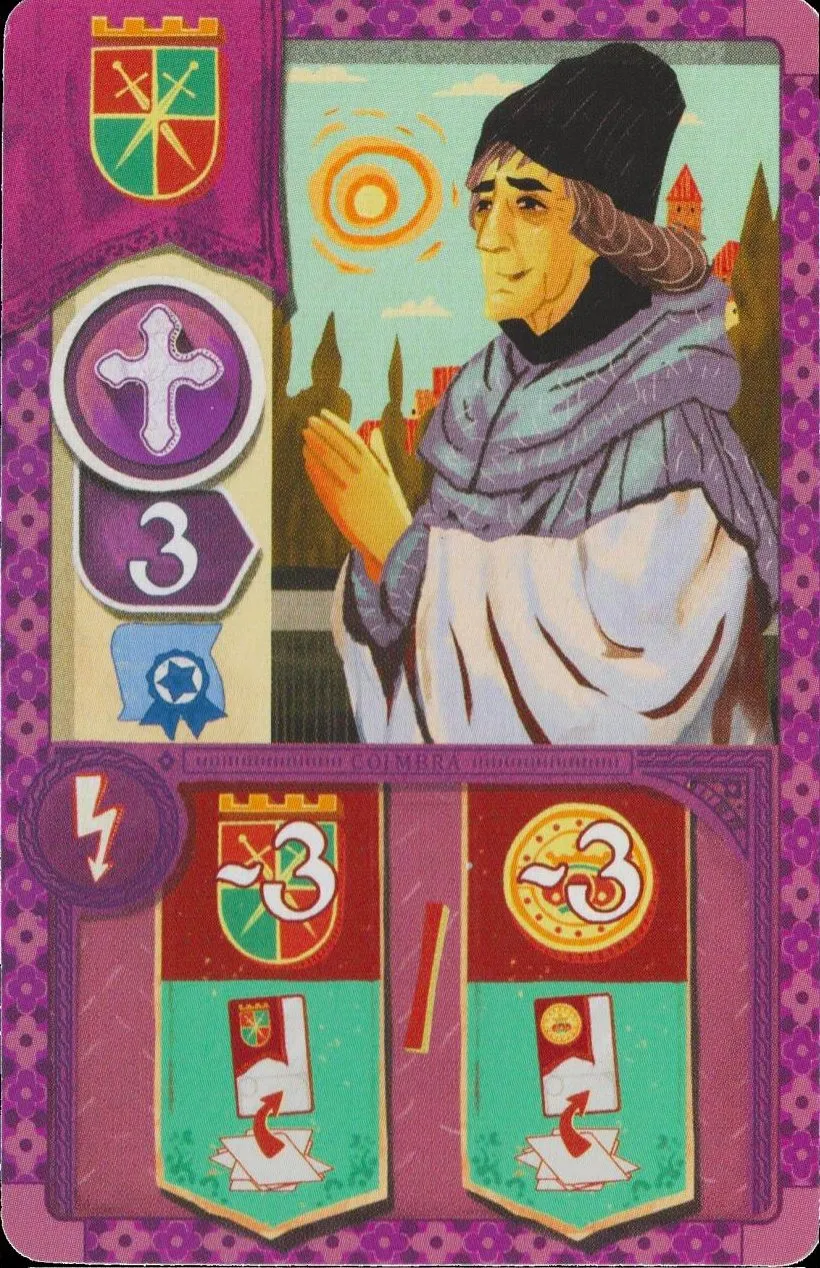 | III 13 · Cleric · influence 3 Pay with guards · Diploma When bought: Choose a card from the discard pile, pay 3 or 3 (its own cost icon) and gain it as if bought.Ruling: Can I look through the discard pile before deciding? · Does the start card’s 1-coin discount apply to a card taken from the discard pile? |
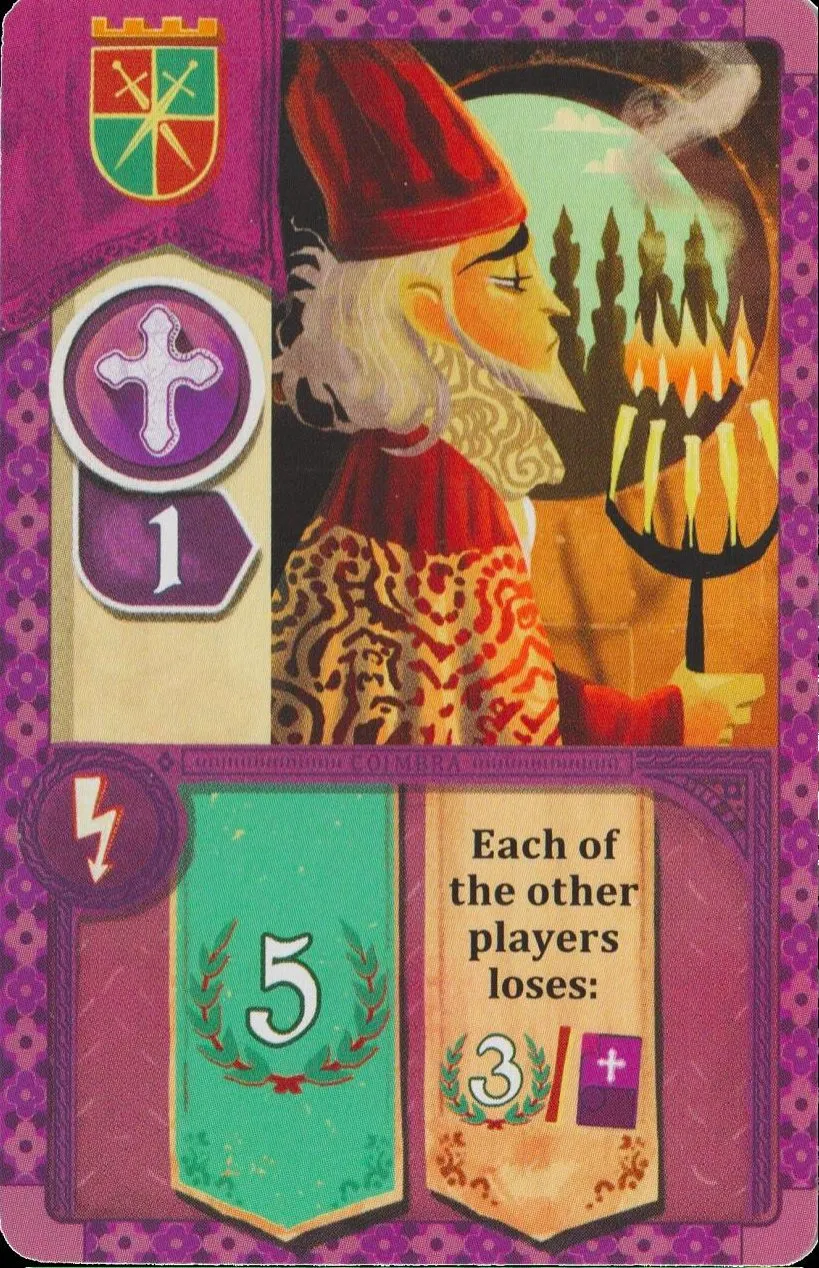 | III 14 · Cleric · influence 1 Pay with guards When bought: 5 . Each opponent, in order, loses 3 or one of their clerics (with its influence). A Start cleric qualifies, and its influence also moves that player’s disk back on the cleric track.Ruling: When an opponent’s card makes me lose a cleric, may I give up a start cleric? |
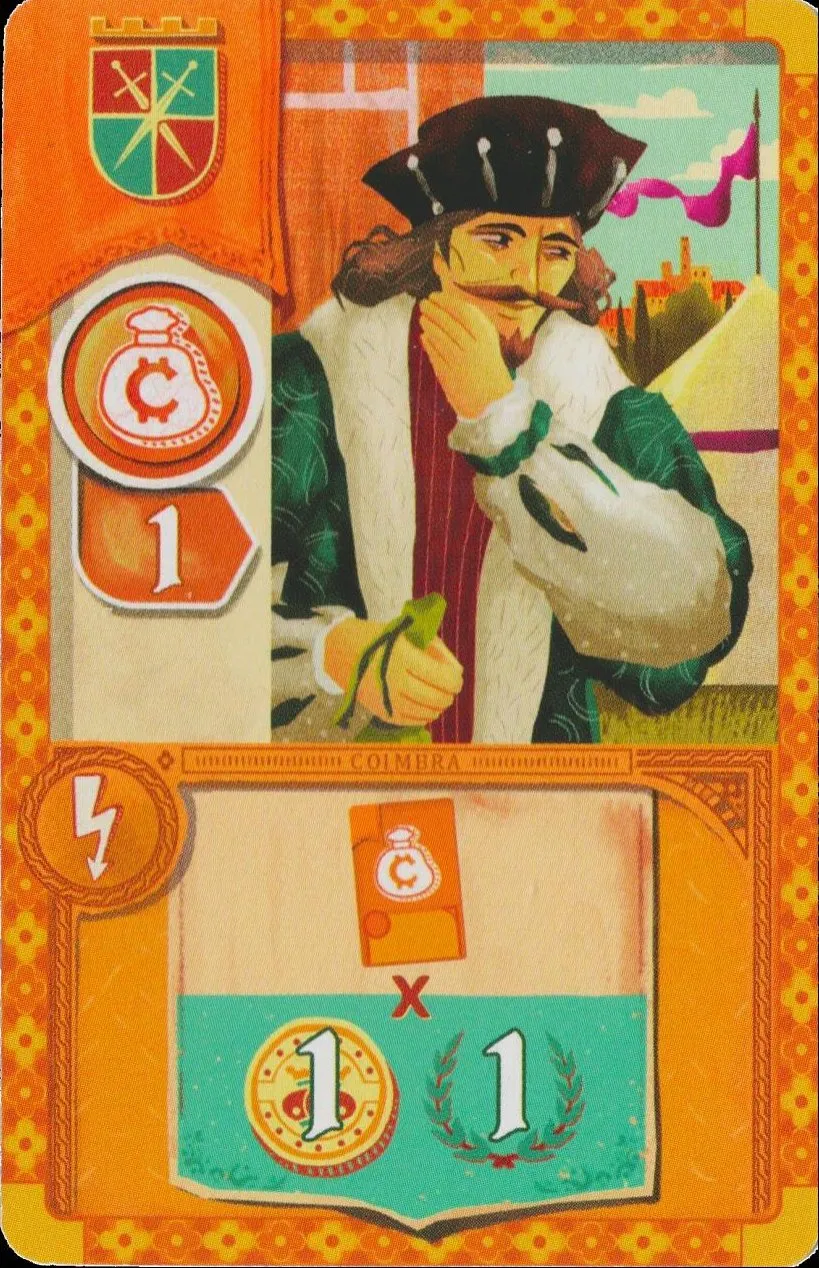 | III 15 · Merchant · influence 1 Pay with guards When bought: 1 and 1 for each of your merchants (this one included). |
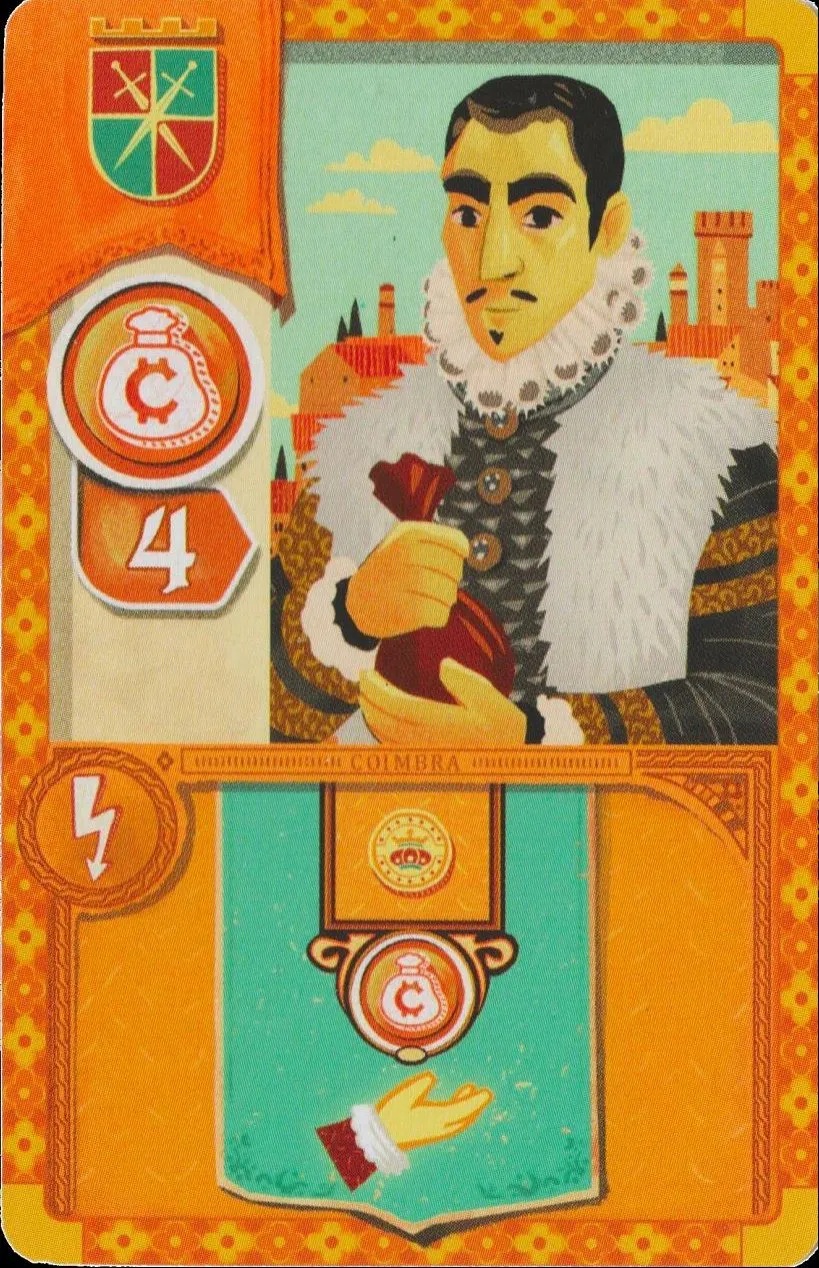 | III 16 · Merchant · influence 4 Pay with guards When bought: Gain the current income of the merchant track, as an orange die would. |
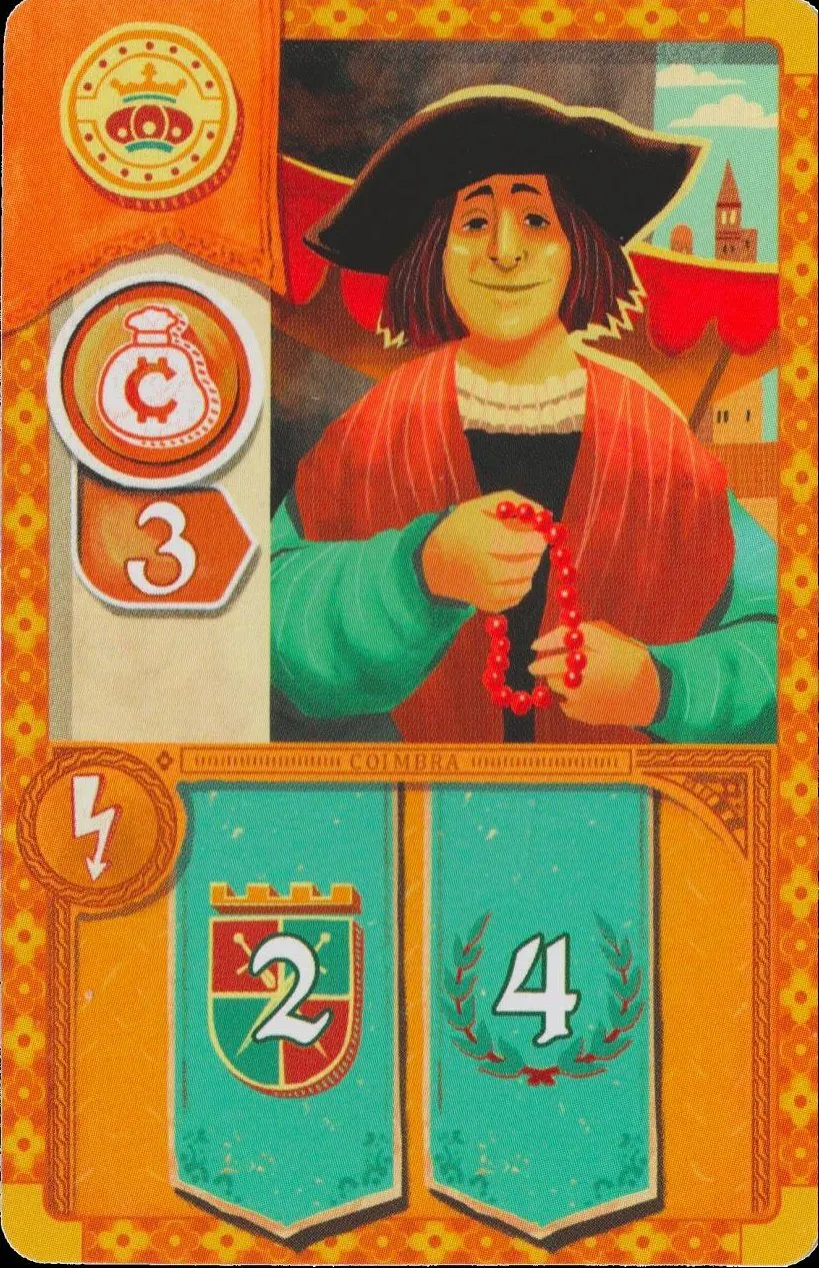 | III 17 · Merchant · influence 3 Pay with coins When bought: 2 and 4 . |
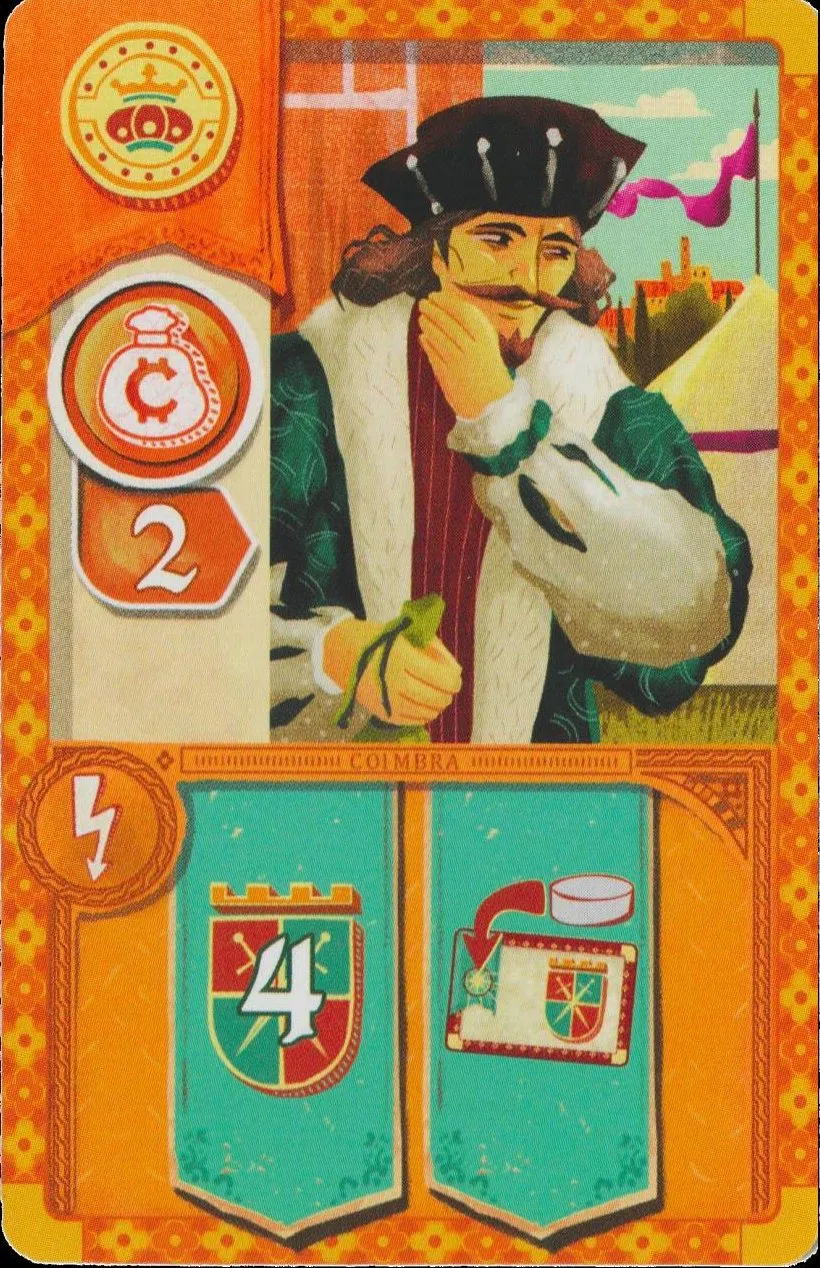 | III 18 · Merchant · influence 2 Pay with coins When bought: 4 , and invest in one voyage — a guard-cost one only. |
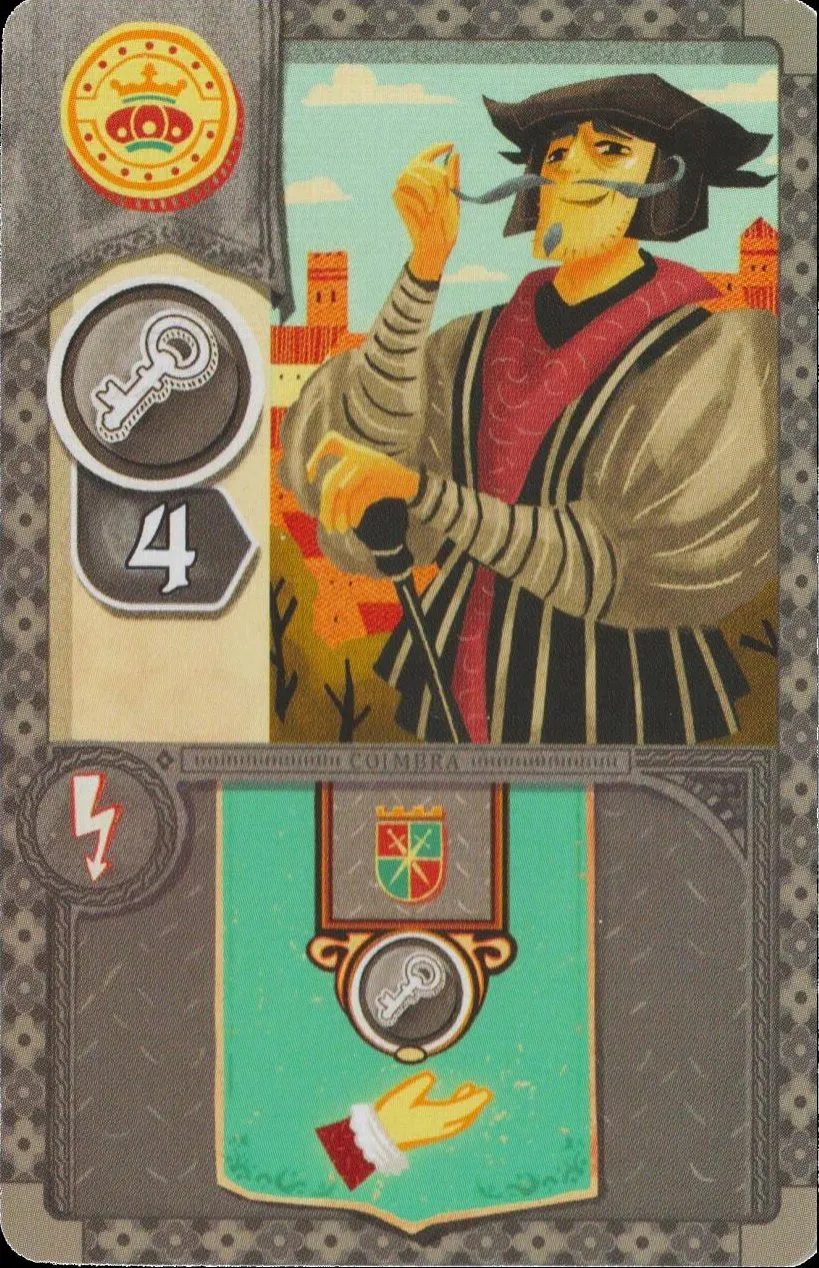 | III 19 · Council member · influence 4 Pay with coins When bought: Gain the current income of the council track, as a gray die would. |
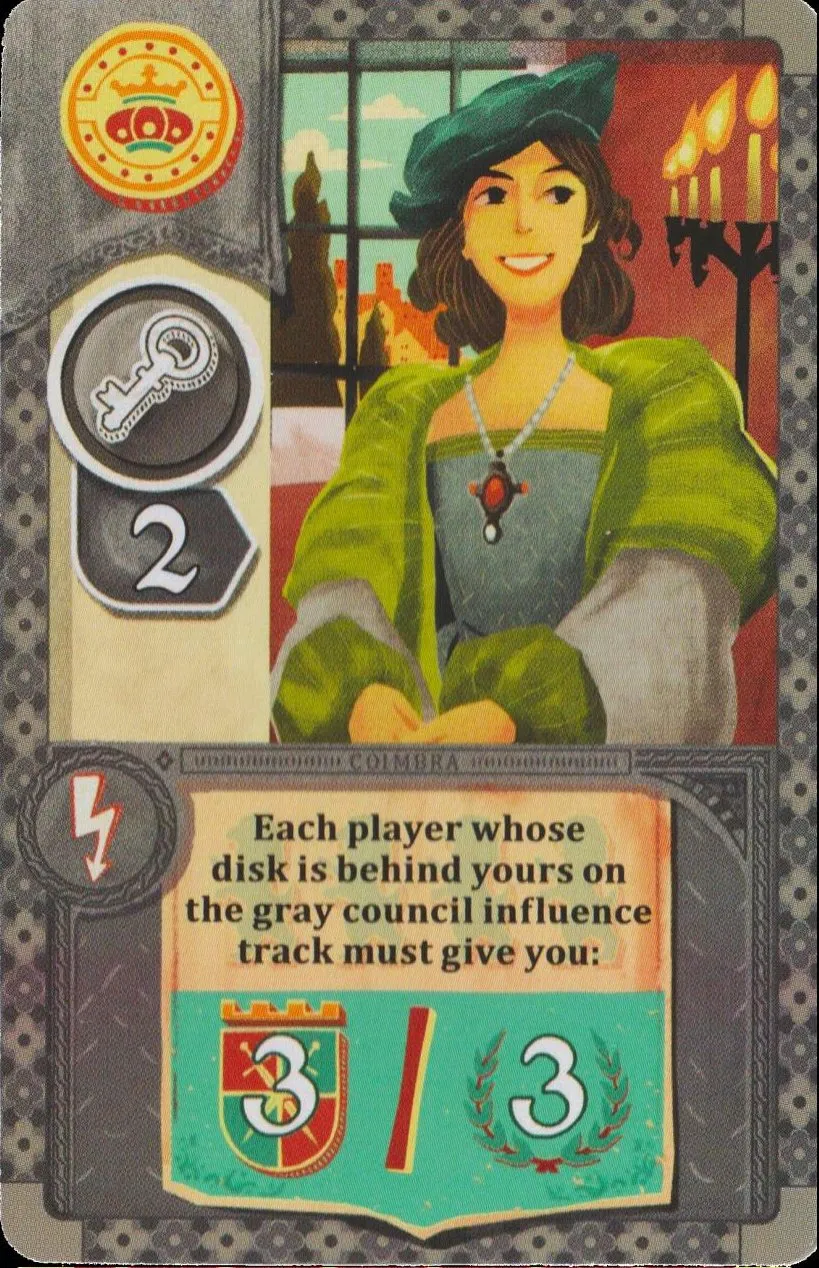 | III 20 · Council member · influence 2 Pay with coins When bought: Every player behind you on the council track gives you 3 or 3 (their choice; no guards → points). A tied player counts as behind only if their disk arrived later and sits higher in the stack. If resources are unavailable, the opponent must give points even below zero.Ruling: An opponent must give me resources or victory points but has no resources. What happens? · Who is “behind” me on the council track for the cards that make others pay? |
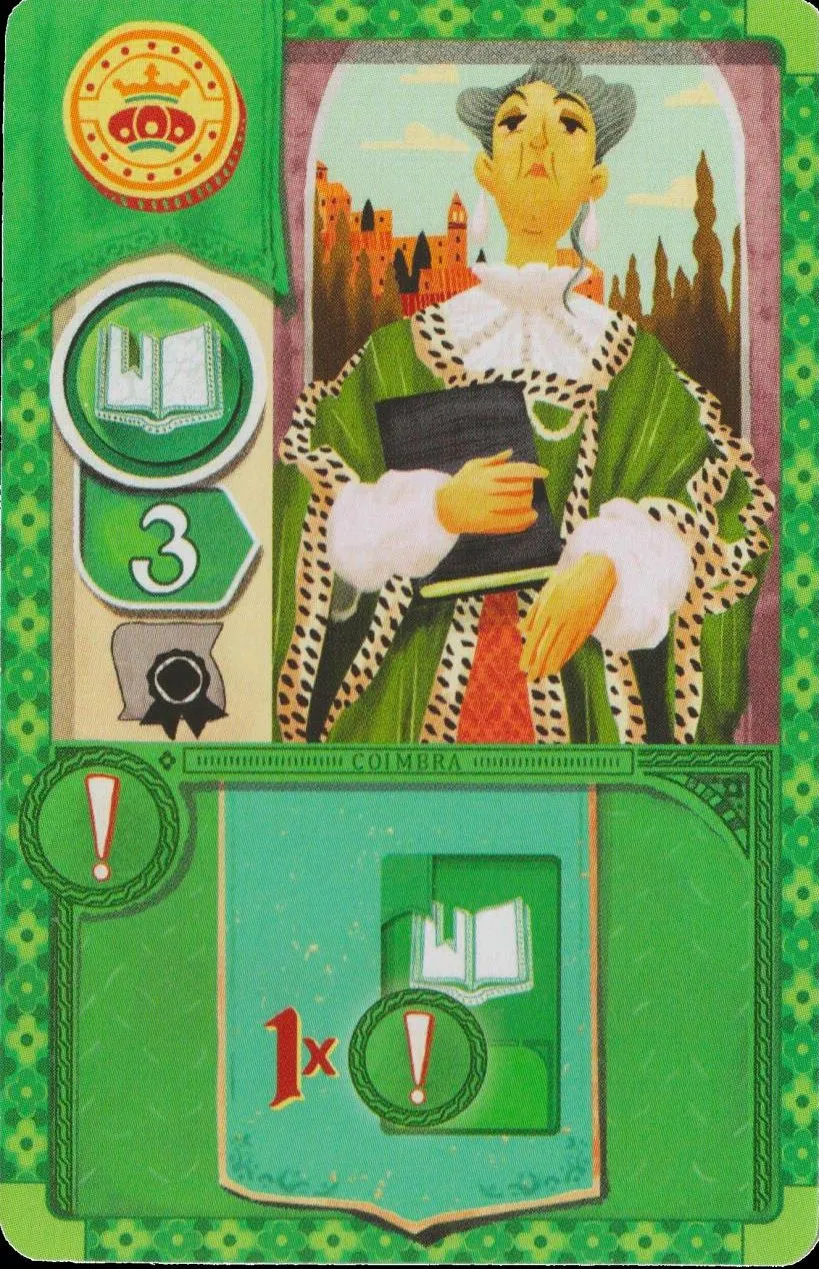 | III 21 · Scholar · influence 3 Pay with coins · Diploma Game end: The game end bonus of one of your other cards scores once more. |
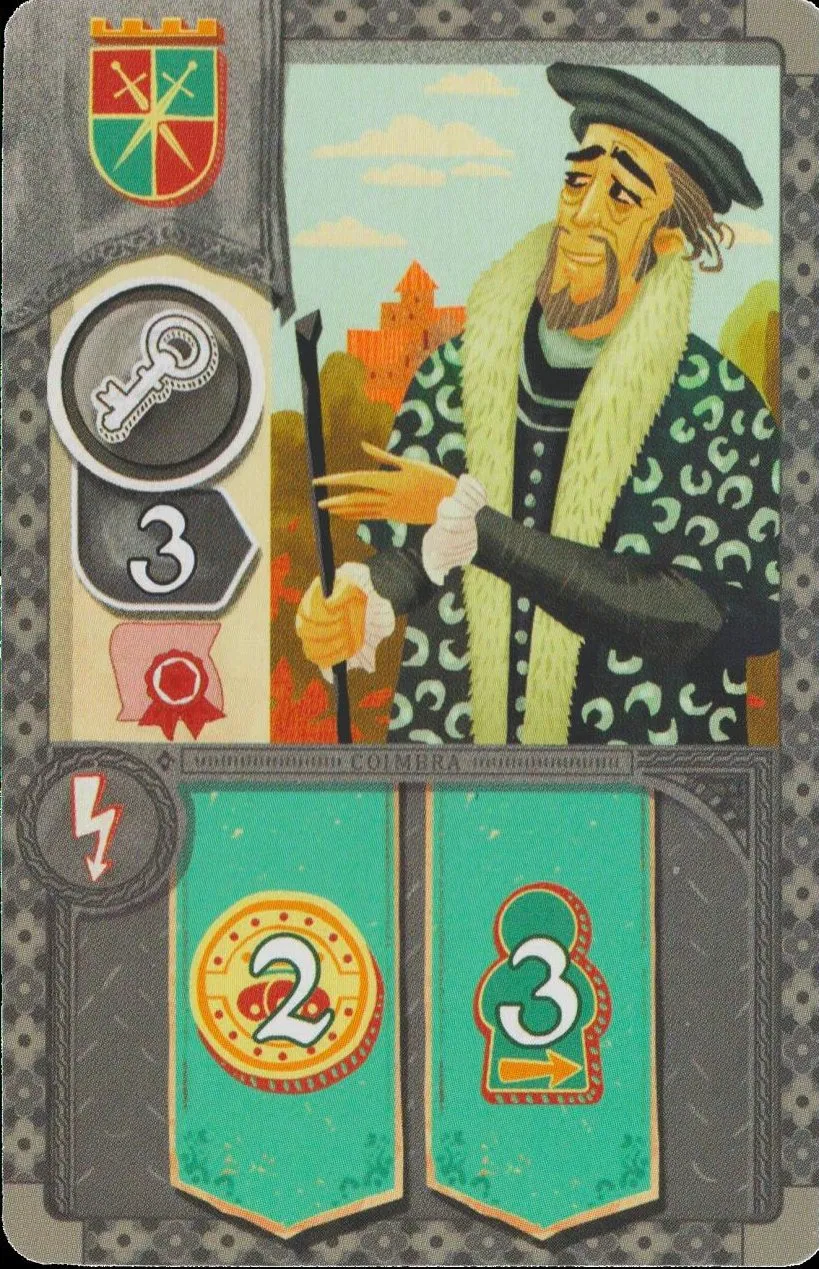 | III 22 · Council member · influence 3 Pay with guards · Diploma When bought: 2 and 3 . |
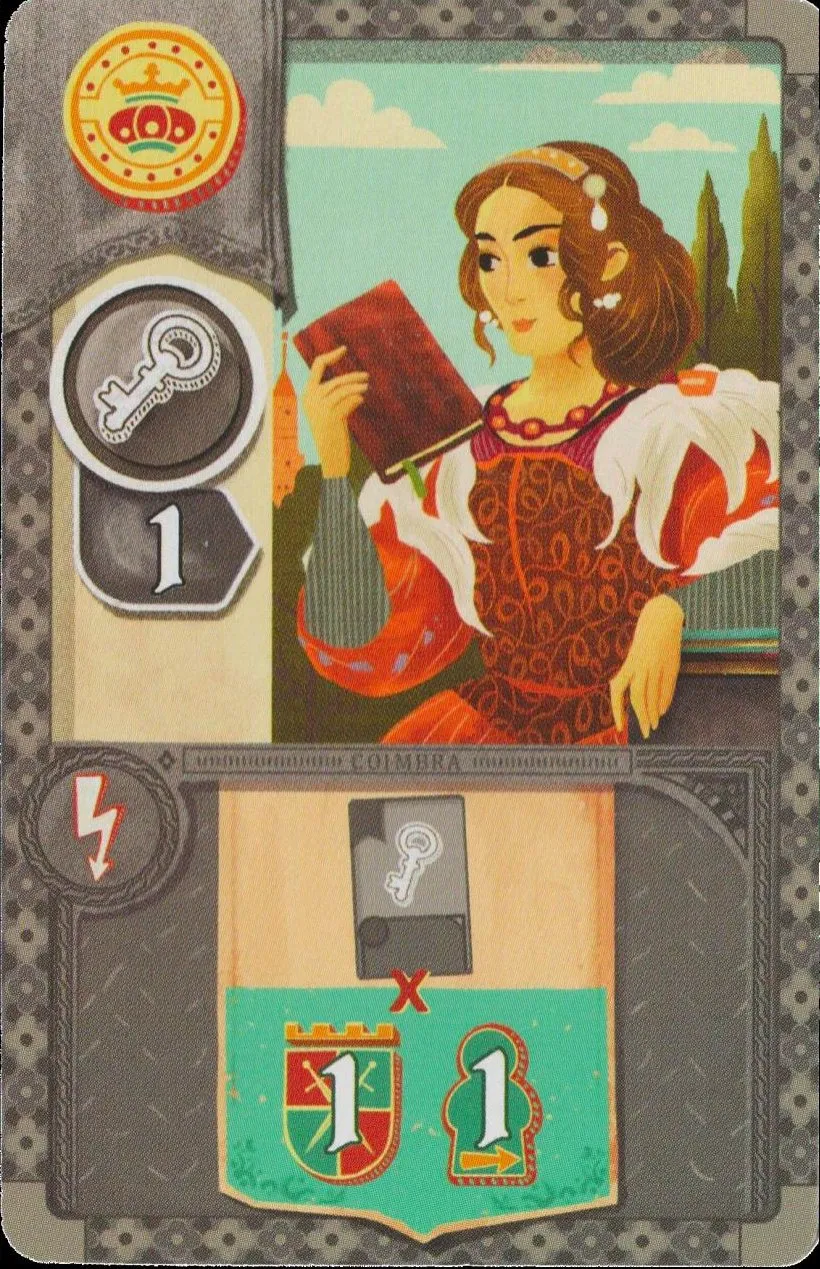 | III 23 · Council member · influence 1 Pay with coins When bought: 1 and 1 for each of your council members (this one included). |
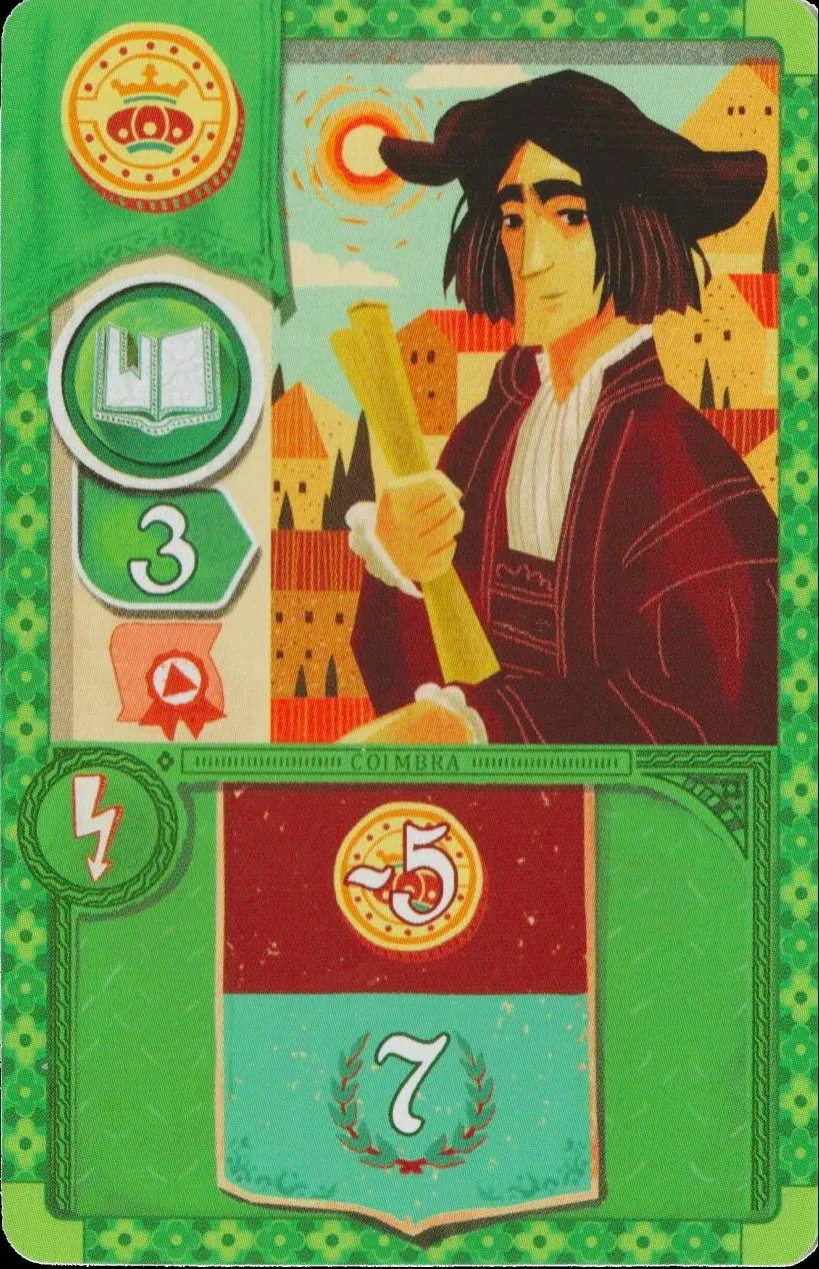 | III 24 · Scholar · influence 3 Pay with coins · Diploma When bought: Pay 5 for 7 . |
Voyage cards
15 cards; 6 are used each game. The cost is paid in coins on the 3 left voyage spaces and in guards on the 3 right ones (investing, scoring). In Phase F, use the new player order created in Phase D. While holding the 3-crown favor, its 2-coin/guard discount also applies to any extra voyage investment.
| Picture | Voyage |
|---|---|
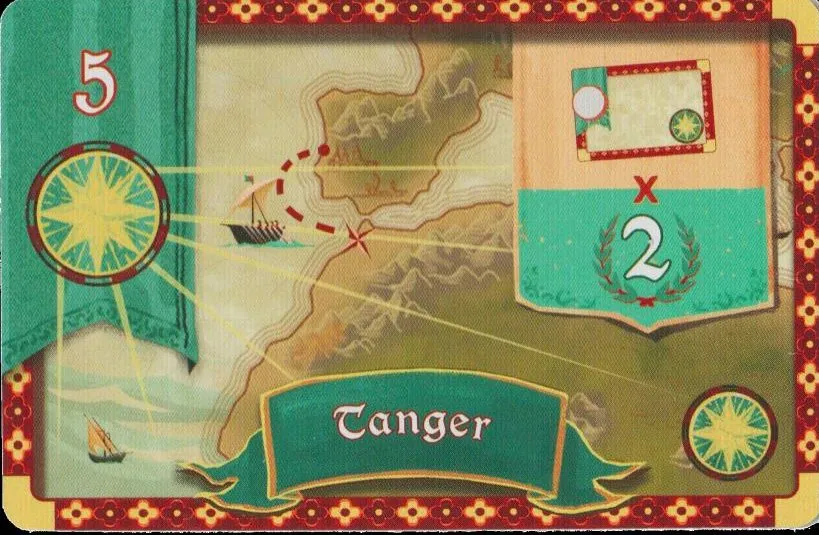 | Tanger — cost 5. 2 for each voyage holding your disk (this one included). |
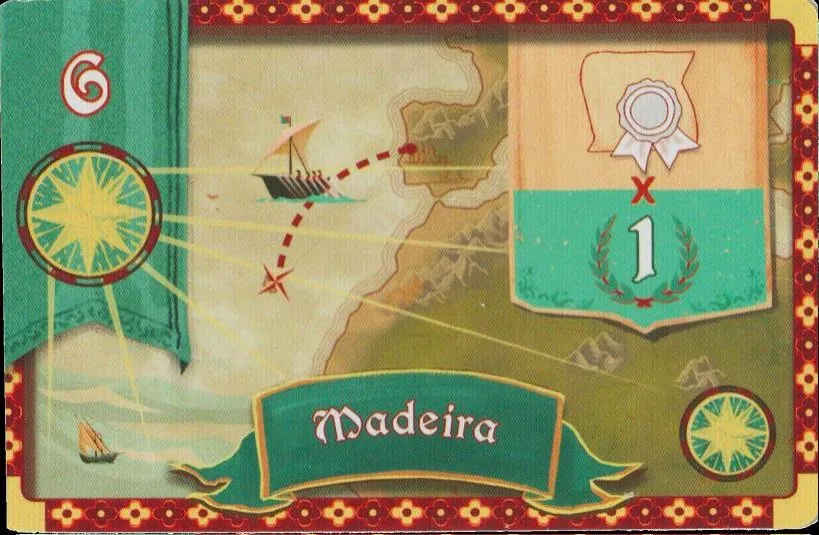 | Madeira — cost 6. 1 for each diploma you have, of any kind. |
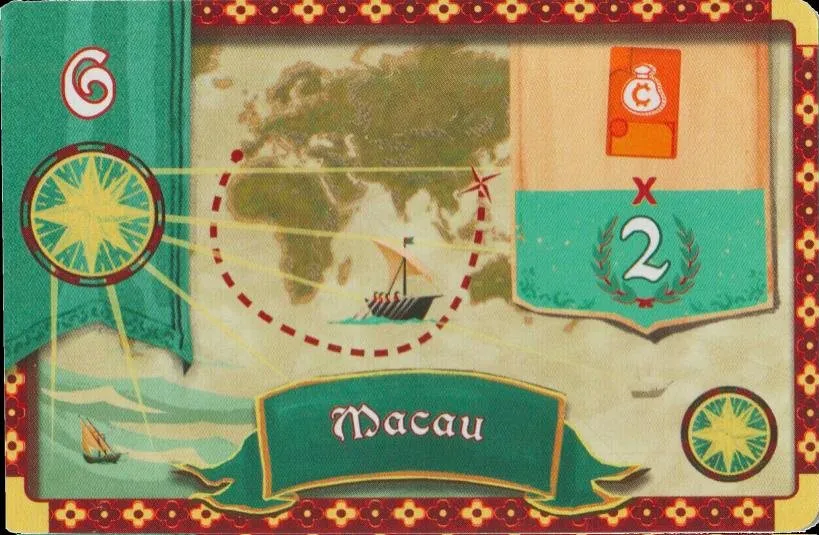 | Macau — cost 6. 2 for each of your merchants. |
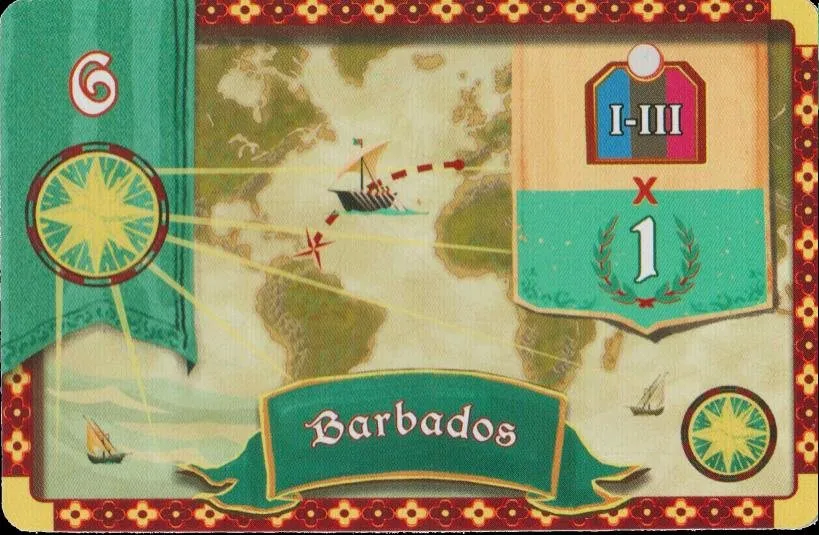 | Barbados — cost 6. 1 for each monastery holding your disk. |
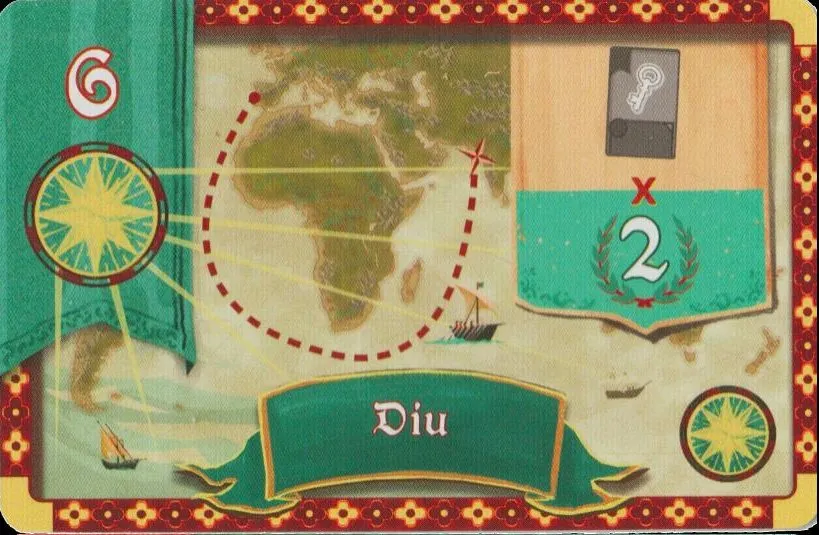 | Diu — cost 6. 2 for each of your council members. |
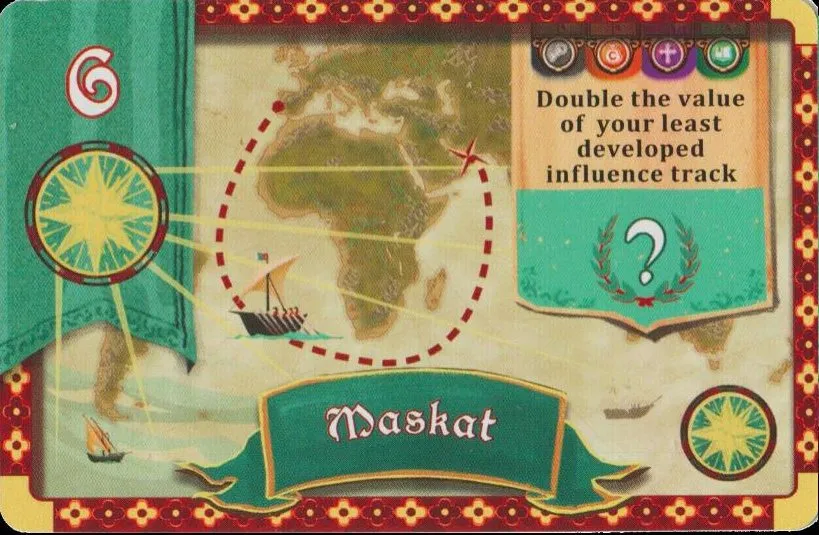 | Maskat — cost 6. Double the space number of your least advanced disk on the influence tracks; a disk on space 6 scores 12 VP. How does Maskat score — double what? |
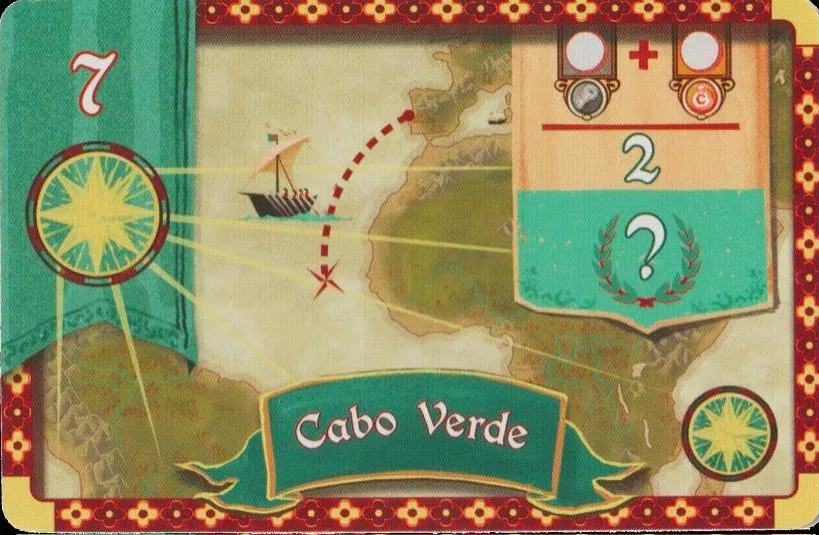 | Cabo Verde — cost 7. Add the space numbers of your disks on the council and merchant tracks, then halve and round down; for example, spaces 8 and 5 score 6 VP. |
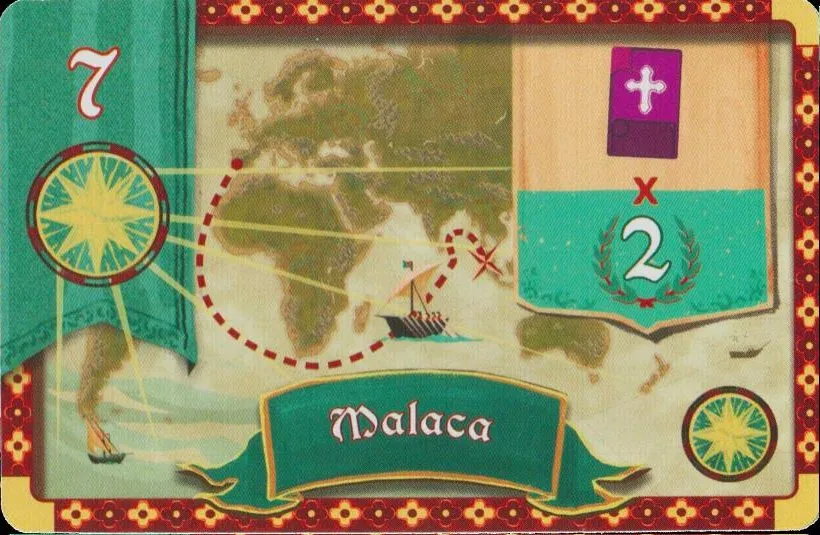 | Malaca — cost 7. 2 for each of your clerics. |
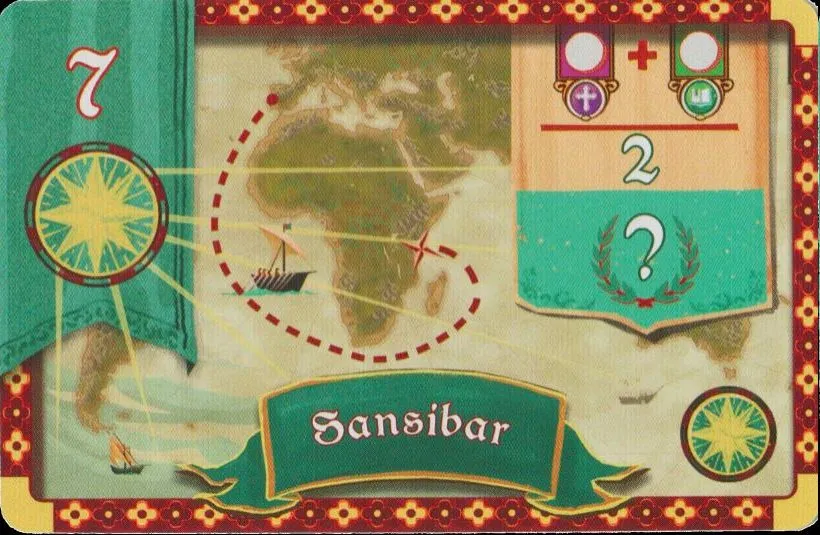 | Sansibar — cost 7. Add the space numbers of your disks on the cleric and scholar tracks, then halve and round down; for example, spaces 8 and 5 score 6 VP. |
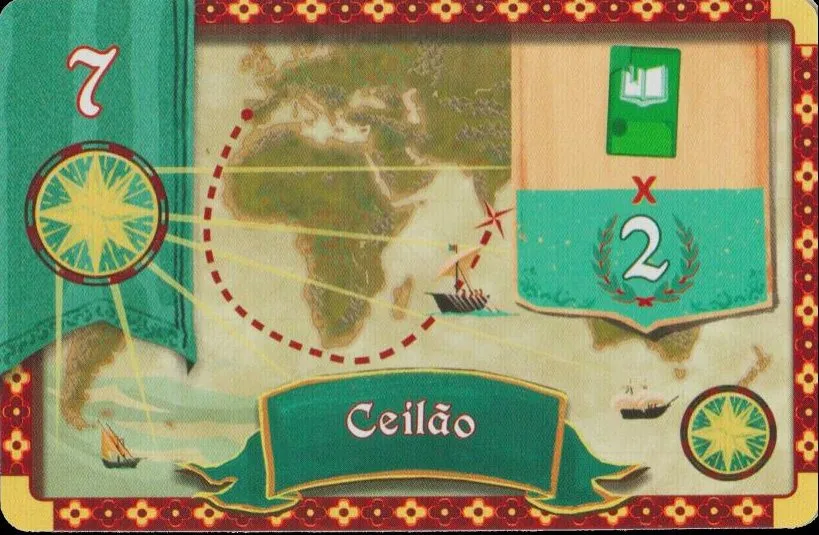 | Ceilão — cost 7. 2 for each of your scholars. |
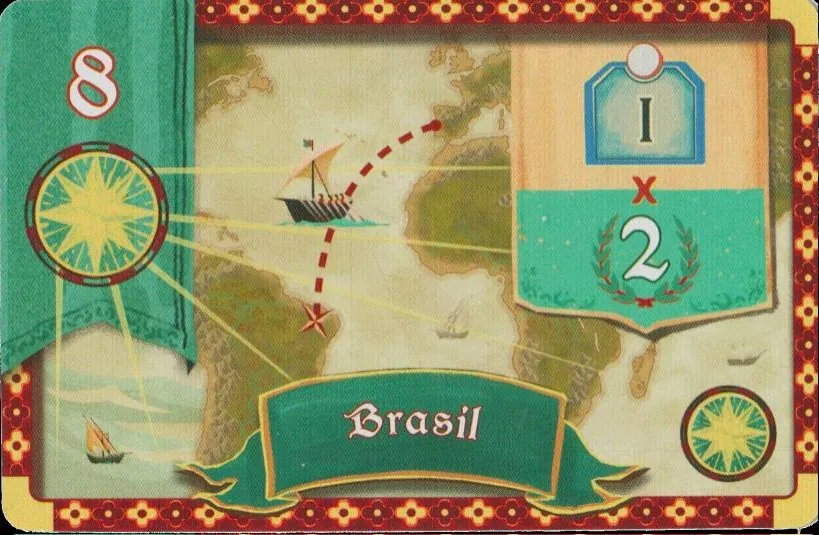 | Brasil — cost 8. 2 for each monastery of stack I holding your disk. |
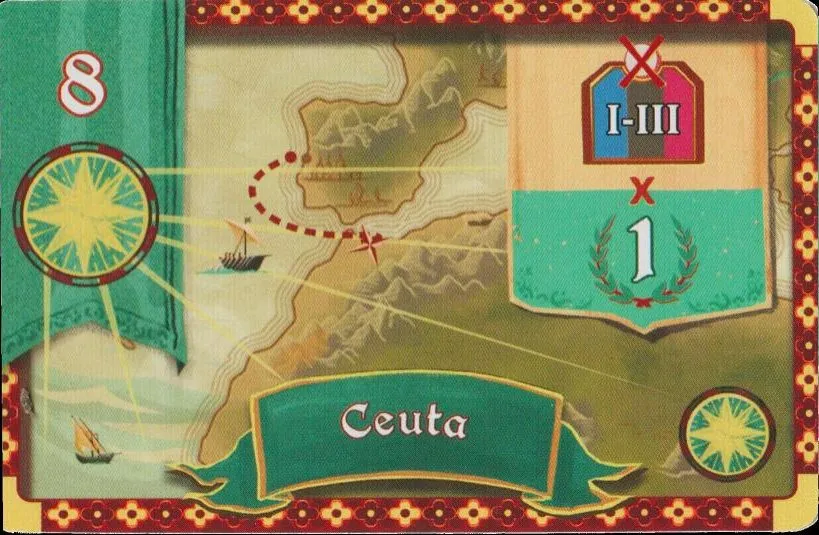 | Ceuta — cost 8. 1 for each monastery without your disk. |
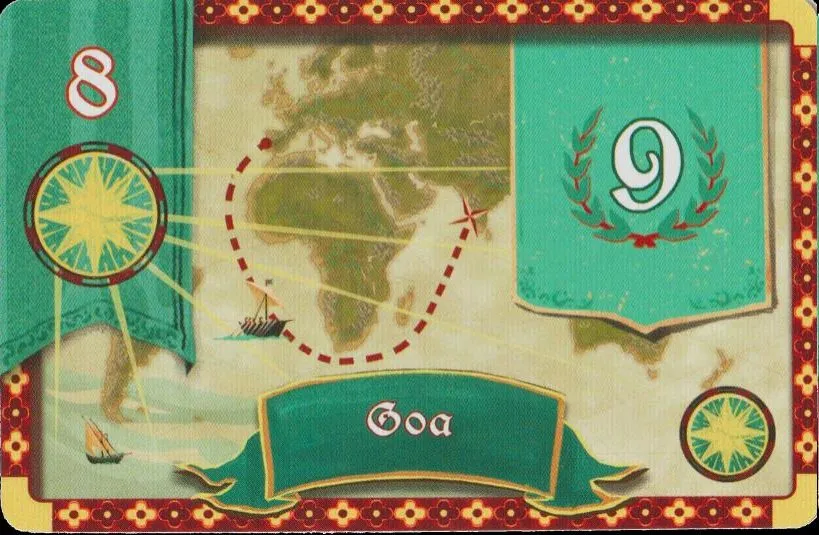 | Goa — cost 8. 9 . |
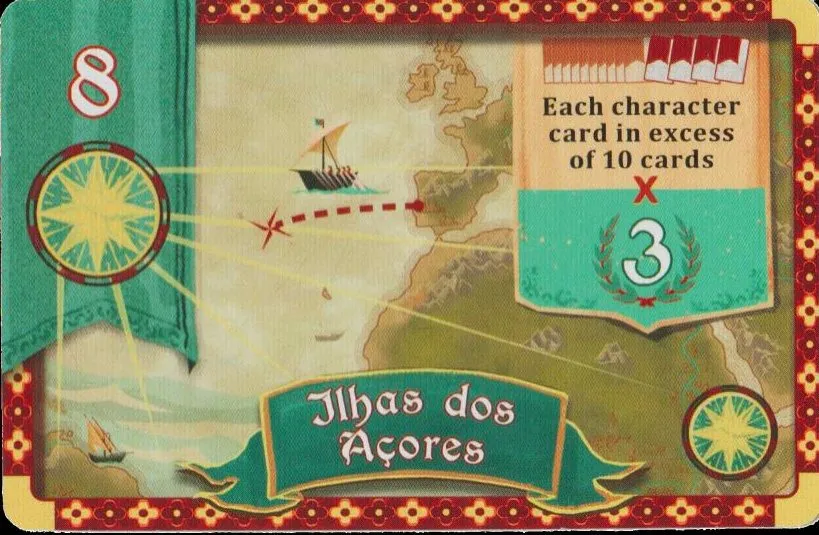 | Ilhas dos Açores — cost 8. 3 for each character card beyond your tenth; with 14 cards, score 12 VP. Can Ilhas dos Açores give more than 12 points? |
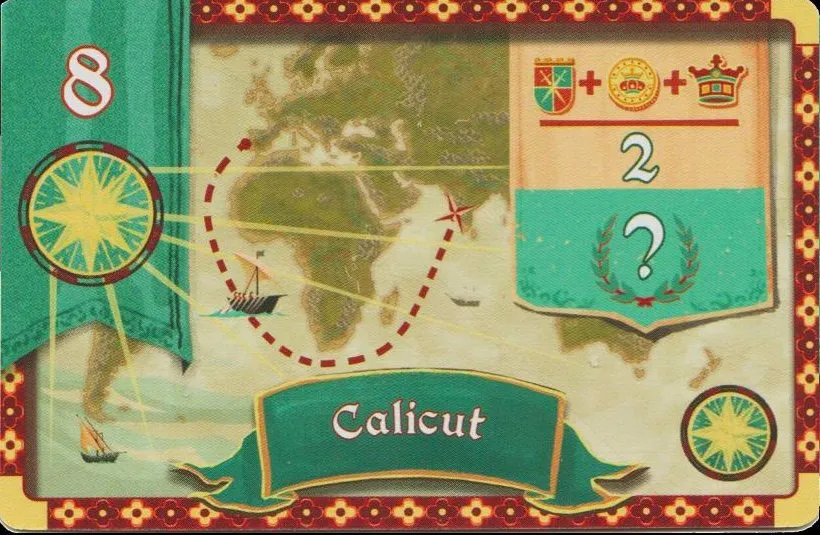 | Calicut — cost 8. Add your guards, coins and crowns, then halve and round down; for example, 5 guards, 6 coins and 3 crowns score 7 VP. |
Tiles
Monasteries
24 tiles: 12 of stack I (8 used), 8 of stack II (4 used), 4 of stack III (2 used)
(visiting). = immediate bonus; the others last all game. If a tile moves your disk on an influence track, the higher pilgrim-step income starts on your next move, which can still happen later in the same Phase E. A game-end card scored now by a monastery scores again at the end.
| Picture | Monastery |
|---|---|
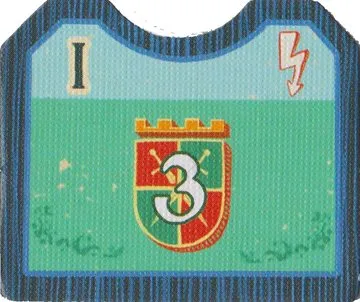 | Stack I. 3 . |
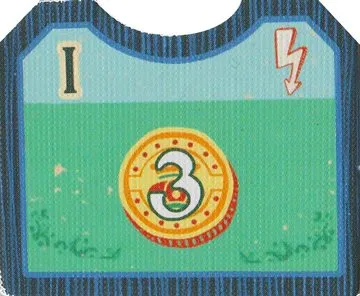 | Stack I. 3 . |
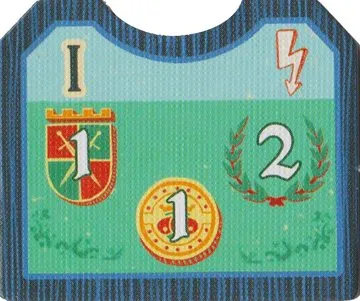 | Stack I. 1 , 1 and 2 . |
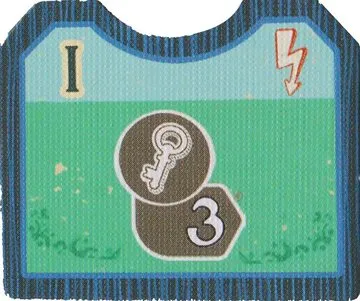 | Stack I. Move up 3 on the council track. |
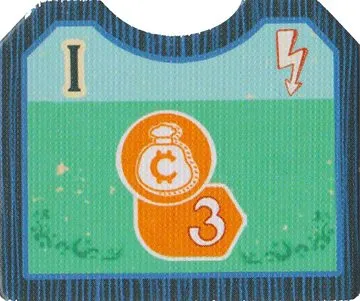 | Stack I. Move up 3 on the merchant track. |
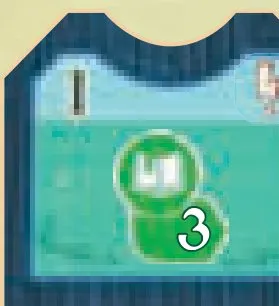 | Stack I. Move up 3 on the scholar track. (Pictured from the rulebook.) |
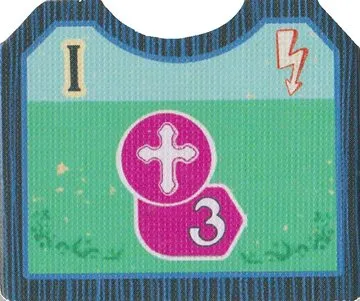 | Stack I. Move up 3 on the cleric track. If my pilgrim reaches a monastery that moves me up the cleric track, do I get the extra steps at once? |
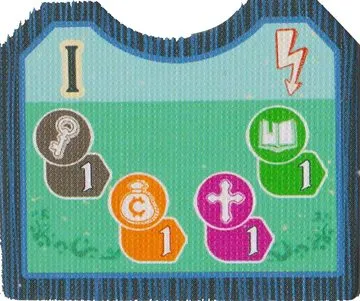 | Stack I. Move up 1 on every influence track. If my pilgrim reaches a monastery that moves me up the cleric track, do I get the extra steps at once? |
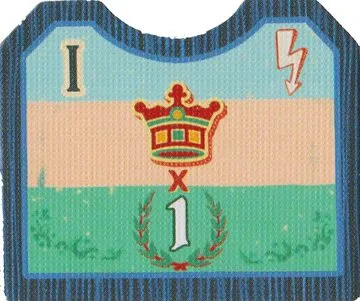 | Stack I. 1 for each crown you have right now (counted as in phase D). |
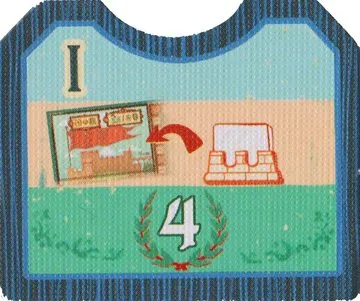 | Stack I. Lasting: from now on, 4 each time you place any die in the castle in phase B; the die need not be white. Does the monastery worth 4 points per die in the castle need the white die? |
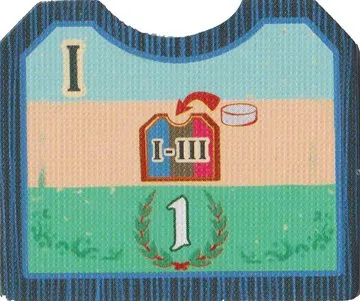 | Stack I. Lasting: from now on, 1 each time you put a disk above another monastery. |
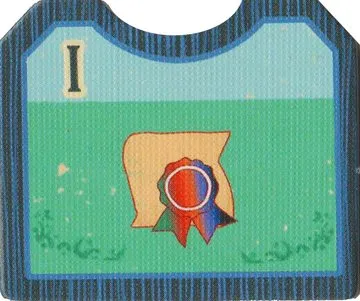 | Stack I. Lasting: counts as 1 wild diploma . |
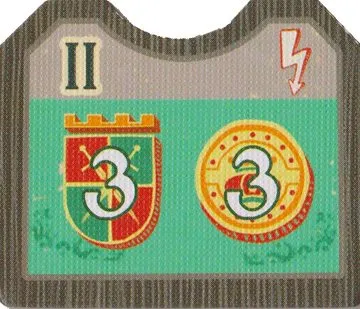 | Stack II. 3 and 3 . |
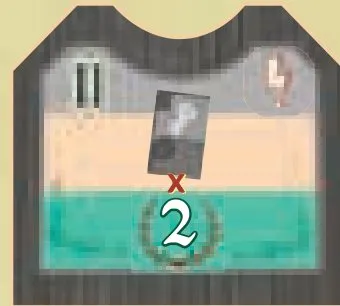 | Stack II. 2 for each of your council members. (Pictured from the rulebook.) |
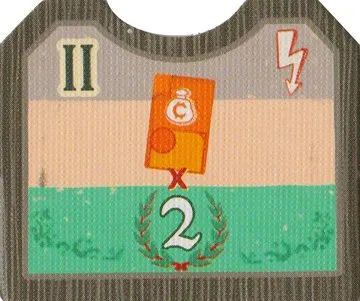 | Stack II. 2 for each of your merchants. |
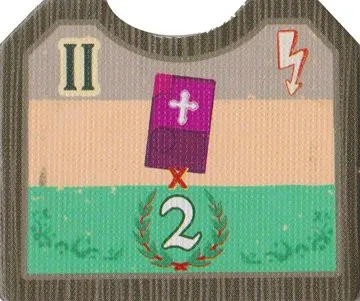 | Stack II. 2 for each of your clerics. |
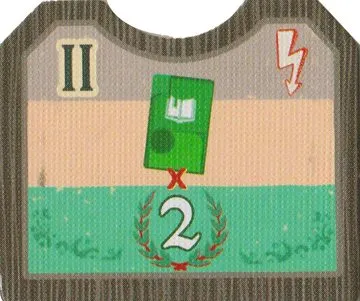 | Stack II. 2 for each of your scholars. |
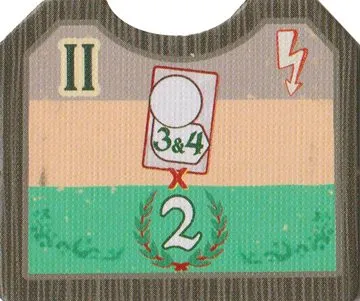 | Stack II. 2 for each of your character cards with influence value 3 or 4. |
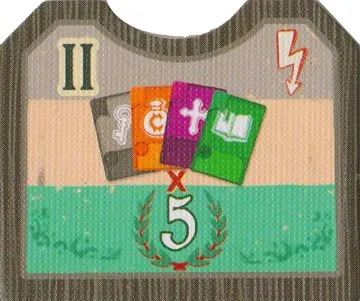 | Stack II. 5 for each complete set with one card from each class; extra cards do not start another set. Example: 5 cards with one repeated class make one set, for 5 VP. Does the scholar that scores 5 points per set of four classes count itself? |
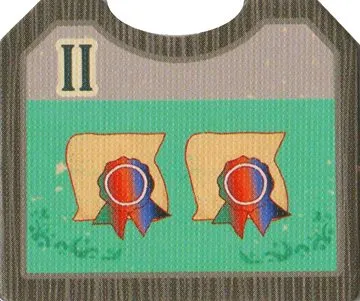 | Stack II. Lasting: counts as 2 wild diplomas . |
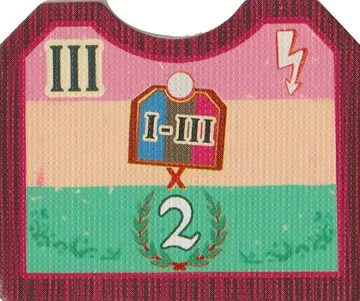 | Stack III. 2 for each monastery holding your disk (this one included). |
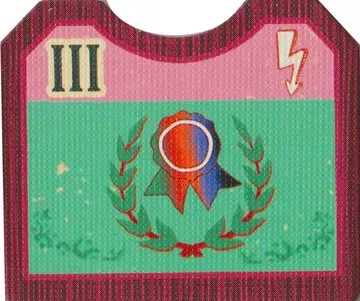 | Stack III. Score your diploma sets now, as at the end of the game. |
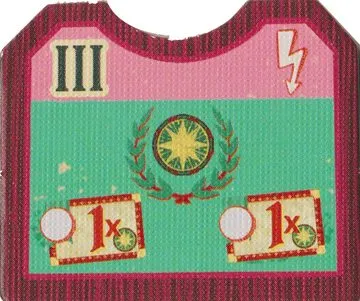 | Stack III. Score up to 2 different voyages holding your disk now, as at the end of the game. |
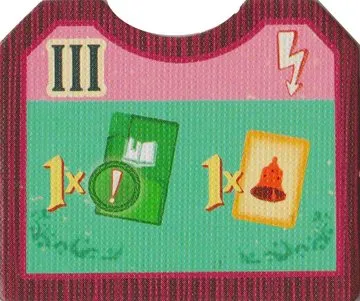 | Stack III. Score one of your game end cards now; it remains and scores again at the end. Also choose a track and gain what its scoring tile pays your current place — only you score. If a monastery lets me score a game end card now, does that card score again at the end? |
Favor tiles
When your castle die is triggered, choose any favor tile still available; you do not have to take them in display order. Must favor tiles be taken in the order they are laid out?
| Picture | Favor tile |
|---|---|
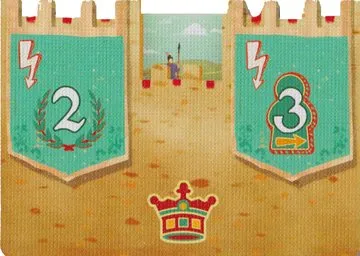
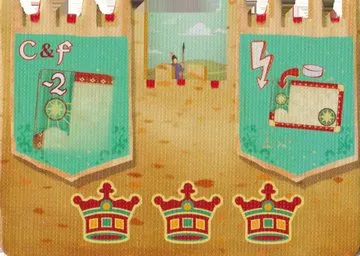 | 3 crowns. While you hold it, voyages cost 2 less; also invest in one voyage now (castle). The 3-crown favor tile lets me invest in a voyage. Can I invest again in phase F? |
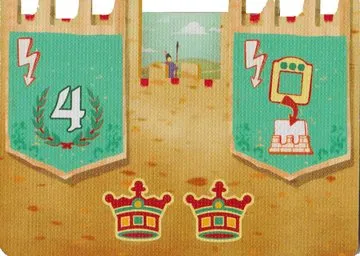 | 2 crowns. 4 ; you may put the cap tile on one of your city dice (+3). |
 | 1 crown. 2 and up to 3 . |
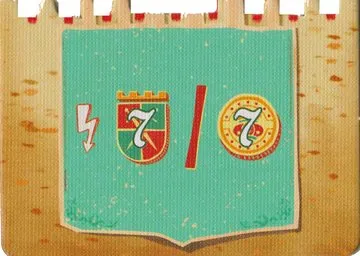 | No crown. 7 or 7 . |
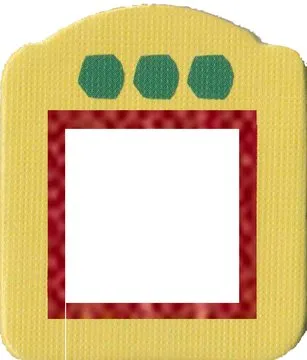 | Cap tile — +3 to the value (and the price) of the die it covers. In a city, move it to the slot for its new value, to the right of dice tied at that value; it changes card order and price, not its colour for income. Return it when retrieving the die. How does the cap tile work with ties and when does it come off? |
Influence scoring tiles
Each picture shows the 2/3-player side (left) and the 4-player side (right). Lion numbers mark the places: on the 2/3-player side, second place scores with 3 players, or with 2 players only within 3 spaces of the leader (scoring). With two players, second earns the middle value only when within 3 spaces; otherwise there is no second-place award. Influence beyond space 15 gives no extra reward.
| Picture | Tile |
|---|---|
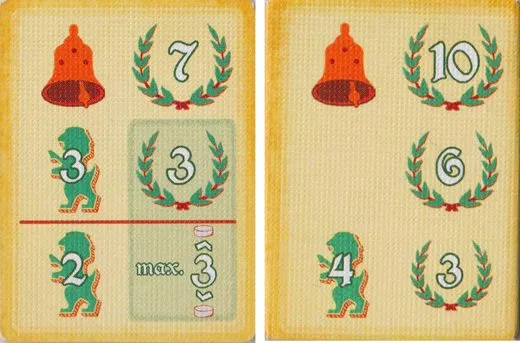 | 7 / 3 — 4 players: 10 / 6 / 3. Do I gain anything for moving beyond space 15 on an influence track? With 2 players, what does second place on an influence track score? |
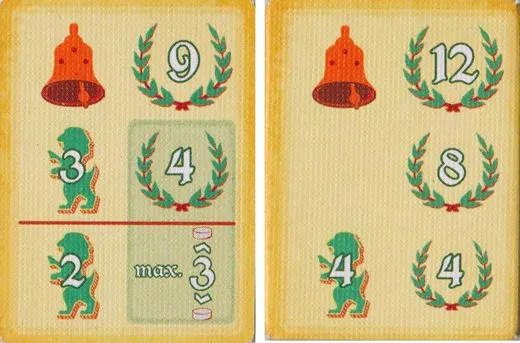 | 9 / 4 — 4 players: 12 / 8 / 4. |
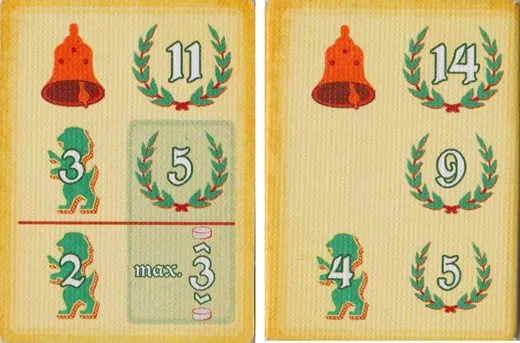 | 11 / 5 — 4 players: 14 / 9 / 5. |
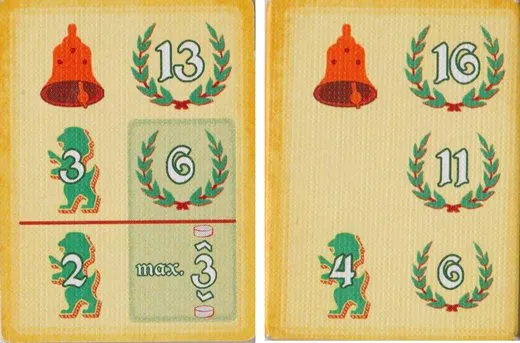 | 13 / 6 — 4 players: 16 / 11 / 6. |
Die tokens
5 tokens, used with 2–3 players as dice of a neutral player (die tokens).
| Picture | Token |
|---|---|
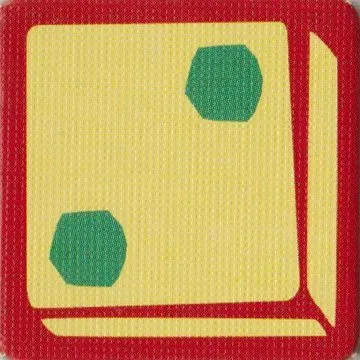 | 2 — 2 players: upper city. |
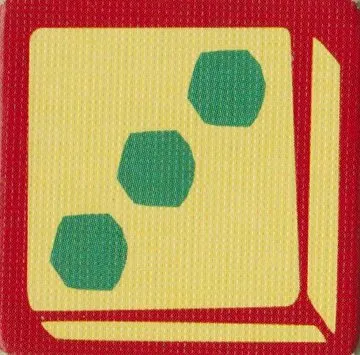 | 3 (two) — 2 players: upper and central city; 3 players: upper and lower city. |
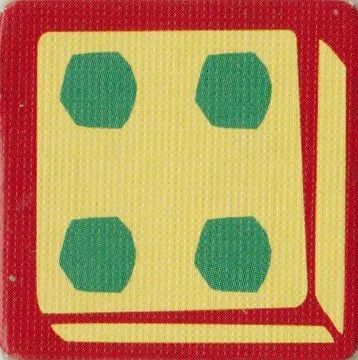 | 4 — 2 and 3 players: central city. |
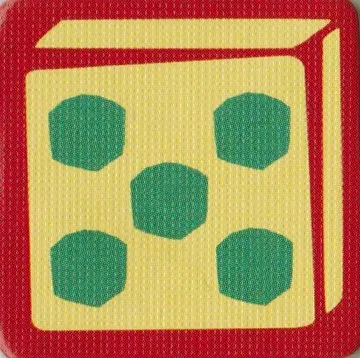 | 5 — 2 players: lower city. |
Tokens & pieces
Crown tokens
One per class, worth 2 crowns each in the round you take them (crown tokens) Crown tokens show two crowns. Do they count as 2? Which crowns count in the final scoring of guards, coins and crowns?. At final scoring, count the last round’s crown tokens, favor tiles and the crowns beside your player-order flag. Community rulings disagree about whether that flag means your Phase D or end-of-game order; agree which one you use before play.
| Picture | Token |
|---|---|
 | Council crown token. Which crowns count in the final scoring of guards, coins and crowns? Crown tokens show two crowns. Do they count as 2? |
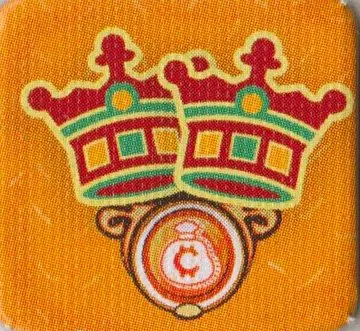 | Merchant crown token. |
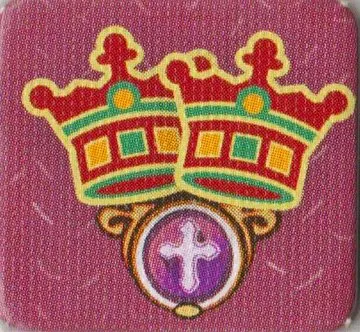 | Cleric crown token. |
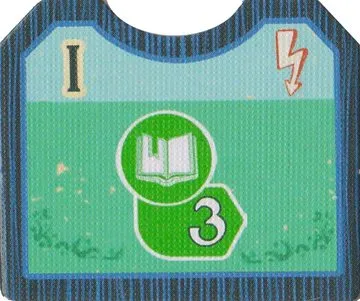 | Scholar crown token. |
Other pieces
- 13 dice: 3 gray, 3 orange, 3 purple, 3 green and 1 white (placing).
- Per player: 3 die holders, 2 markers (guards and coins), 1 pilgrim, 1 lion (player order), 25 disks.
Icons
| Icon | Meaning |
|---|---|
| Coins — a card or voyage paid with coins; a coin reward |
| Guards — a card or voyage paid with guards; a guard reward |
| Victory points | |
| Pilgrim steps | |
| Crowns (player order, final scoring) | |
| | The four classes and their influence tracks |
| Immediate bonus — once, when gained |
| Phase C bonus — start cards, each time you buy a matching card |
| Phase E bonus — every income phase |
| Game end bonus — final scoring |
| | The five diploma kinds |
| Wild diploma — any kind |