Factory Basics
Algae, Inc. core concepts: algae and storage, conveyor belts, byproducts and energy, the department board, the side board with its science grid, resources and contract cards.
Algae
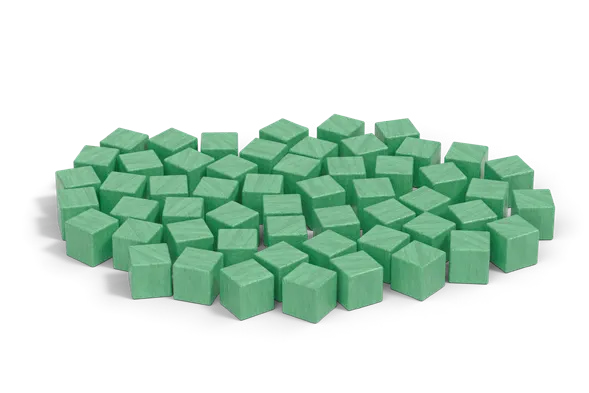
All  algae cubes look alike; where a cube sits says what it is. There are four
species:
| Icon | Species | Map tank |
|---|---|---|
 | Red algae |  macro algae tank |
 | Brown algae | macro algae tank |
 | Spirulina |  micro algae tank |
 | Chlorella | micro algae tank |
The map has one tank per species, each with a capacity marker (4 at the start, up to 6). The tanks are refilled every weekend.
Algae storage
 On the left of your department board are four storage rows, one per species.
You start with only one open; the other three are covered by algae storage science tiles.
You may only take algae of species whose storage is open, and only as many as it holds.
Remove a storage tile with your scientists to open it — and at once raise that species’ tank capacity on the map by one step (max 6). Some storage tiles have a minimum cost (3+ or 4+ science) whatever zone of the grid you put them in.
Conveyor belts
Cubes move from algae storage → Station 1 → Station 2 → finished good storage in the dispatch area.
| Belt | Moves when |
|---|---|
 Main (yellow) | Its machine is activated (up to capacity), Monday engineer moves, the alternate action, conveyor belt upgrades. |
 Secondary (blue) | Only when the machine of its zone is activated. |
 Refining (orange, Biofuel) | Only during a refining. |
The three machines:
 Machine A: storage → Station 1;
 Machine B: Station 1 → Station 2;
 Machine C: Station 2 → finished good storage.
A machine activation runs all belts in its zone; every other way of moving cubes uses the main belts only. Secondary belts may cost you cubes or energy (mandatory) or give you byproduct or energy (optional). Machine rules
Byproducts
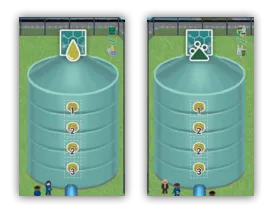
 Byproduct is the same wooden cube, defined by where it sits:
 bio-oil and
 biomass, each with its tank on the map.
A department that makes one type can use the other: Machine A turns lost algae into byproduct (burn it for energy or store it for money), and Machines B and C can feed byproduct from the tanks back into your line as new algae.
| Tank state | Then |
|---|---|
 Full | Sell byproduct you would store for €1 each instead. |
 Empty | Buy byproduct you want to add for €1 each from the supply. |
 Weekend | Balance the two tanks. Weekend |
Energy
 Your energy marker sits on the shared track, starting in the middle. Gain:
move right; spend: move left.
- No energy to spend: pay €2 per missing energy; the marker stays at the bottom of the red zone.
- Gain at the top: 1 VP per excess energy; the marker stays at the top of the green zone.
- The zone you end the week in decides your weekend bonus and milestone bonus: green both, yellow one, red none.
Department board
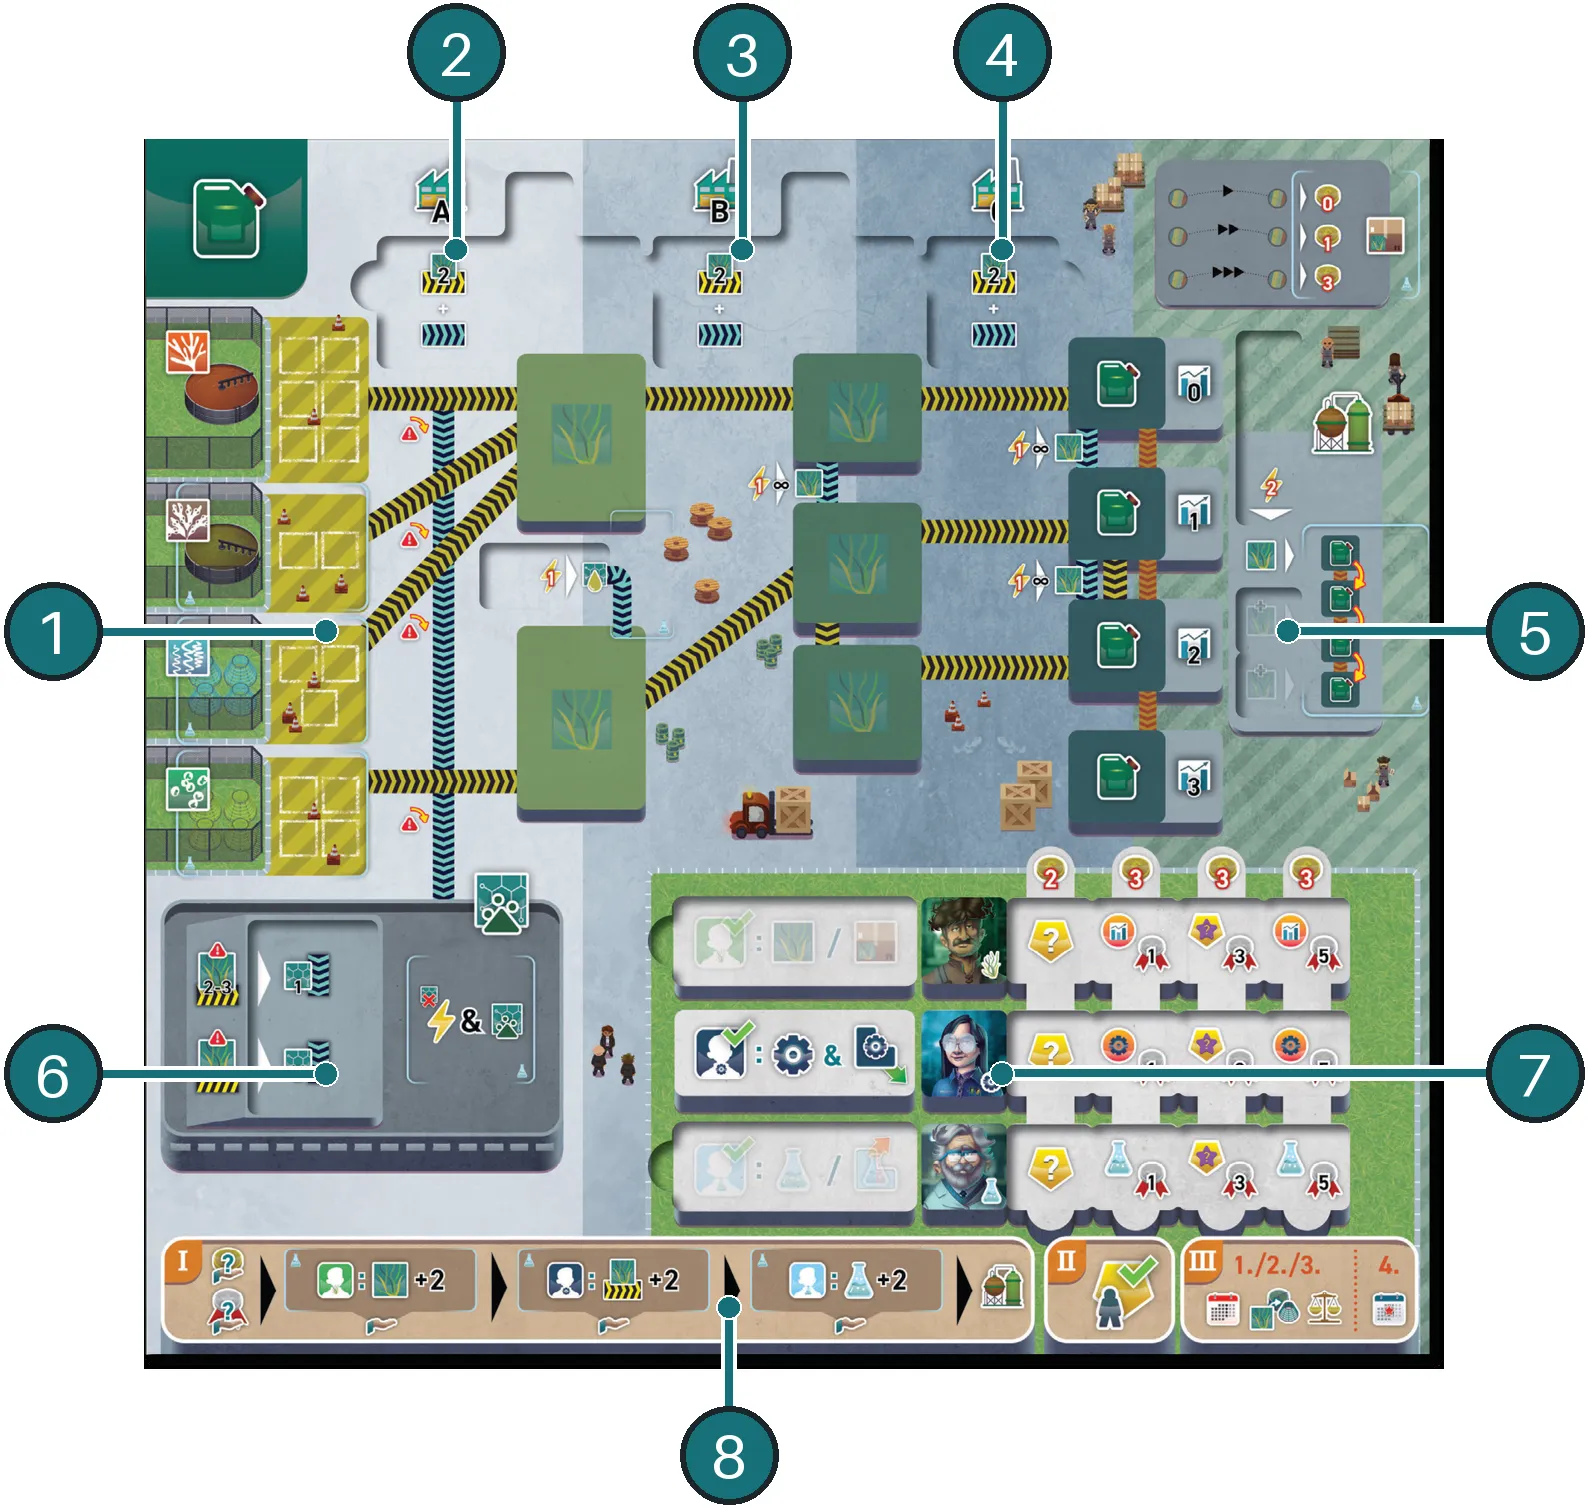
- Algae storage — four species, one open at the start.
- Machine A — usually loses some algae as byproduct.
- Machine B — can add byproduct from other departments.
- Machine C — can add more byproduct before goods are finished.
- Dispatch area — finished goods ready to export, each with its market value.
- Byproduct converter — how many cubes Machine A converts, and what you may do with them.
- Facility — your staff; more staff, bigger actions, bonuses and VP.
- Player aid — the three phases of a week.
Light-blue framed spots hold your science tiles at the start; dark-blue spots receive engineering tiles later. Each department’s layout is different: The four departments.
Side board
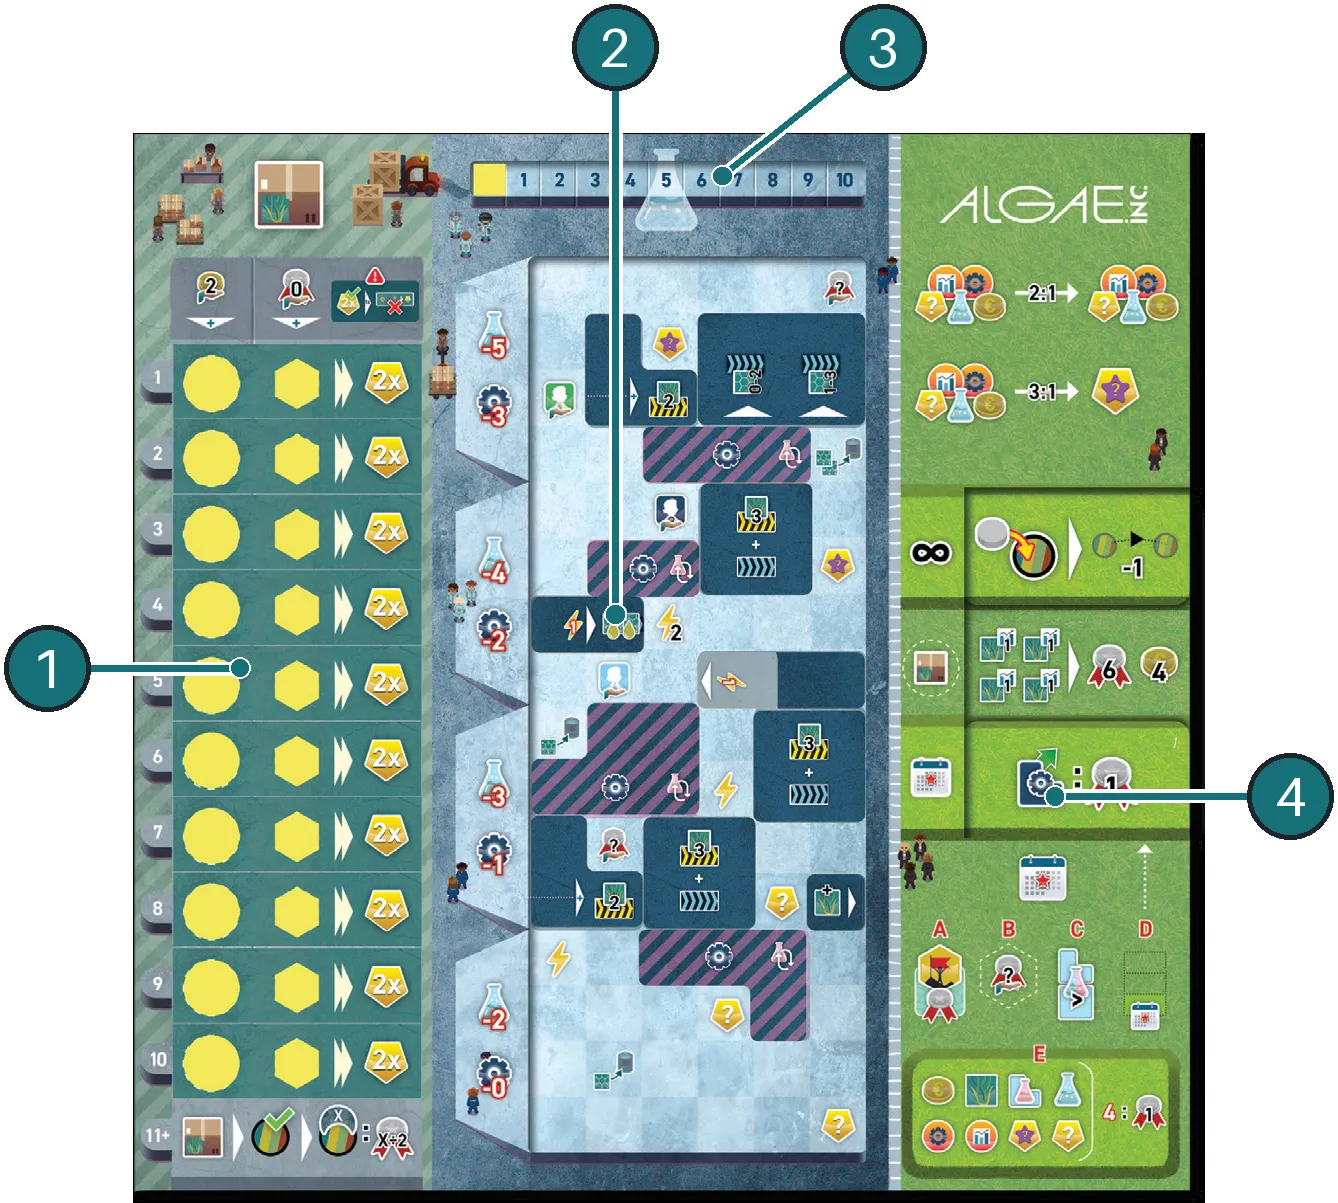
- Export section — your 10 export disks and 10 milestone markers on top of your 10 export/2x tiles. Moving disks and markers to the map reveals Monday income and unlocks the tiles.
- Science grid — starts full of engineering and combo tiles; science tiles are placed here.
- Science track — your science points, 0 to 10.
- Contracts and exchange — your three contract cards, the exchange rates and the end-of-the-month summary.
Science, engineering and combo tiles
The game is about swapping tiles between your two boards:
| Tile | Starts on | Moved by | Goes to | Effect |
|---|---|---|---|---|
 Science | Department board | Scientists (2–5 science) | Science grid, face down | Reveals the upgrade under it; covers grid bonuses; scores in your largest group |
 Engineering | Science grid | Engineers (0–3 points) | Department board, face up | Improves a machine or belt; frees grid space |
 Combo | Science grid | Engineers, then scientists | Beside your board, flipped; later the grid as a science tile | Frees grid space now, scores and covers bonuses later |
Some engineering and science tiles come in stacked pairs; place the lower one first.
Resources
The resources are  euros,
 freelance engineers,
 market value tokens and
 science points. Choice and
wild action tokens are not resources.
- Science points live on your track and are capped at 10; extra points are lost, including from city bonus tokens.
- Everything else is unlimited. A
 city bonus token is exchanged for its resource at
once.
Exchanging resources
Only while paying a cost, you may exchange any resources and choice action tokens 2 for 1, and 3 for 1 wild action token to use as your action.
Contract cards
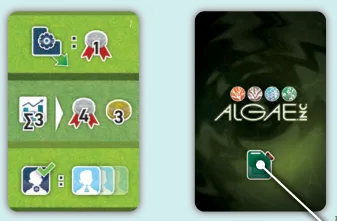
Each department has 9 contract cards. At setup you draw 3 and slide them into your side board so that exactly one of each part shows:
| Part | Shows | Used |
|---|---|---|
| Top | A permanent ability | All game |
| Middle | A contract export | Once, as one of your exports |
| Bottom | An end-of-the-month scoring | At the end |
Every card is listed in the appendix: contract cards.
Market value and demand
Each finished good storage shows its  market value — fixed, or depending on
how many goods you deliver together. Each city’s
 demand token is the market value
you need to export there. Export