Cards & Components
Every card, tile and token of Maestro: the 20 Event cards, 14 Benefactor and 14 Patroness cards, Gallery tiles, Study Bonus tiles, Collector Setup cards, both Workshops' cards and tiles, and the solo pieces.
Every distinct face, grouped by type, with a link to the rule that uses it. The Benefactor, Patroness, Collector Setup and Workshop cards and the Blueprint, Popular Gallery and Sistine Chapel tiles come from the Tabletop Simulator mod of Board&Dice’s 2026 edition; the Event cards, Solo pieces and other tokens are pictured from the publisher’s rulebook. Effects of the Inventions and Sistine Chapel tiles are printed as icons; their full wording is in the two Glossaries in the box, so those rows describe the icons and say check against the physical component for the exact wording.
Boards
To be added.
Cards
Event cards
Ten pairs, used only with the Event module. The I–II card of a pair acts in
rounds 1–2, the III–IV card in rounds 3–4. Effects marked  happen at the start
of the Exhibition phase; majority ties go to the Workshop farther on the Study track (marker
underneath on the same space).
| Picture | Effect |
|---|---|
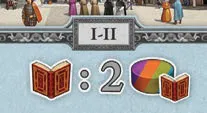 | Study, I–II. Every Study action resolves the Study Bonus tiles twice. |
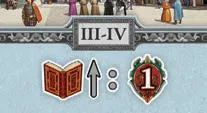 | Study, III–IV. 1  each time you advance on the Study track. |
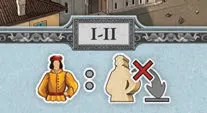 | Influence, I–II. Collectors moved by  Influence stay standing. |
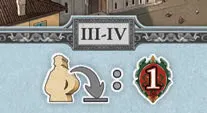 | Influence, III–IV. 1 each time you lay down a Collector. |
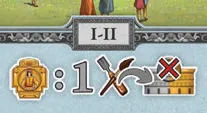 | Presence, I–II. Each Workshop adds 1 Artwork from its supplies to every Gallery region where it is present without the Centerpiece (teammates may talk; both Workshops at once). |
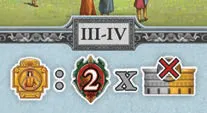 | Presence, III–IV. 2 for every Gallery region where you are present without the Centerpiece. Presence means at least one Artwork; no Centerpiece is needed. |
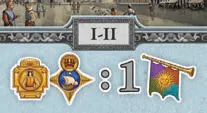 | Ports, I–II. A random  Publicity token for each  port region where you have the majority. |
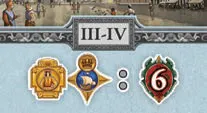 | Ports, III–IV. 6 for each port region where you have the majority. |
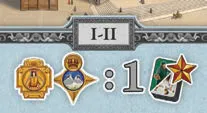 | Mountains, I–II.  Upgrade 1 card (not one on the main board, no VP for it) for each  mountain region where you have the majority. |
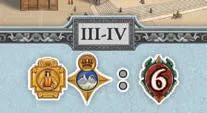 | Mountains, III–IV. 6 for each mountain region where you have the majority. |
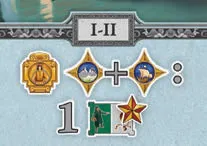 | Pairs, I–II. 1  Workshop upgrade for each pair of a port and a mountain region where you have the majority. |
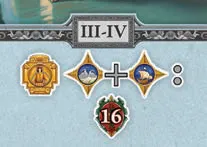 | Pairs, III–IV. 16 for each such pair. |
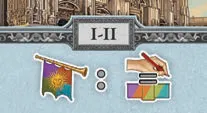 | Publicity, I–II. A Publicity token you place also adds its Publicity value as  Effort: 2 on an Action of its colour, else 1. Matching colour adds 2 Effort; any other colour adds 1. |
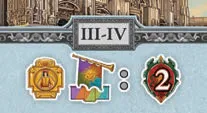 | Publicity, III–IV. 2 for each Publicity token on your played cards. |
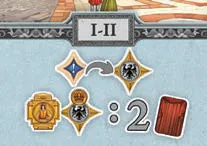 | Eagle region, I–II. Put the Event marker on the  eagle region at once; this round you may end moves there. The majority there draws 2  Patroness cards from the deck. |
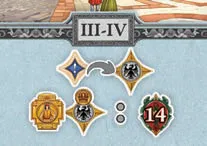 | Eagle region, III–IV. Same marker rule. The majority there scores 14 . |
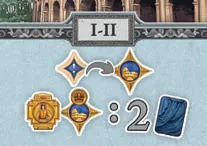 | Rome, I–II. Put the Event marker on  Rome at once. The majority in Rome draws 2  Benefactor cards, face up. |
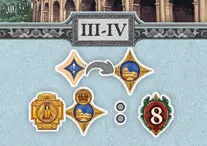 | Rome, III–IV. Event marker on Rome. The majority in Rome scores 8 . |
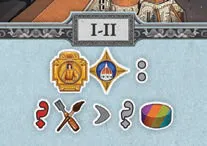 | Florence, I–II. Each Workshop must take all its Artwork in  Florence back to their supplies, and gain  any 1 Resource for each. |
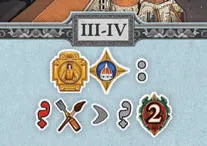 | Florence, III–IV. Same, but 2 for each Artwork taken back. |
Benefactor cards
Fourteen one-time bonuses, won at Major Publicity. Use one before
or after your Main Action, then turn it face down; cards are used at the start of
the Exhibition phase. Resources from a Benefactor go to the active Character’s section.
| Picture | Effect |
|---|---|
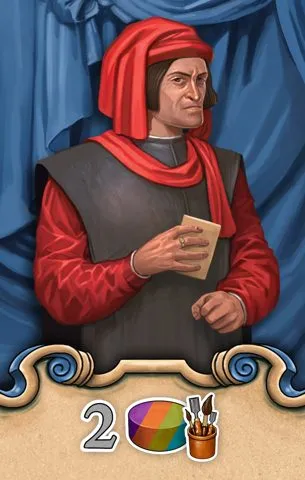 | B1. 2 Resources of any colours, any mix, to your supply. |
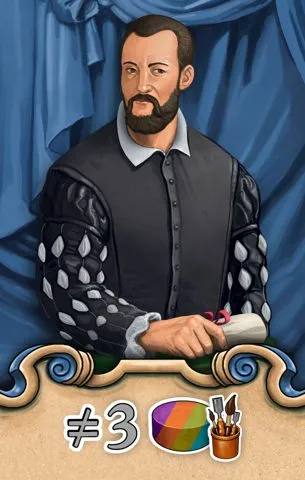 | B2. 3 Resources of three different colours to your supply. |
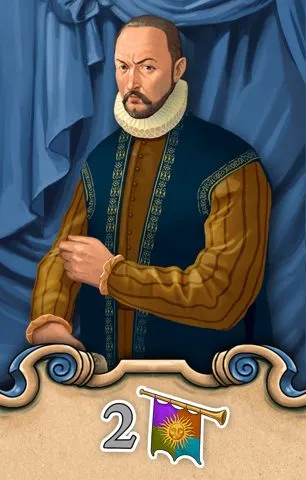 | B3. 2 random Publicity tokens from the general supply. |
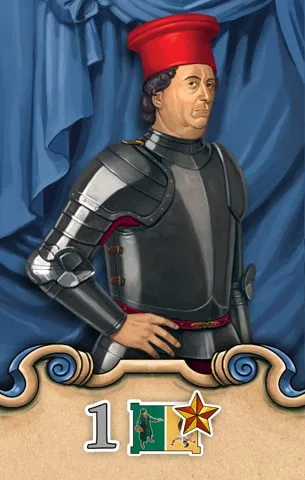 | B4. 1 Workshop upgrade. |
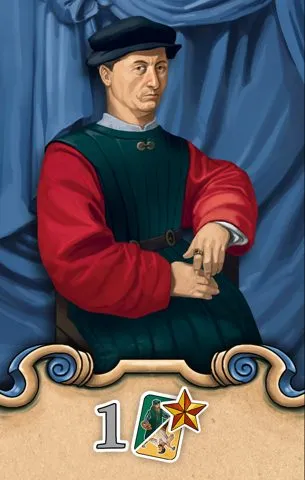 | B5. Upgrade 1 card. |
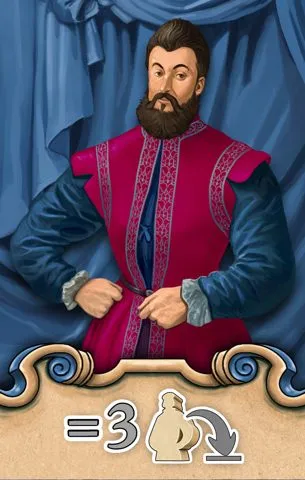 | B6. Lay down up to 3 Collectors in one area of the Collector Lodge. |
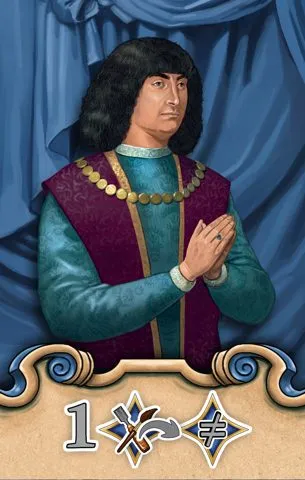 | B7. Move 1 of your Artworks to any region, at any distance. |
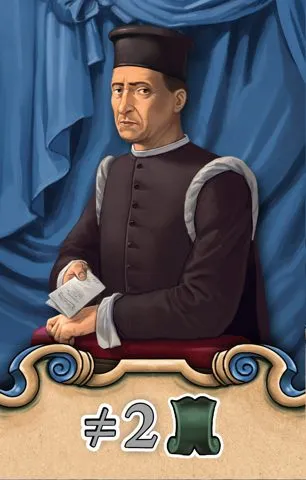 | B8. 1 Action Point for one Action and 1 for a different Action. |
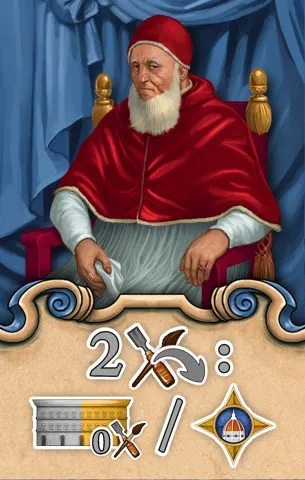 | B9. Place 2 Artworks from your supply in a Gallery region with no Artwork, or in Florence. |
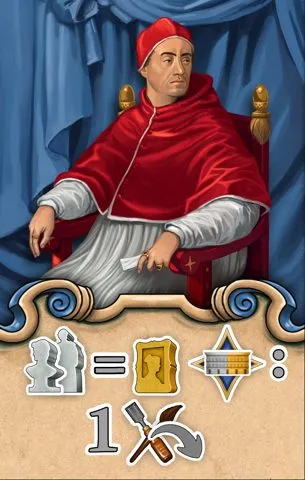 | B10. 1 Artwork from your supply in every Gallery region where both Workshops have the same number of Artworks. An exact tie in Artwork counts; Da Vinci’s Invention that counts 2 as 3 applies here too. |
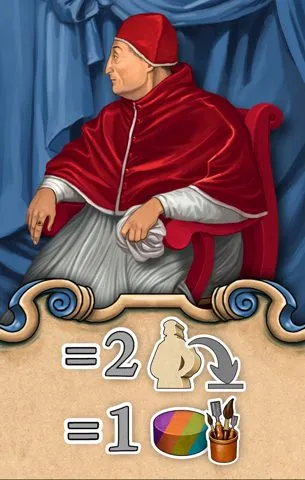 | B11. Lay down up to 2 Collectors in one Lodge area and gain 1 Resource of that area’s colour. |
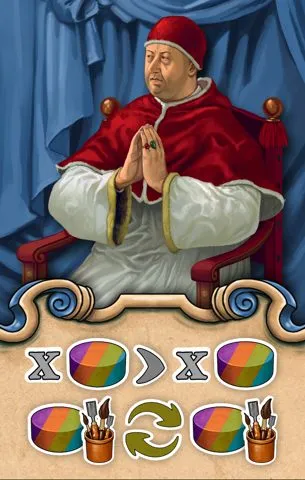 | B12. Exchange any of your available Resources for others, then move Resources freely between your two Characters’ sections. |
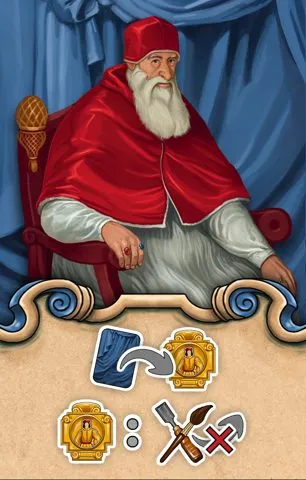 | B13. Lay it by the Scoring section: this round’s Cleanup takes no Artwork back from scored Galleries, for both Workshops. It protects only Artwork in Galleries that score this Exhibition. FAQ. |
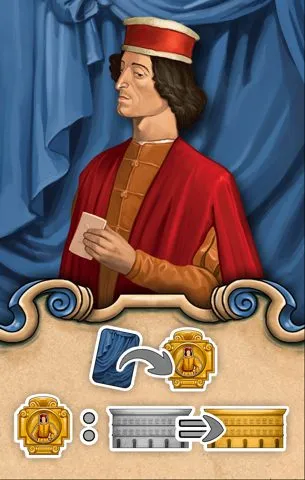 | B14. Lay it by the Scoring section: this round, Secondary Galleries score like Popular ones, for both Workshops. It changes this round’s scoring only. FAQ. |
Patroness cards
Fourteen end-game scoring cards (Final scoring), numbered P1–P14 on the card.
| Picture | Scores |
|---|---|
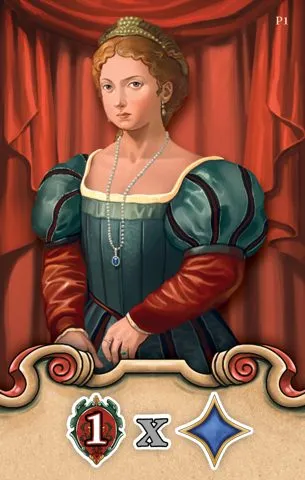 | P1. 1 per region with at least 1 of your Artworks. |
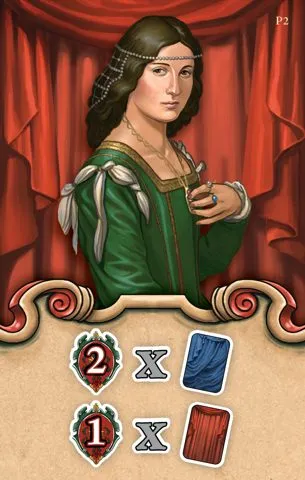 | P2. 2 per Benefactor card you hold (used or not) and 1 per Patroness card, this one included. |
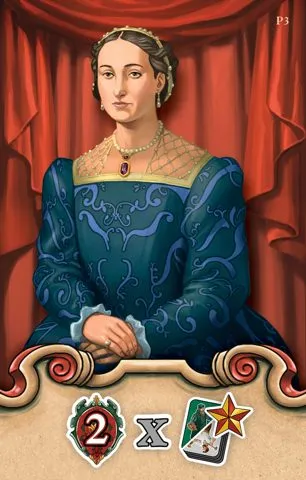 | P3. 2 per Upgraded card in your deck. |
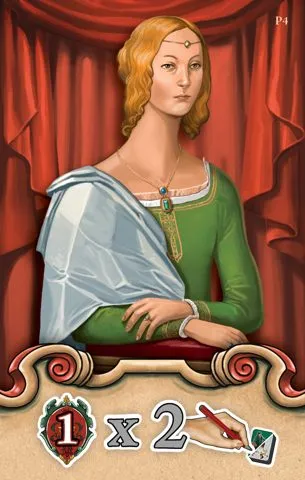 | P4. 1 per 2 Effort in your deck — printed values only, so 5 Effort scores 2 VP. For a double-sided card, choose Effort or Publicity separately for each scoring card. FAQ. |
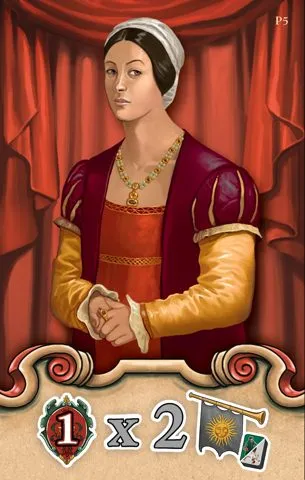 | P5. 1 per 2 Publicity in your deck — printed values only, so 5 Publicity scores 2 VP. For a double-sided card, choose Effort or Publicity separately for each scoring card. FAQ. |
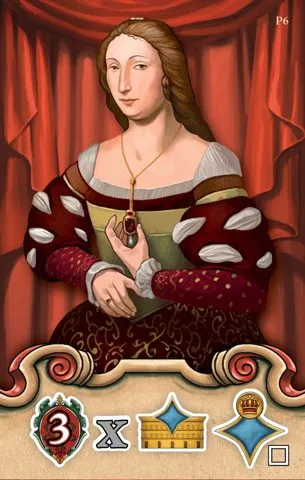 | P6, blue. 3 per claimed blue  Popular Gallery tile and per majority in a blue region. |
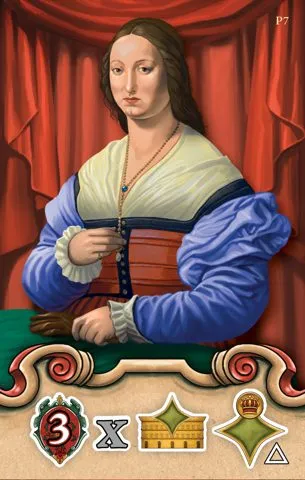 | P7, green. The same for green. |
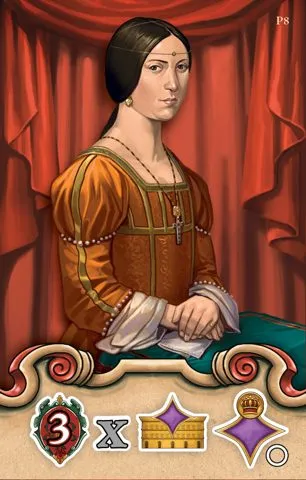 | P8, purple. The same for purple. |
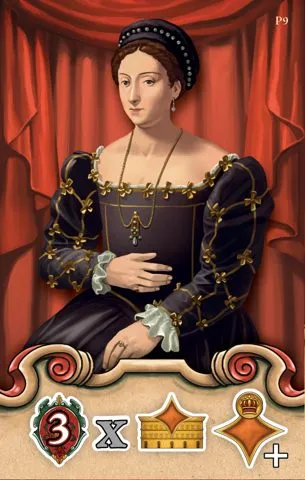 | P9, orange. The same for orange. |
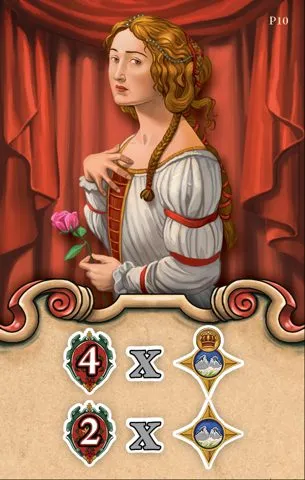 | P10, mountains. 4 per majority and 2 per presence in each mountain region. |
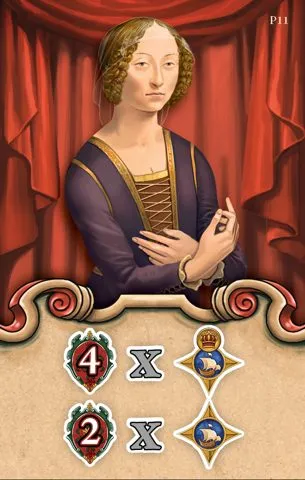 | P11, ports. 4 per majority and 2 per presence in each port region. |
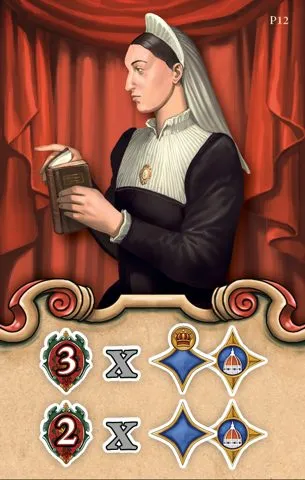 | P12. 3 per majority and 2 per presence in each region next to Florence. |
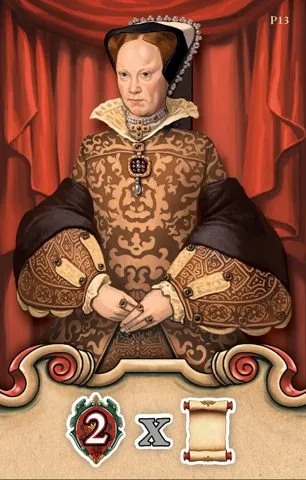 | P13. 2 per  tier reached on the Study track. |
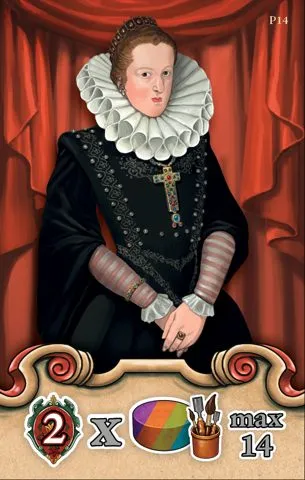 | P14. 2 per Resource left in your supplies, at most 14 ; da Vinci also counts those on his Workshop board. Seven Resources reach the cap; extra ones do not add points. |
Collector Setup cards
Ten cards; one is revealed at setup and in every Cleanup. Each gives the number of standing Collectors per Lodge area — 12 in all on every card (Influence).
| Picture | Purple / orange / green / blue |
|---|---|
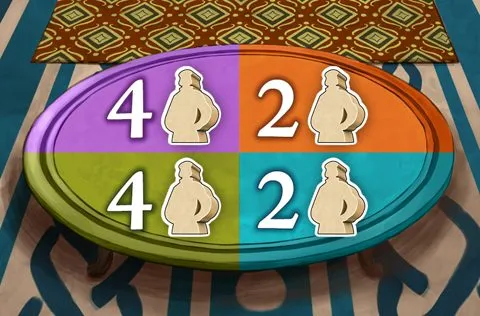 | 1. 4  · 2  · 4  · 2  |
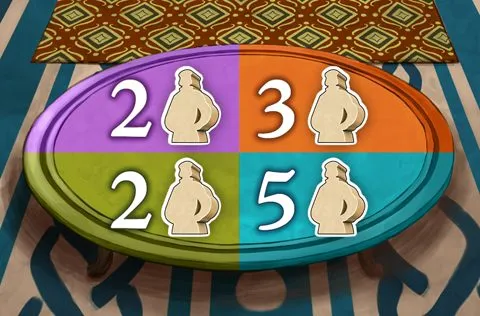 | 2. 2 · 3 · 2 · 5 |
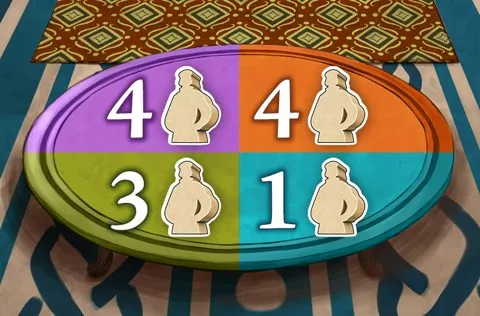 | 3. 4 · 4 · 3 · 1 |
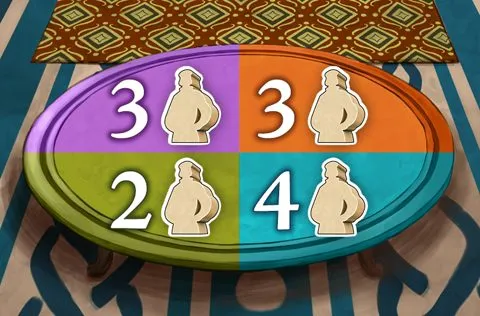 | 4. 3 · 3 · 2 · 4 |
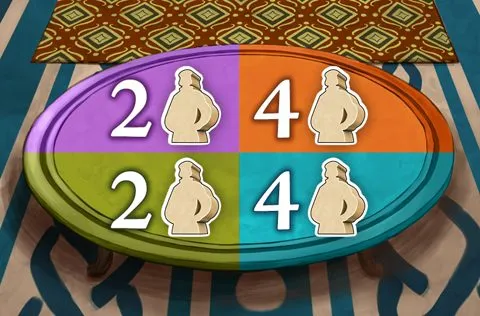 | 5. 2 · 4 · 2 · 4 |
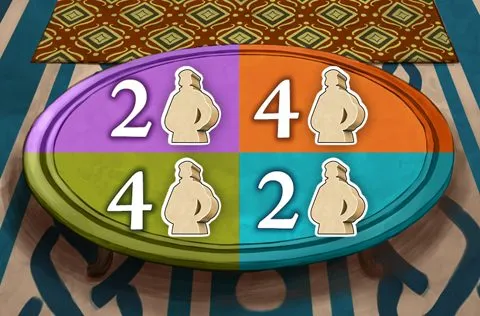 | 6. 2 · 4 · 4 · 2 |
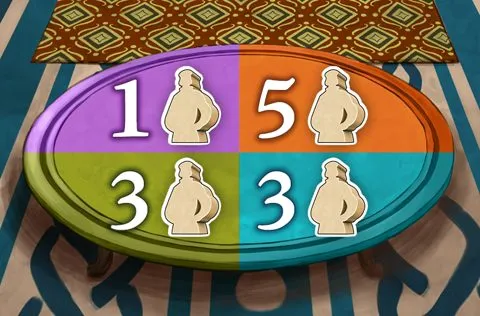 | 7. 1 · 5 · 3 · 3 |
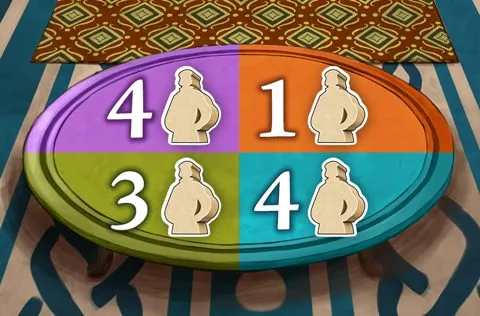 | 8. 4 · 1 · 3 · 4 |
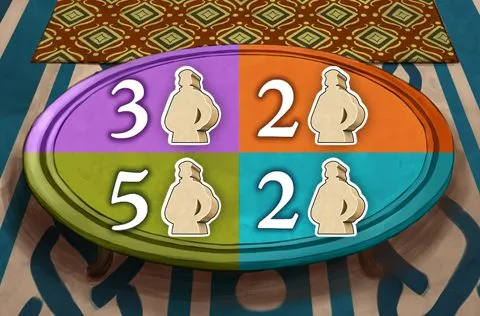 | 9. 3 · 2 · 5 · 2 |
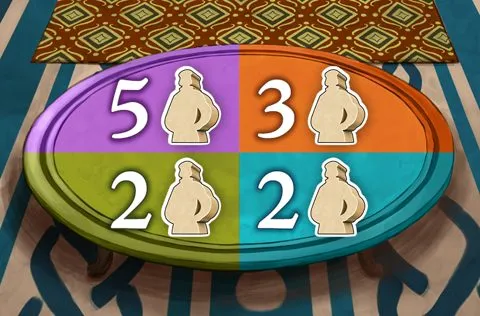 | 10. 5 · 3 · 2 · 2 |
Da Vinci’s Workshop cards
Each card shows Publicity (grey scroll) and Effort (red scroll), and
sometimes a special effect at the top, resolved before or after the Main Action
(Playing a card). S marks the 10 Starting cards; DV11–DV20 are the
Upgraded cards (Upgrading a card). “Per Michelangelo card” counts
the other Workshop’s cards on the same Action space. The played card alone sets your Action Points;
cards already on that space do not add to its Effort. FAQ.
Rulings that apply to every row below: What happens to a Resource the da Vinci Workshop gains but has no use for?.
| Picture | Card |
|---|---|
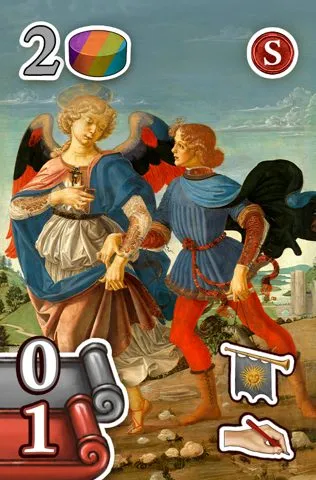 | DV1 (Starting). 0 · 1. Gain 2 Resources of any colours. For da Vinci, a Resource with no useful place on his board is lost.. |
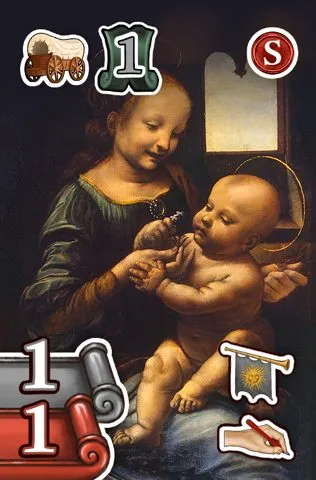 | DV2 (Starting). 1 · 1. Resolve 1 Action Point of the  Move action. |
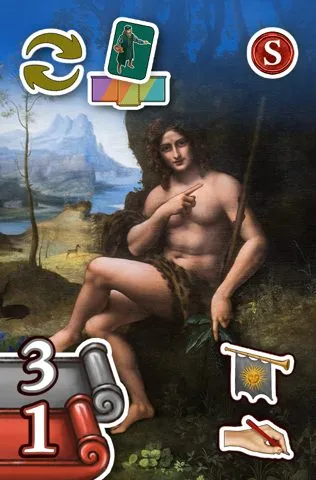 | DV3 (Starting). 3 · 1. Swap 2 of your Workshop cards between any Action spaces of the main board. |
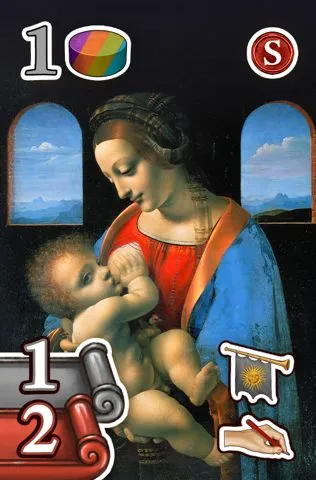 | DV4 (Starting). 1 · 2. Gain 1 Resource of any colour. If da Vinci has no useful space for it, the Resource is lost.. |
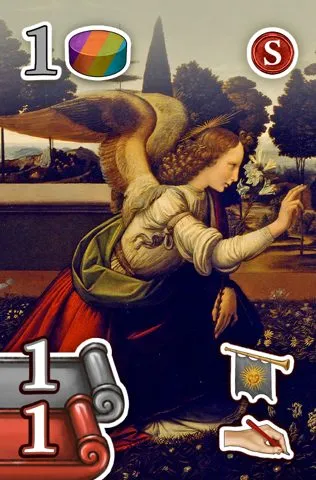 | DV5 (Starting). 1 · 1. Gain 1 Resource of any colour. If da Vinci has no useful space for it, the Resource is lost.. |
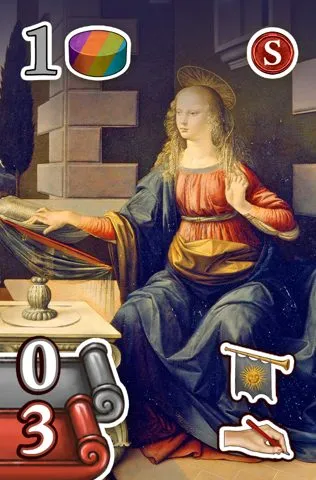 | DV6 (Starting). 0 · 3. Gain 1 Resource of any colour. If da Vinci has no useful space for it, the Resource is lost.. |
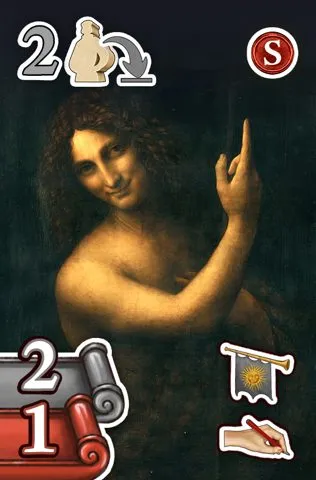 | DV7 (Starting). 2 · 1. Lay down 2 Collectors. |
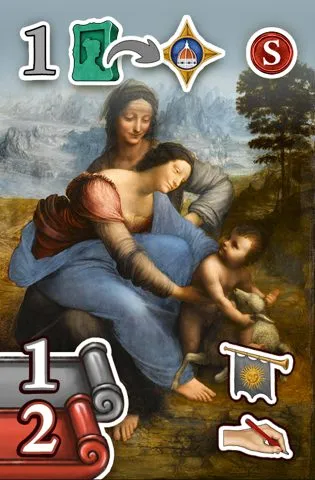 | DV8 (Starting). 1 · 2. Place 1  Painting from your supply in Florence. The two Florence placement symbols on da Vinci’s cards have the same effect. FAQ. |
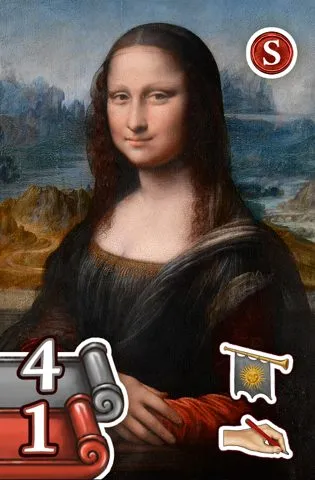 | DV9 (Starting). 4 · 1. No effect. |
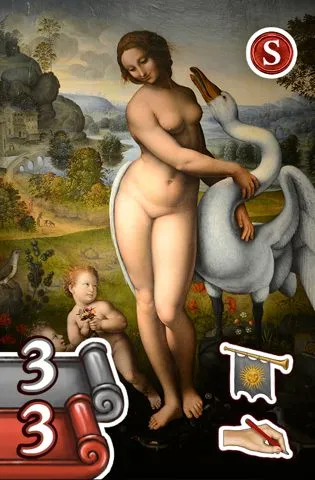 | DV10 (Starting). 3 · 3. No effect. |
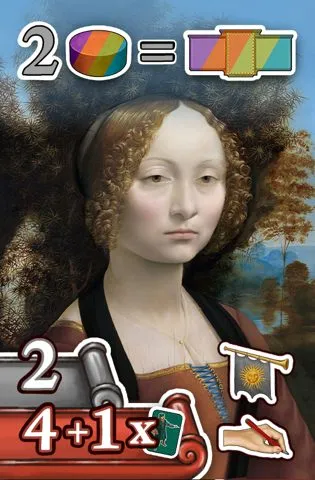 | DV11 (Upgraded). 2 · 4, +1 per other da Vinci card on this Action space. Gain 2 Resources of the colour of the Action space; unusable Resources are lost.. |
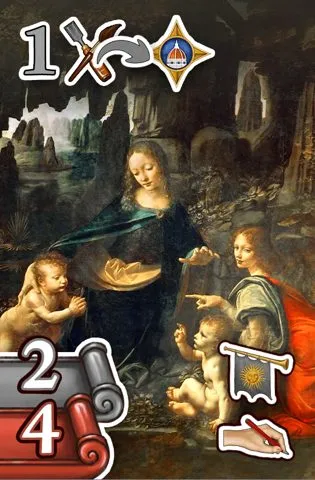 | DV12 (Upgraded). 2 · 4. Place 1 Artwork from your supply in Florence. The two Florence placement symbols on da Vinci’s cards have the same effect. FAQ. |
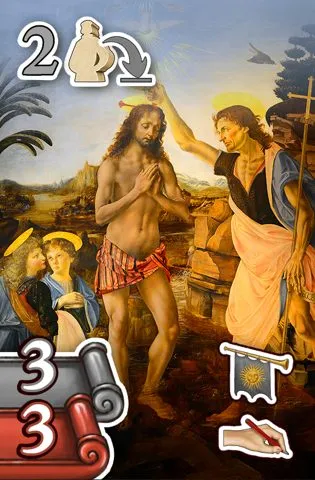 | DV13 (Upgraded). 3 · 3. Lay down 2 Collectors. |
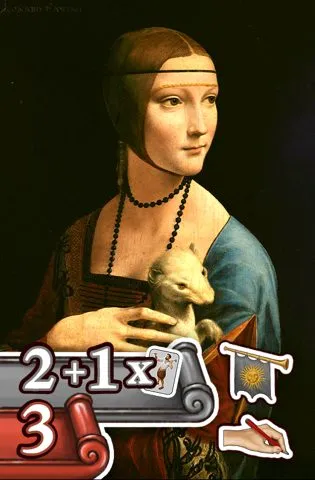 | DV14 (Upgraded). 2, +1 per Michelangelo card on this Action space (counted in the Exhibition phase) · 3. No effect. |
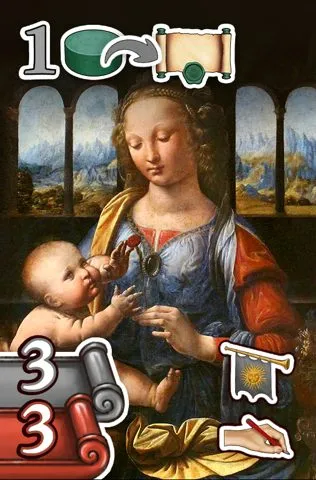 | DV15 (Upgraded). 3 · 3. Place 1 Upgrade marker on one of your Blueprint tiles. |
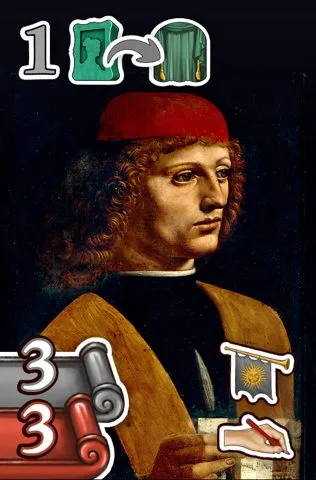 | DV16 (Upgraded). 3 · 3. Move 1 Painting from the general supply to your supply. |
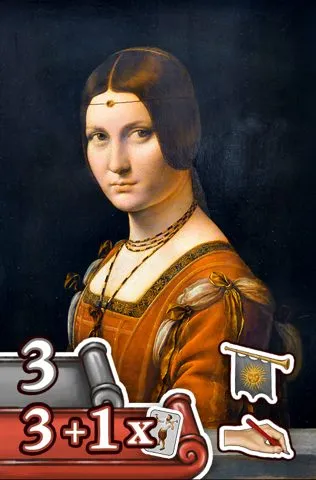 | DV17 (Upgraded). 3 · 3, +1 per Michelangelo card on this Action space. No effect. |
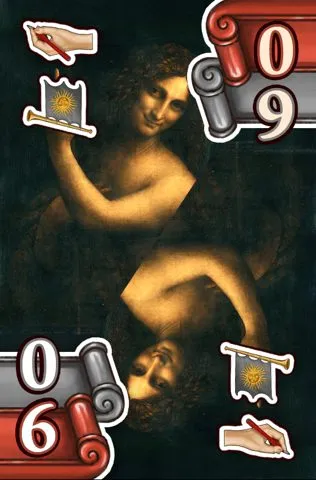 | DV18 (Upgraded). Two halves, one upside down: when you play it, choose 6 Effort and 0 Publicity, or 6 Publicity and 0 Effort. |
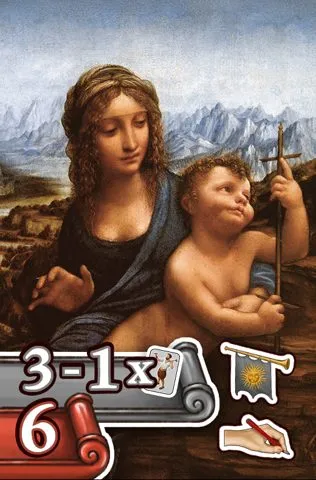 | DV19 (Upgraded). 3, −1 per Michelangelo card on this Action space · 6. No effect. |
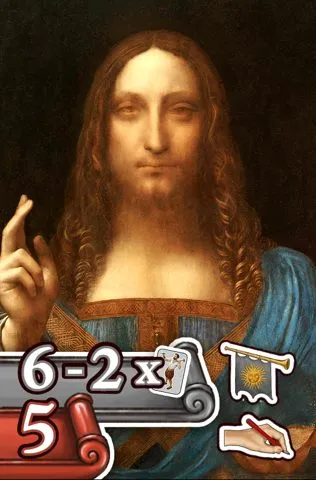 | DV20 (Upgraded). 6, −2 per Michelangelo card on this Action space · 5. No effect. |
Blueprint cards and tiles
Each Blueprint card carries Invention markers on its square spaces, with the VP printed beside
each space; the band at the top shows when its Inventions act (Building an Invention). An Invention marker occupies its printed square until built; it does not block a Resource space. FAQ.
Each Blueprint tile above it shows the Resource pattern to build (side A for learning games,
side B for experienced players; accepts any colour). The Inventions are printed as icons;
their full wording is in the da Vinci Glossary: check against the physical component. The cards
print da Vinci’s Painting in gold where the rulebook’s pictures show it green. Resources placed on da Vinci’s board stay in their spaces until a Blueprint spends them; they cannot be moved or replaced. FAQ. You may fulfil a
Blueprint as you place its last required Resource. FAQ.
| Picture | Blueprint card |
|---|---|
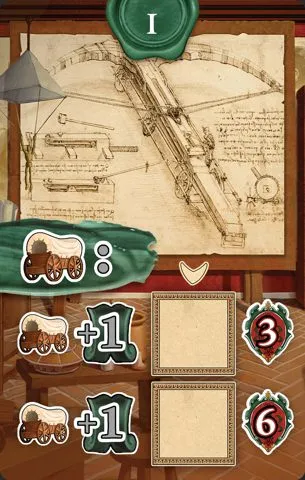 | I, Move. Two Inventions, each +1 Action Point when you Move; 3 and 6 . Each adds one Action Point to a Move, then scores its printed VP at game end. |
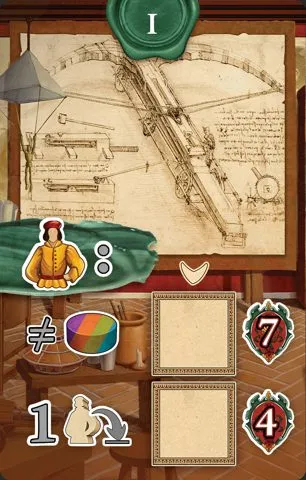 | I, Influence. Printed: “≠ any Resource” (7 ); lay down 1 Collector (4 ). |
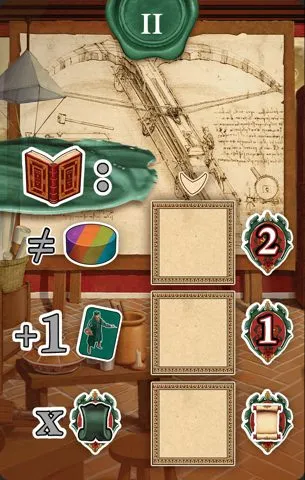 | II,  Study. Printed: “≠ any Resource” (2 ); +1 da Vinci card (1 ); “× Action Point” (a scroll instead of a VP number). |
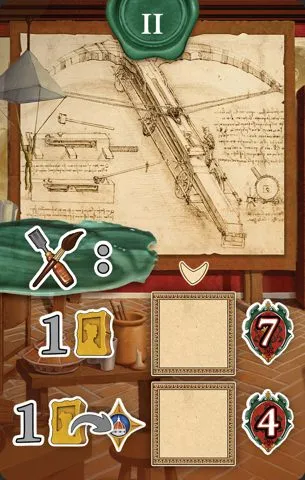 | II,  Create. 1 Painting (7 ); 1 Painting to Florence (4 ). |
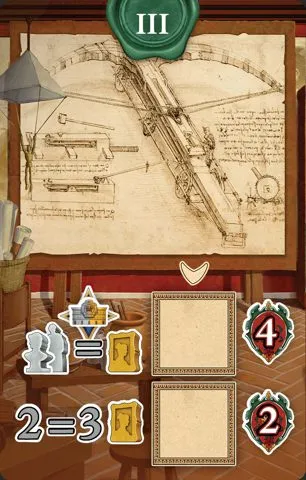 | III. Busts and Statues = a Painting, under a Gallery region (4 ); 2 = 3 Paintings (2 ). |
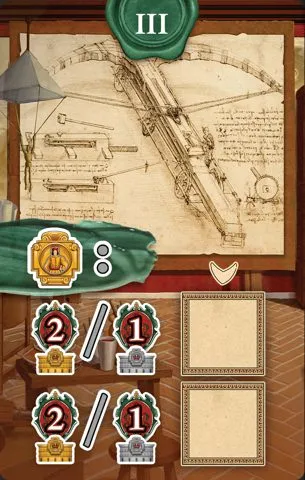 | III, Exhibition. Two Inventions, each 2 per Popular Gallery and 1 per Secondary Gallery. |
| Picture | Blueprint tile |
|---|---|
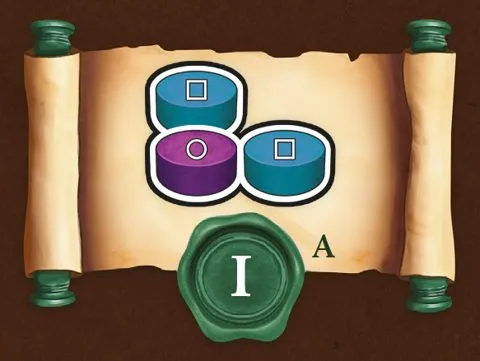 | I, side A. blue, purple, blue. |
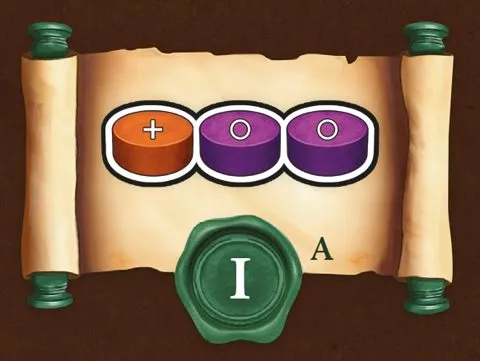 | I, side A. orange, purple, purple. |
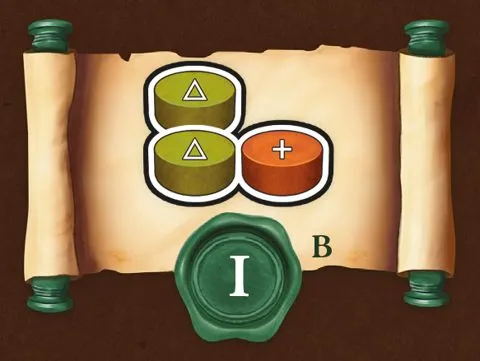 | I, side B. green, green, orange. |
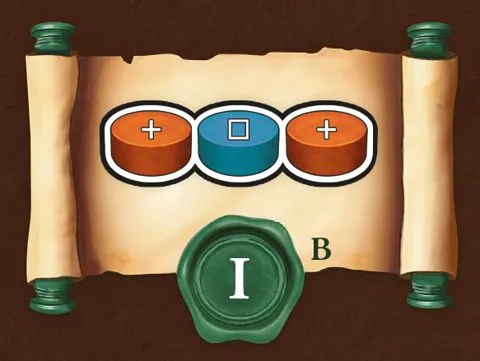 | I, side B. orange, blue, orange. |
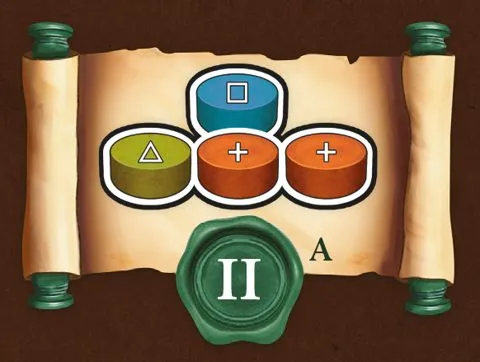 | II, side A. blue, green, orange, orange. |
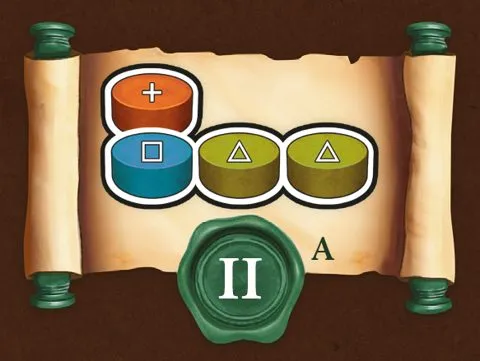 | II, side A. orange, blue, green, green. |
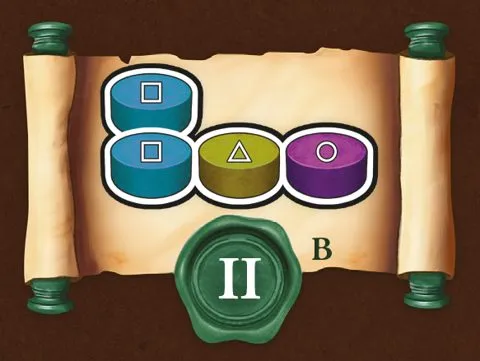 | II, side B. blue, blue, green, purple. |
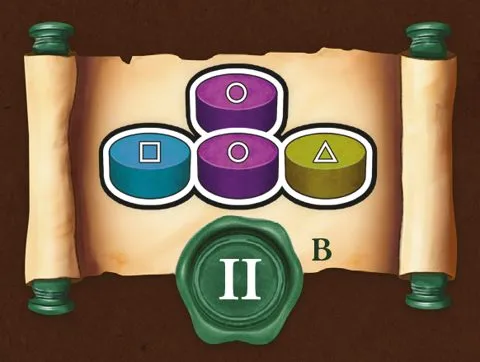 | II, side B. purple, blue, purple, green. |
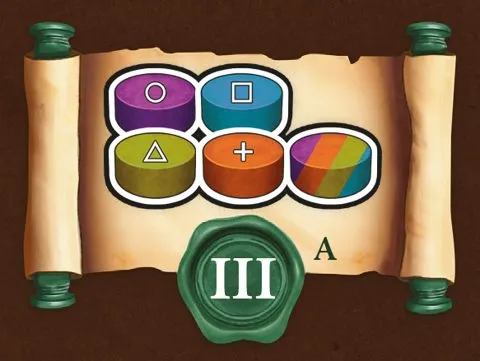 | III, side A. purple, blue, green, orange and any colour. |
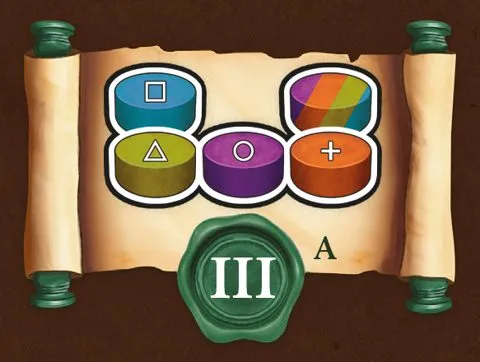 | III, side A. blue, green, purple, orange and any colour. |
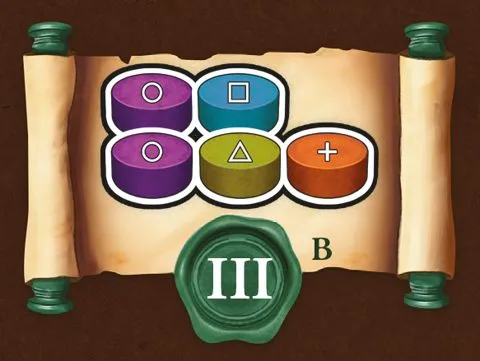 | III, side B. purple, blue, purple, green, orange. |
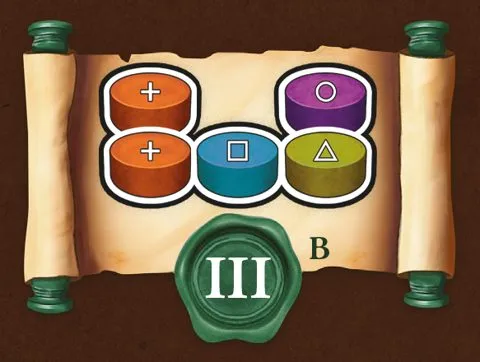 | III, side B. orange, purple, orange, blue, green. |
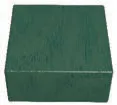  | 13 Invention markers and 12 Upgrade markers (black). |
Michelangelo’s Workshop cards
Same layout as da Vinci’s: Publicity (grey scroll), Effort (red
scroll) and sometimes a special effect at the top. S marks the 10 Starting cards; the cards
carry no number, so they are numbered here 1–20 in the order of the card sheet. “Empty column” means
an empty column of the Workshop board.
| Picture | Card |
|---|---|
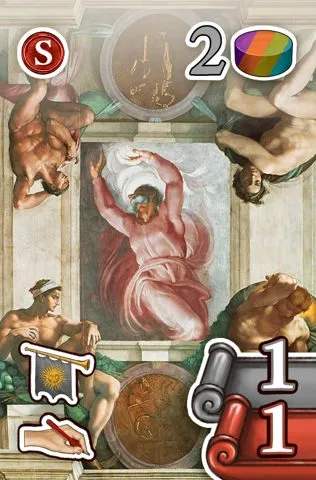 | 1 (Starting). 1 · 1. Gain 2 Resources of any colours. |
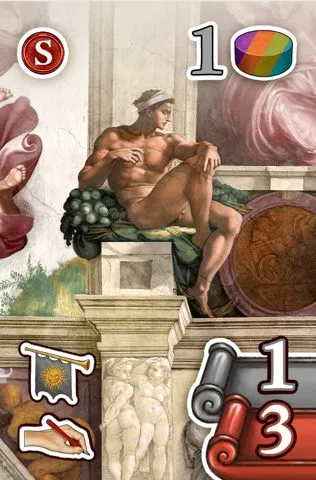 | 2 (Starting). 1 · 3. Gain 1 Resource of any colour. |
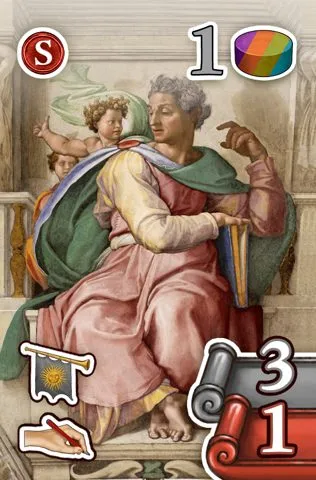 | 3 (Starting). 3 · 1. Gain 1 Resource of any colour. |
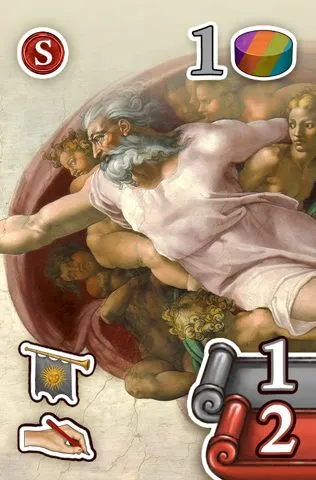 | 4 (Starting). 1 · 2. Gain 1 Resource of any colour. |
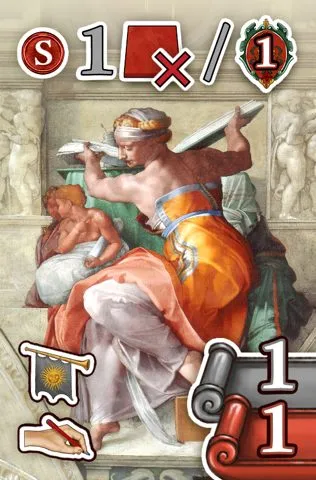 | 5 (Starting). 1 · 1. Remove 1 face-down Sistine Chapel tile, or score 1 . |
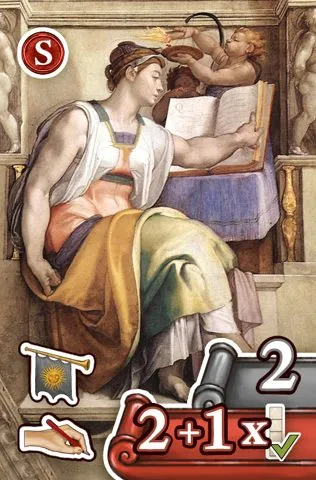 | 6 (Starting). 2 · 2, +1 per empty column. No effect. |
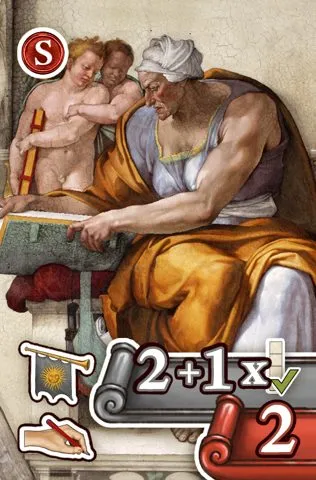 | 7 (Starting). 2, +1 per empty column · 2. No effect. |
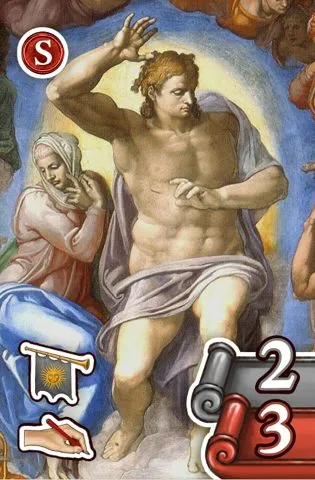 | 8 (Starting). 2 · 3. No effect. |
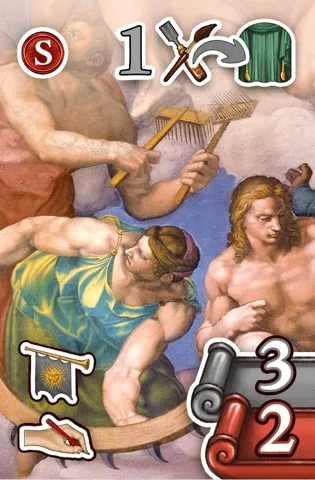 | 9 (Starting). 3 · 2. Move 1 Artwork of your type from the general supply to your supply. |
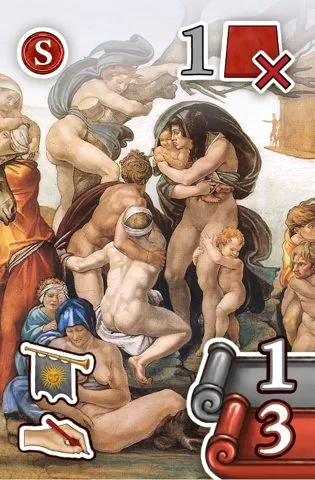 | 10 (Starting). 1 · 3. Remove 1 face-down Sistine Chapel tile. |
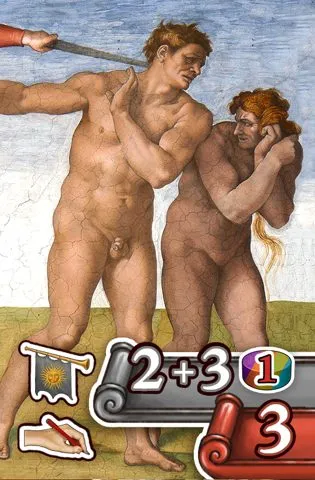 | 11 (Upgraded). 2, +3 if you spend 1 Resource · 3. Pay when you play it, before the Exhibition reveals your rival’s Publicity; a face-down Gossip play cannot use the bonus. FAQ. |
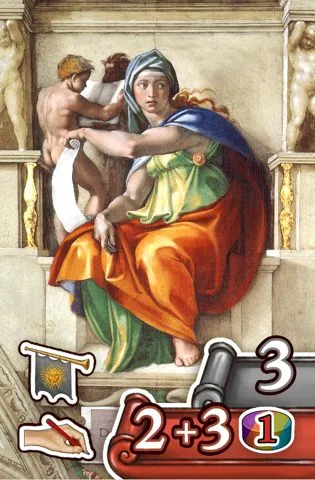 | 12 (Upgraded). 3 · 2, +3 if you spend 1 Resource (put it on a card; it stays there if the card is swapped). Pay when you play it, before the Exhibition reveals your rival’s Publicity; a face-down Gossip play cannot use the bonus. FAQ. |
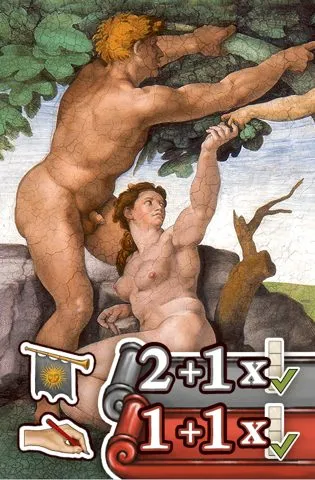 | 13 (Upgraded). 2, +1 per empty column · 1, +1 per empty column. No effect. |
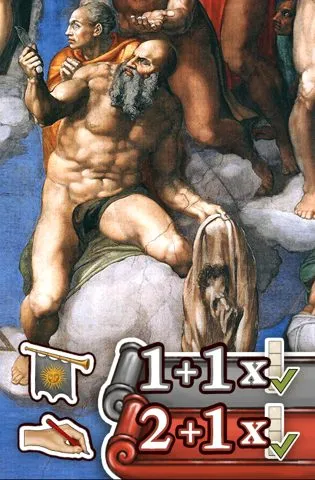 | 14 (Upgraded). 1, +1 per empty column · 2, +1 per empty column. No effect. |
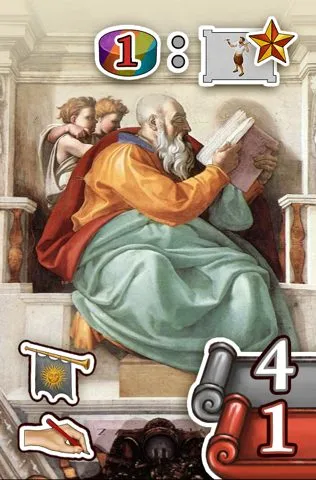 | 15 (Upgraded). 4 · 1. Spend 1 Resource to resolve a Workshop upgrade. |
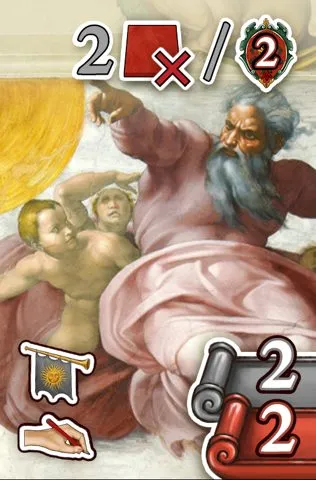 | 16 (Upgraded). 2 · 2. Remove 2 face-down Sistine Chapel tiles, or score 2 . |
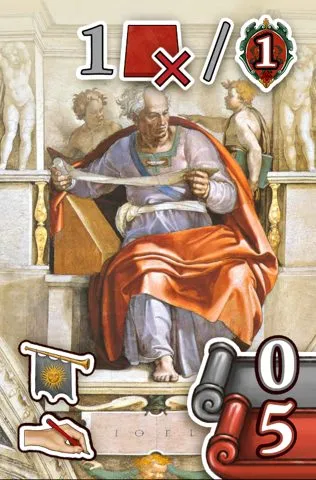 | 17 (Upgraded). 0 · 5. Remove 1 face-down Sistine Chapel tile, or score 1 . |
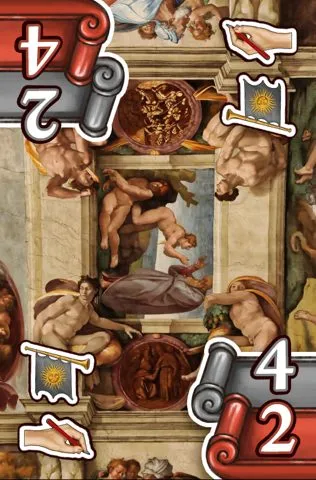 | 18 (Upgraded). Two halves, one upside down: when you play it, choose 4 Publicity and 2 Effort, or 2 Publicity and 4 Effort. For final scoring, each scoring card can use its better side independently. FAQ. |
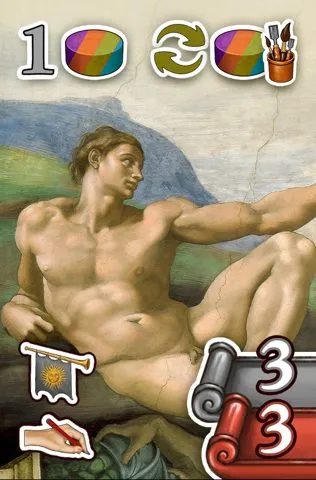 | 19 (Upgraded). 3 · 3. Gain 1 Resource, then move any Resources between your two Characters’ supplies. |
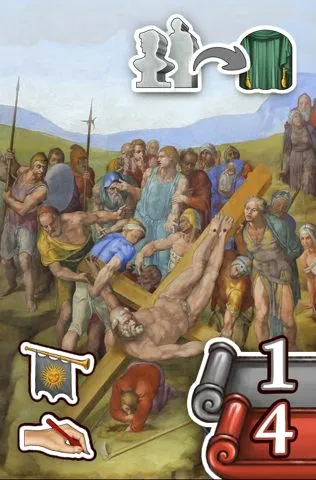 | 20 (Upgraded). 1 · 4. Move 1  Bust and 1  Statue from the general supply to your supply. |
Sistine Chapel tiles
Twenty tiles in nine kinds, effect side up, red back (Sistine Chapel tiles). The effects are printed as icons, described below; their full wording is in the Michelangelo Glossary: check against the physical component. With no Resources, Michelangelo still takes this action and may flip one tile without resolving it. When activating a tile, you may flip it without resolving it, pay 1 Resource to resolve and flip it, or pay 2 to resolve and remove it. FAQ, FAQ.
| Picture | Tile |
|---|---|
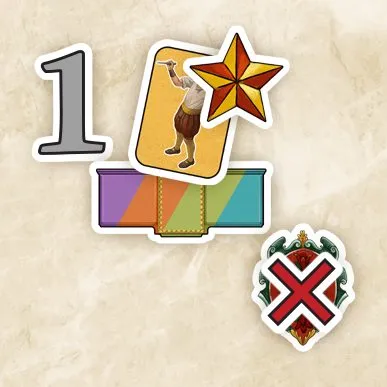 | ×2. 1 Michelangelo card with an upgrade star, over an Action space; VP crossed out. |
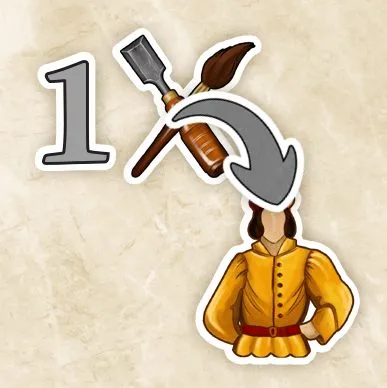 | ×3. “1” Artwork (crossed tools) with an arrow to the Influence figure. |
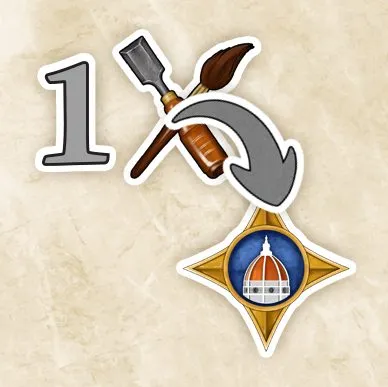 | ×3. Place 1 Artwork in Florence. |
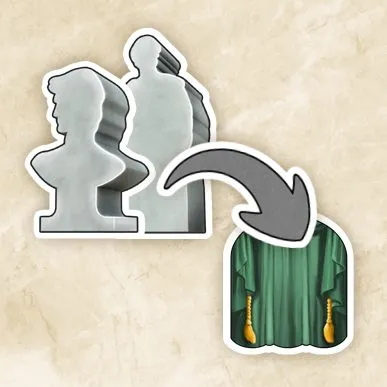 | ×2. 1 Bust and 1 Statue to your supply. |
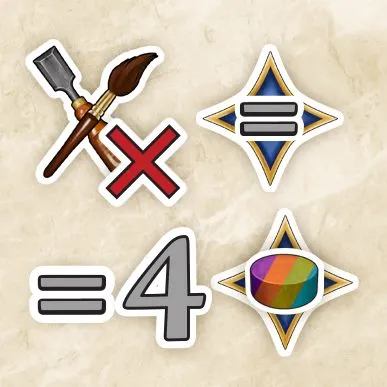 | ×1. A crossed-out Artwork next to a region marked “=”; “= 4” next to a region with an Resource. |
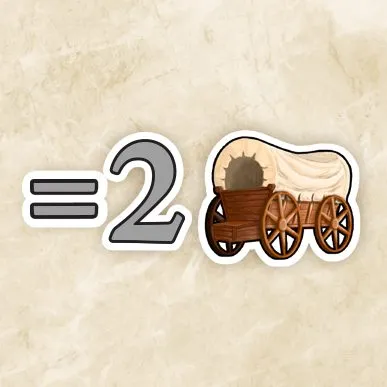 | ×3. “= 2” with the Move wagon. |
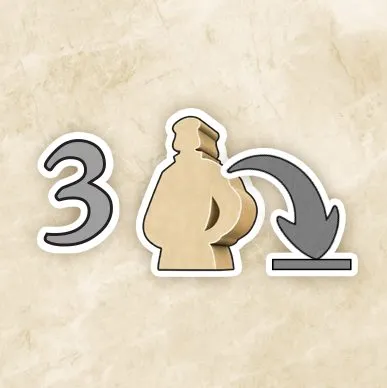 | ×2. Lay down 3 Collectors. |
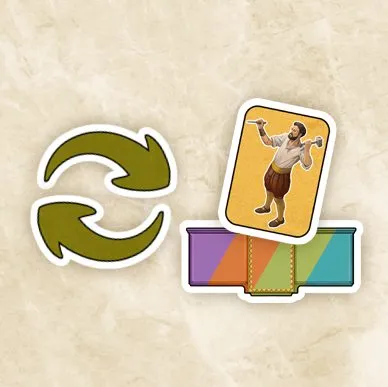 | ×1. Swap arrows with a Michelangelo card over an Action space. |
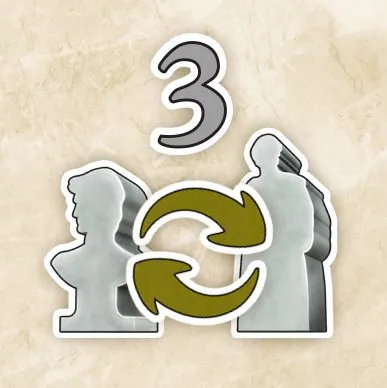 | ×3. “3” with swap arrows between a Bust and a Statue. |
 | 9 Workshop Upgrade tiles: each covers one row or column cost (Upgrading Michelangelo’s Workshop). Benefactor cards and some Upgraded cards can also grant an upgrade. FAQ. |
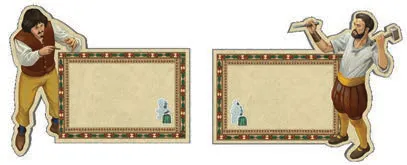 | 2 Character tiles: Michelangelo (Statues) and his Assistant (Busts) (Busts and Statues). When playing Michelangelo alone, the Tools tile limits which type you may move that turn, though both types count for majorities. FAQ. |
Solo
| Picture | Component |
|---|---|
 | 20 Solo cards, split into Starting and Upgraded decks. They show Publicity and Action Points instead of Effort, and may give Resources (Solo). Each card: check against the physical component. |
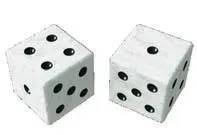 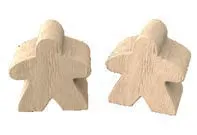 | 2 dice and 2 meeples that steer the Machina. |
Tiles
Popular Gallery tiles
Twelve tiles, one per Gallery region, each with the region’s number and colour. Three are drawn each round and a Popular Gallery token goes on each region shown (Galleries). The Workshop that scores it keeps the tile: it counts for the colour Patronesses and breaks the final tie.
| Picture | Tile |
|---|---|
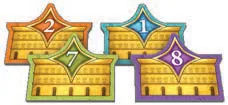 | 1, blue (the rulebook’s picture of tiles 1, 2, 7 and 8; tile 1 is the only one not in the mod). |
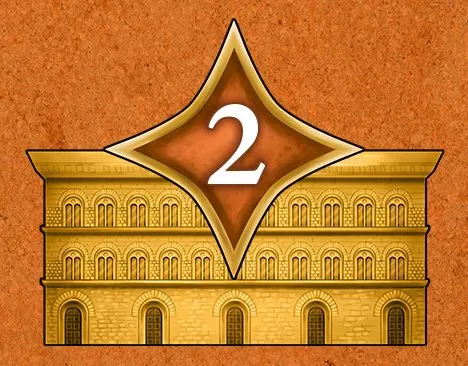 | 2, orange. |
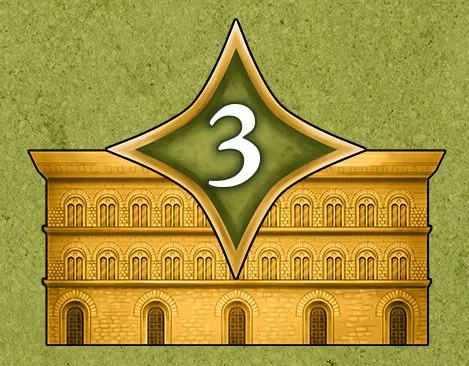 | 3, green. |
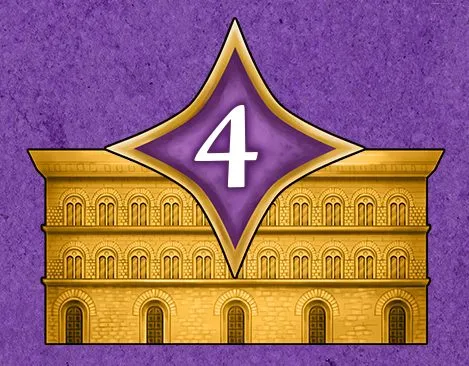 | 4, purple. |
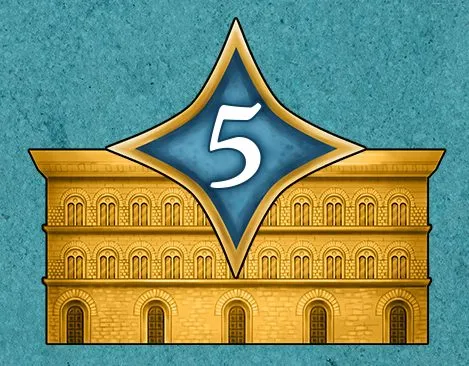 | 5, blue. |
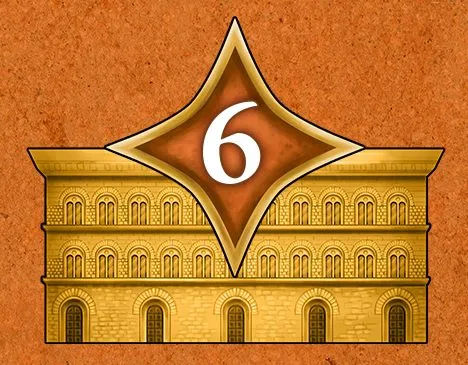 | 6, orange. |
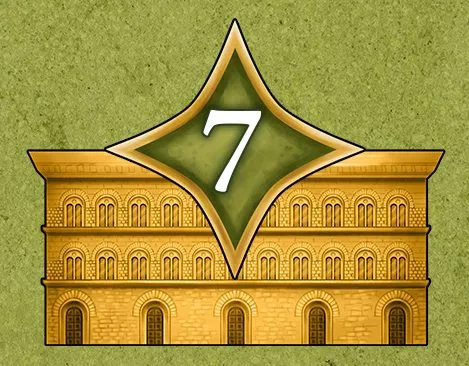 | 7, green. |
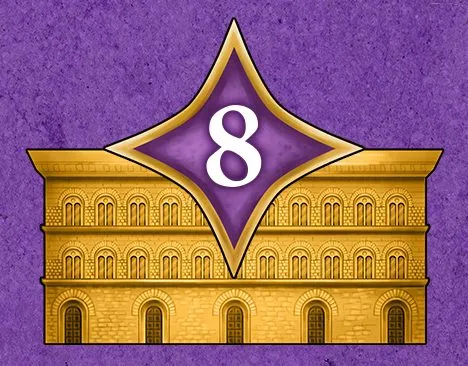 | 8, purple. |
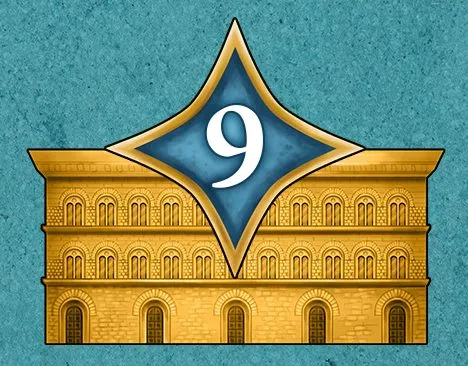 | 9, blue. |
 | 10, orange. |
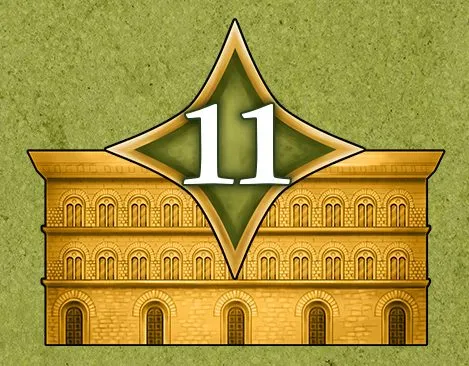 | 11, green. |
 | 12, purple. |
Other board tiles and tokens
| Picture | Component |
|---|---|
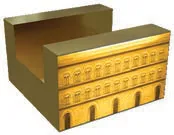 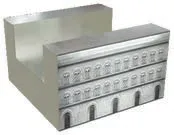 | 3 Popular (gold) and 3 Secondary (silver) Gallery tokens. In Cleanup, Popular ones become Secondary (Cleanup). A tie in a Gallery does not transfer its Centerpiece; you need strictly more Artworks unless Da Vinci’s Invention or the Machina tie rule applies. FAQ, FAQ. |
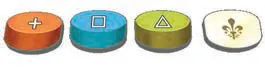 | 8 Study Bonus tiles, laid at random on their spaces of the Study track at setup (Study). The rulebook pictures four kinds — an orange, a blue and a green Resource and Florence. Check each tile’s reward against the physical component. |
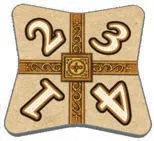 | Precedence tile, numbers 1–4: breaks ties between Lodge colours (Order of the colours). |
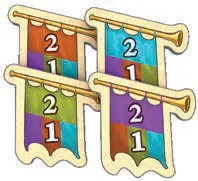 | 20 Publicity tokens, 5 per colour: 2 Publicity on an Action of their colour, 1 elsewhere (Publicity tokens). |
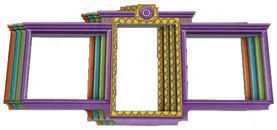 | 4 Action overlays, one per Main Action; their Effort-to-Action-Point values are on the Main Actions page. |
 | Event marker (Event module). |
Tokens & pieces
To be added.
Icons
Region symbols
Cards and tiles name regions by the symbol printed on the map:
| Symbol | Meaning |
|---|---|
| Florence, where new Artwork arrives (Create). |
| A port region (ship symbol). |
| A mountain region. |
| The eagle region, a gray region: normally no one may end a move there (Move). |
| Rome. |