Cards & Components
Every Speakeasy card, tile and token face with its picture and what it does: boards, pieces, Mobster tiles, Operations cards, Helper cards, City tiles, Crate tiles, goal tiles, Jo's solo cards and the Stretch Goals.
Pictures come from the publisher’s rulebook (v19c), player aid (v12), solo rules (v11c) and Stretch Goals booklet (v3c), shared on Eagle-Gryphon’s Speakeasy page (art © Eagle-Gryphon Games, Ian O’Toole). Faces the booklets do not show are from BoardGameGeek gallery photos of a retail copy: Mobster tiles, Associate sides, Operations cards, Jo’s cards and the Operations board (publisher render). Descriptions are paraphrases — the printed component wins.
Boards
| Picture | What it is |
|---|
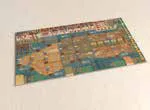 | Main board (double-sided: 1/2 players and 3/4 players) — Manhattan’s 16 districts in three Zones, the eight locations, the Turn Order, Infamy and Zone Control tracks, the Docks, the City tile display and the goal areas. Discarded City tiles refill the display’s middle column, filling empty spaces first (FAQ). See The boards. |
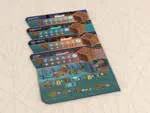 | City Docks board — one row per Rum-runner Ship with its barrels, barrel prices and defence values, and a crate space. See Docks. |
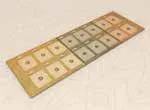 | Mobster board — one space per district where Mobster tiles wait (City side up) for Associates. See Mob War. |
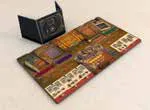 | Operations boards and Safe screens (4) — your tracks, card slots, buildings and supply; money behind the screen is your safe. See Your Operations board. |
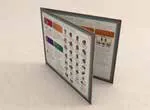 | Player aids (4) — turn summary, the locations and the icon reference. Errata: “Run Runner” on it should read Rum-runner. |
Board goals
Printed on the main board, for Cooking the Books.
| Goals | What it is |
|---|
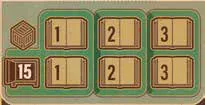 | Docks goals — 1, 2 or 3 Crate tiles: $15 each. |
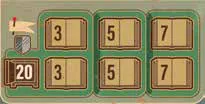 | City Hall goals — Protected buildings in 3, 5 or 7 districts: $20 each. |
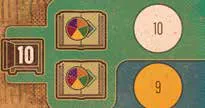 | Infamy goals — Infamy at 10, 15 or 22: $10, $15 or $20. |
Cards
Operations cards
48 cards, 12 per deck. Benefit top left (gained when played), the deck’s action below the dashed line, Leverage top right (a crossed shield = 0). Benefits are optional; the top benefit must resolve before the bottom action, but it can still be taken if that action is impossible. New Leverage applies immediately to the same action. FAQ; FAQ; FAQ; FAQ. Draw a replacement Operations card as the final step of your normal turn (FAQ). After setup you may have more or fewer than three: you are dealt one of each type, play one in the Setup Round, then account for its benefit (and a two-player Docks benefit) (FAQ). See Operations cards. The faces below are the four of each deck shown in the cited photo; the other 8 cards of each deck are not pictured in any public source we could find — read their benefit and Leverage on the card.
| Card back | Deck |
|---|
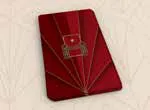 | VIP Room (red) — action: Get Protection. |
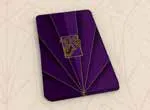 | Party (purple) — action: Sell barrels. |
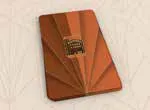 | Stills (orange) — action: Produce barrels. |
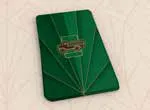 | Fleet (green) — action: Pick up and deliver barrels. |
| Card | What it is |
|---|
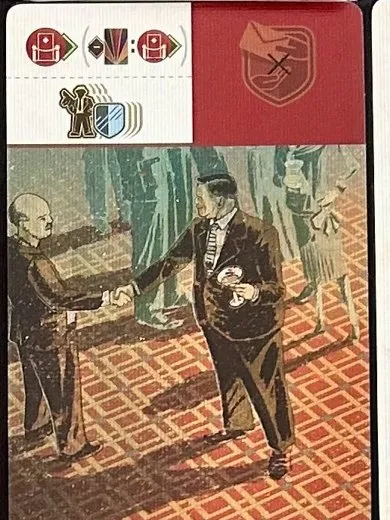 | VIP Room card — benefit: discard an Operations card to raise VIP Room by 1; Leverage 0; action: Get Protection. |
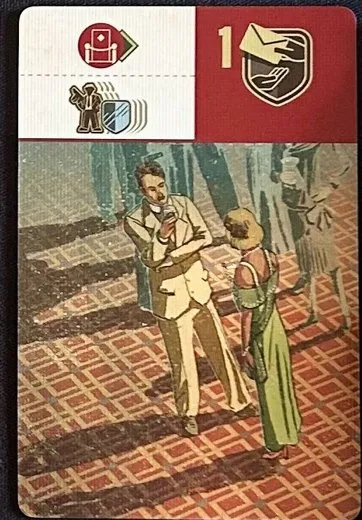 | VIP Room card — benefit: raise VIP Room by 1; Leverage 1; action: Get Protection. |
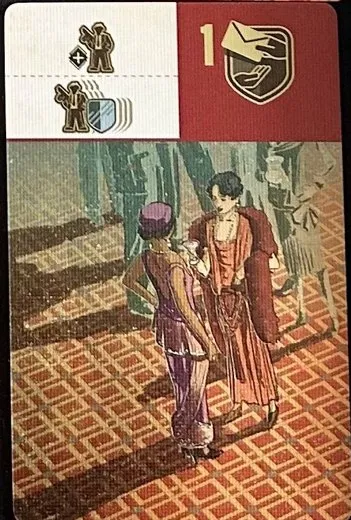 | VIP Room card — benefit: gain a Family Member; Leverage 1; action: Get Protection. |
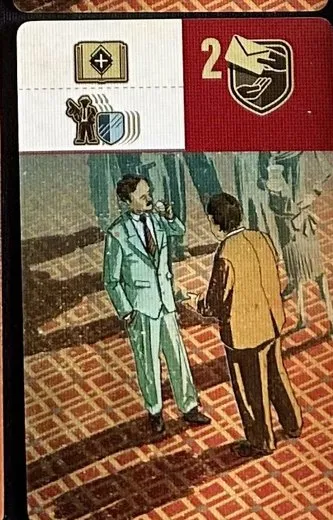 | VIP Room card — benefit: gain a Book; Leverage 2; action: Get Protection. |
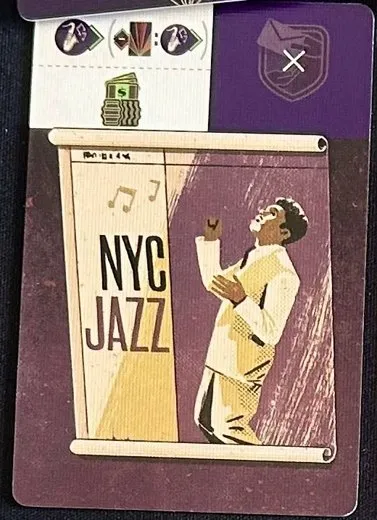 | Party card — benefit: discard an Operations card to raise Party by 1; Leverage 0; action: Sell barrels. |
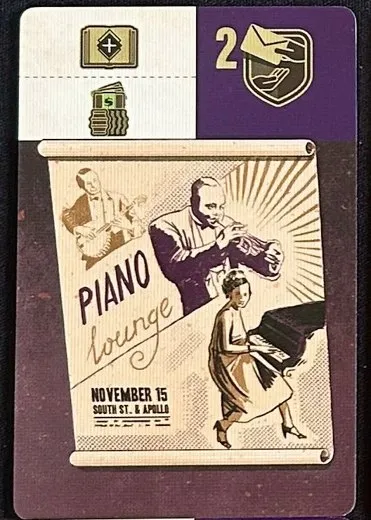 | Party card — benefit: gain a Book; Leverage 2; action: Sell barrels. |
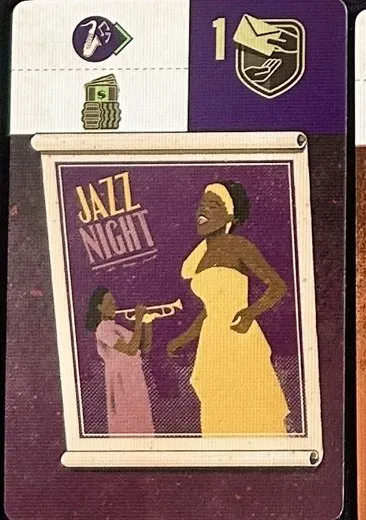 | Party card — benefit: raise Party by 1; Leverage 1; action: Sell barrels. |
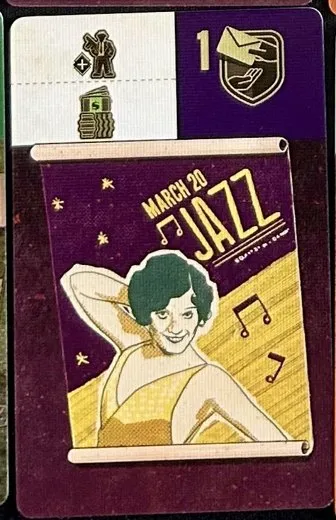 | Party card — benefit: gain a Family Member; Leverage 1; action: Sell barrels. |
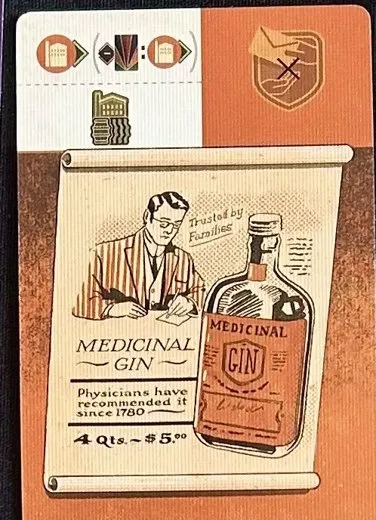 | Stills card — benefit: discard an Operations card to raise Stills by 1; Leverage 0; action: Produce barrels. |
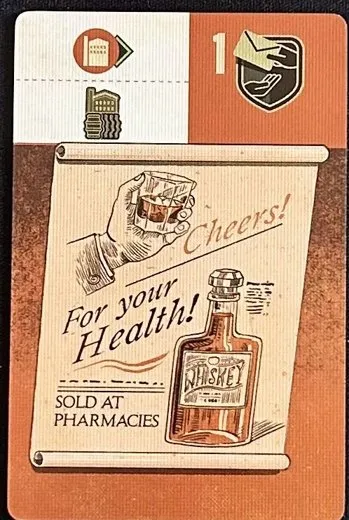 | Stills card — benefit: raise Stills by 1; Leverage 1; action: Produce barrels. |
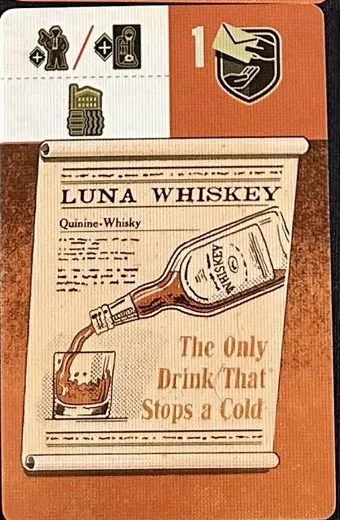 | Stills card — benefit: gain a Family Member or a Helper card; Leverage 1; action: Produce barrels. |
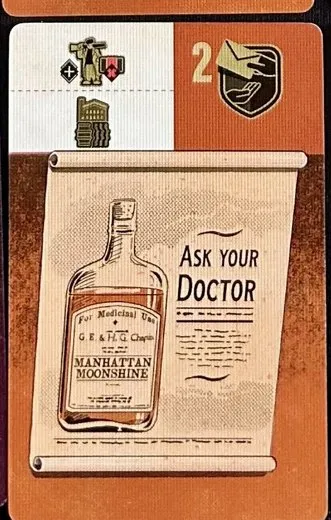 | Stills card — benefit: gain a Goon for free; Leverage 2; action: Produce barrels. |
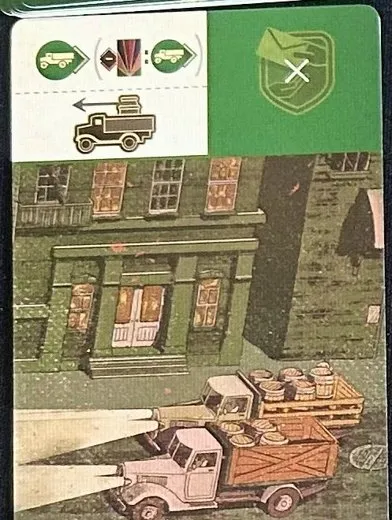 | Fleet card — benefit: discard an Operations card to raise Fleet by 1; Leverage 0; action: Pick up and deliver barrels. |
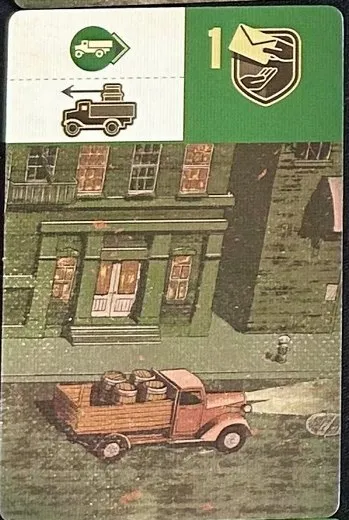 | Fleet card — benefit: raise Fleet by 1; Leverage 1; action: Pick up and deliver barrels. |
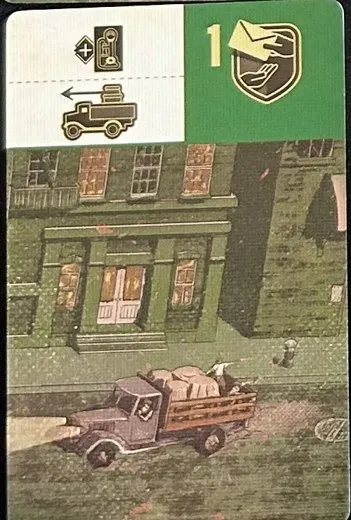 | Fleet card — benefit: gain a Helper card; Leverage 1; action: Pick up and deliver barrels. |
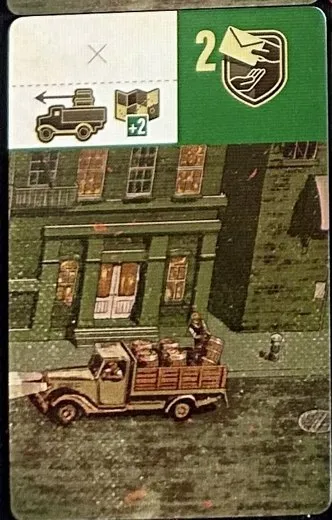 | Fleet card — benefit: no benefit — its delivery gets +2 range instead; Leverage 2; action: Pick up and deliver barrels. |
Helper cards
21 cards. Take one from the display of three (it refills); it lies face up beside your board. At the start of a later turn you may use its benefit once, then put it in your safe. At the end each card with a bottle you have not scored yet pays that bottle’s value; Helper cards can never be discarded. See Your turn and Final Scoring. When Jo refills the display, slide remaining Helpers left and place the new card at the right (FAQ). The bottle values per card are not legible in the booklet pictures.
| Card | What it is |
|---|
 | Back of the Helper deck. |
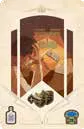 | Helper 1 — gain 2 Leverage tokens. Bottle and its value: check against the physical component. |
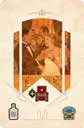 | Helper 2 — take a VIP Room Operations card. Bottle and its value: check against the physical component. |
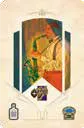 | Helper 3 — take a Party Operations card. Bottle and its value: check against the physical component. |
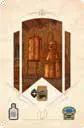 | Helper 4 — take a Stills Operations card. Bottle and its value: check against the physical component. |
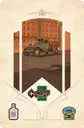 | Helper 5 — take a Fleet Operations card. Bottle and its value: check against the physical component. |
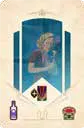 | Helper 6 — take any Operations card. Bottle and its value: check against the physical component. |
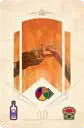 | Helper 7 — raise Strength or any Operations level by 1. Bottle and its value: check against the physical component. |
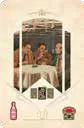 | Helper 8 — use the benefit of any Helper card in the display without taking it. Bottle and its value: check against the physical component. |
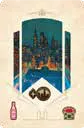 | Helper 9 — gain a City tile. Bottle and its value: check against the physical component. |
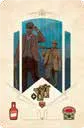 | Helper 10 — hire 2 Goons for free. Bottle and its value: check against the physical component. |
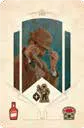 | Helper 11 — gain a Family Member. Bottle and its value: check against the physical component. |
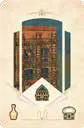 | Helper 12 — upgrade a Speakeasy (paying the cost). Bottle and its value: check against the physical component. |
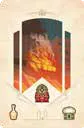 | Helper 13 — pay the building cost, replace the Mobster Speakeasy while ignoring its strength, collect any City tile there, then take the board benefit below the building (FAQ). Bottle and its value: check against the physical component. |
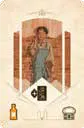 | Helper 14 — gain a Helper card. Bottle and its value: check against the physical component. |
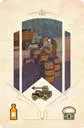 | Helper 15 — pick up and deliver barrels. Bottle and its value: check against the physical component. |
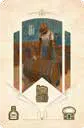 | Helper 16 — produce barrels. Bottle and its value: check against the physical component. |
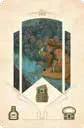 | Helper 17 — may be played even when you have no barrels to sell, to keep its bottle for final scoring (FAQ). Bottle and its value: check against the physical component. |
 | Helper 18 — gain 2 Books. Bottle and its value: check against the physical component. |
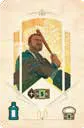 | Helper 19 — gain $5 cash. Bottle and its value: check against the physical component. |
 | Helper 20 — Get Protection. Bottle and its value: check against the physical component. |
 | Helper 21 — gain 2 Family Members. Bottle and its value: check against the physical component. |
Jo’s solo cards
Jo’s action cards (deck 0 with 7 green cards; decks 1, 3 and 4 with 3 cards, deck 2 with 5) and 16 District cards. The picture at the top shows the location Jo’s Capo goes to; the numbered icons are his actions, done in order. See Solo: Jo. On a card that opens two Speakeasies, draw a District card for each building (FAQ). Jo skips only an impossible action and continues with the rest; on Sell Barrels he cannot sell from Stills, and on Deliver he can fill only his empty Operating buildings (FAQ, FAQ, FAQ). His ambush may send the stolen barrel to his Stills if he has no empty Operating building (FAQ); Jo fills deliveries up to Fleet level, first taking barrels from Operating Stills and then the remainder from one Ship, as long as he has Operating buildings to receive them (FAQ). The building icons are small in the photo; the type read for each card (Speakeasy, Nightclub, Casino) should be checked against the physical card. The 16 District cards (district number, with a Family Member or Helper icon on some) are not pictured in any public source we could find. They count as empty only when at least one building space is unoccupied and has neither a Mobster nor one of your Speakeasies (FAQ). Jo still gets a District card’s printed bonus when he cannot place the building, though not a duplicate bonus in the same turn (FAQ). Several cards in one turn give at most one Helper card and one Family Member at the Docks (FAQ); if the indicated docks are full, he uses the lowest-numbered district to choose a Zone (FAQ).
| Card | What it is |
|---|
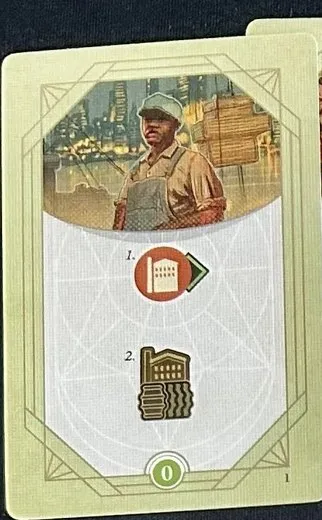 | Jo action card, deck 0 · 1. raise Stills; 2. produce barrels. |
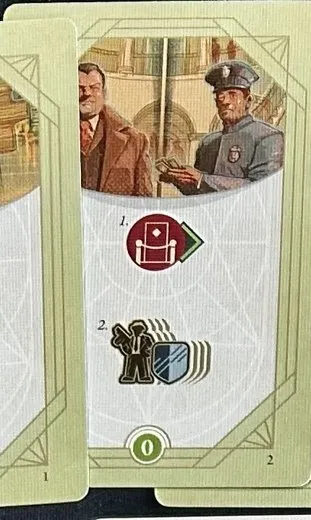 | Jo action card, deck 0 · 1. raise VIP Room; 2. Get Protection. |
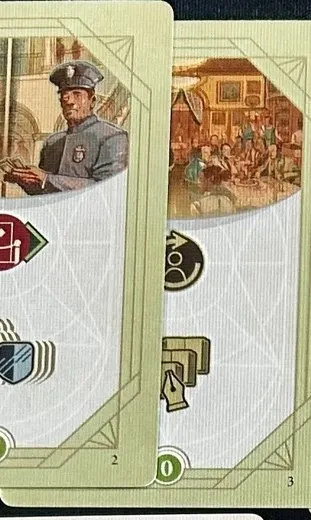 | Jo action card, deck 0 · partly hidden in the photo: shows a turn-order change and Cook Books. Check against the physical component.. |
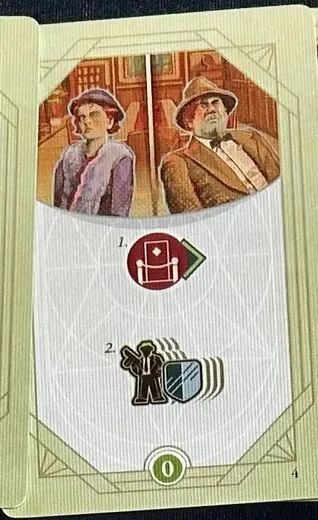 | Jo action card, deck 0 · 1. raise VIP Room; 2. Get Protection. |
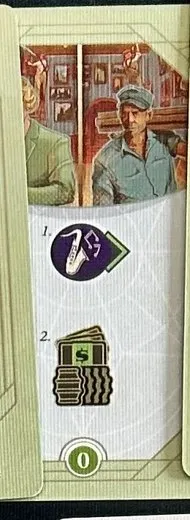 | Jo action card, deck 0 · partly hidden in the photo: shows raise Party and sell. Check against the physical component.. |
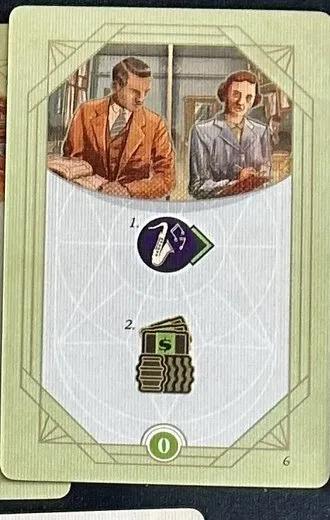 | Jo action card, deck 0 · 1. raise Party; 2. sell barrels. |
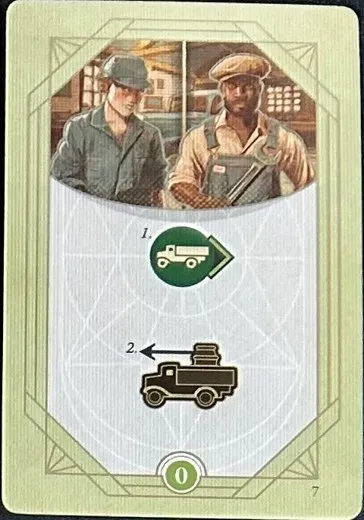 | Jo action card, deck 0 · 1. raise Fleet; 2. deliver barrels. |
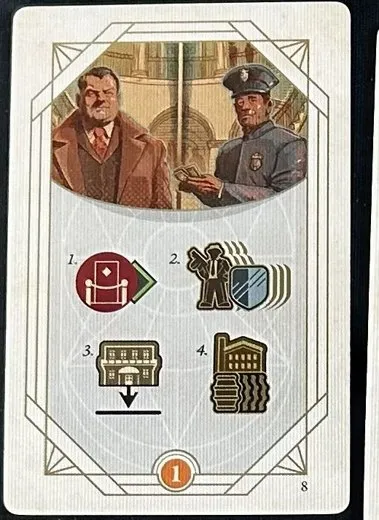 | Jo action card, deck 1 (card 8) · 1. raise VIP Room; 2. Get Protection; 3. open a Speakeasy; 4. produce barrels. |
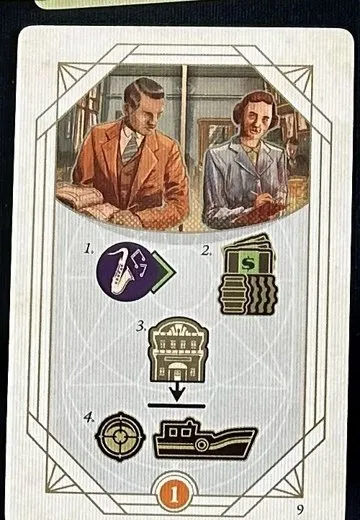 | Jo action card, deck 1 (card 9) · 1. raise Party; 2. sell barrels; 3. open a Nightclub; 4. ambush a Rum-runner. |
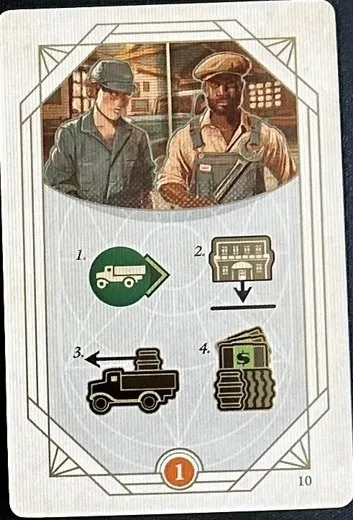 | Jo action card, deck 1 (card 10) · 1. raise Fleet; 2. open a Speakeasy; 3. deliver barrels; 4. sell barrels. |
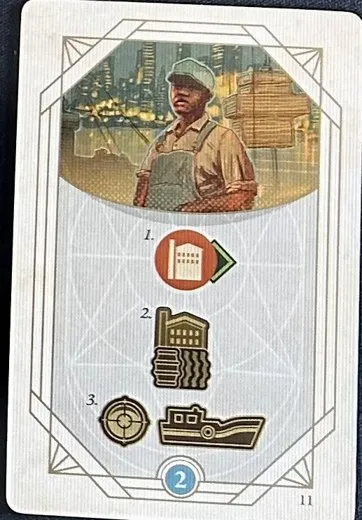 | Jo action card, deck 2 (card 11) · 1. raise Stills; 2. produce barrels; 3. ambush a Rum-runner. |
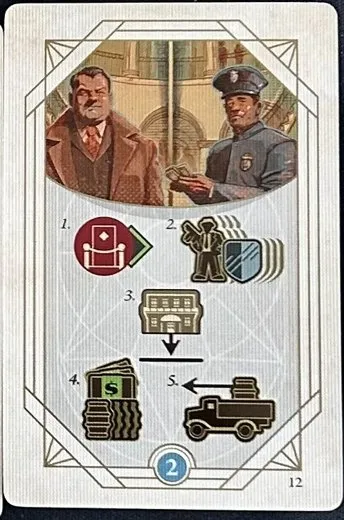 | Jo action card, deck 2 (card 12) · 1. raise VIP Room; 2. Get Protection; 3. open a Speakeasy; 4. sell barrels; 5. deliver barrels. |
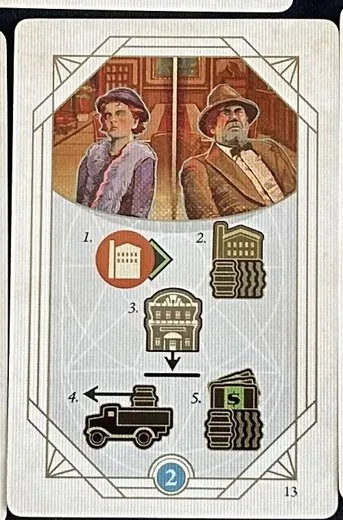 | Jo action card, deck 2 (card 13) · 1. raise Stills; 2. produce barrels; 3. open a Nightclub; 4. deliver barrels; 5. sell barrels. |
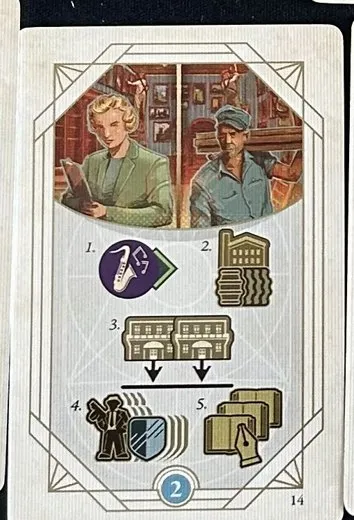 | Jo action card, deck 2 (card 14) · 1. raise Party; 2. produce barrels; 3. open 2 Speakeasies; 4. Get Protection; 5. Cook Books. (FAQ) |
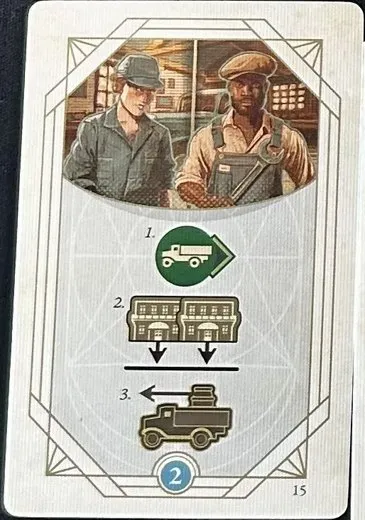 | Jo action card, deck 2 (card 15) · 1. raise Fleet; 2. open 2 Speakeasies; 3. deliver barrels. (FAQ) |
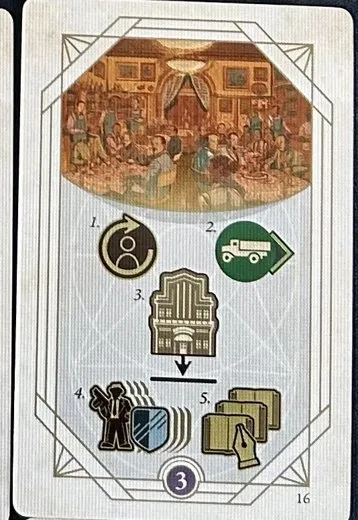 | Jo action card, deck 3 (card 16) · 1. change turn order; 2. raise Fleet; 3. open a Casino; 4. Get Protection; 5. Cook Books. |
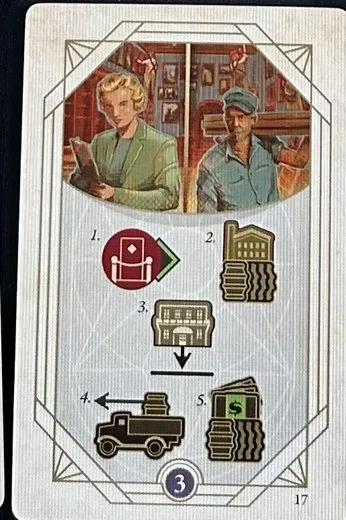 | Jo action card, deck 3 (card 17) · 1. raise VIP Room; 2. produce barrels; 3. open a Speakeasy; 4. deliver barrels; 5. sell barrels. |
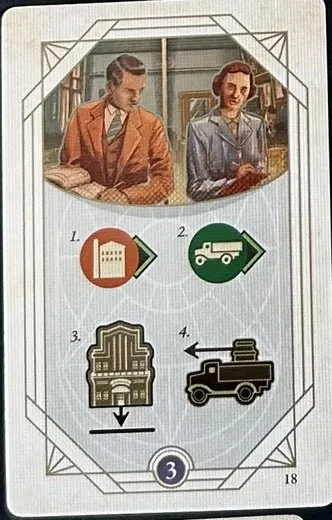 | Jo action card, deck 3 (card 18) · 1. raise Stills; 2. raise Fleet; 3. open a Casino; 3. deliver barrels. |
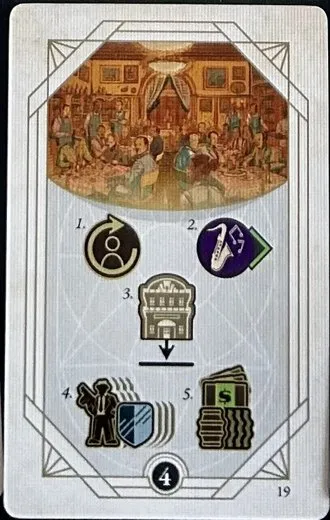 | Jo action card, deck 4 (card 19) · 1. change turn order; 2. raise Party; 3. open a Nightclub; 4. Get Protection; 5. sell barrels. |
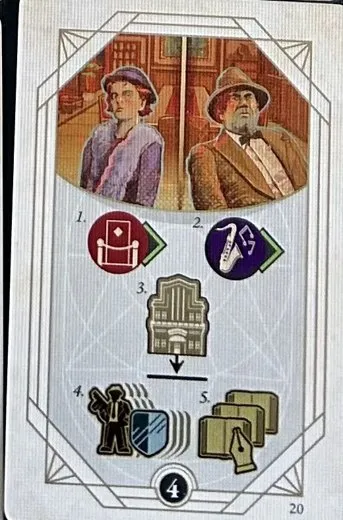 | Jo action card, deck 4 (card 20) · 1. raise VIP Room; 2. produce barrels; 3. open a Nightclub; 4. Get Protection; 5. Cook Books. |
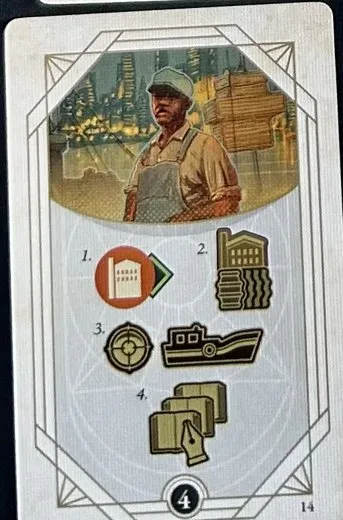 | Jo action card, deck 4 (printed number 14) · 1. raise Stills; 2. produce barrels; 3. ambush a Rum-runner; 4. Cook Books. |
Stretch Goals
[Stretch] See Stretch Goals. The booklet pictures only the backs of the player power and achievement decks; the faces of the 12 Variable Powers, 24 Once per Game, 18 Once per Act and 14 Solo Achievement cards are not in any public source we could find — read them from the cards. Variable Power / Persistent Ability 8 adds +1 total Strength per Family Member in a Dock attack, including a borrowed one; it is not multiplied by Brass Knuckles (FAQ). Variable Power 9 shifts the selling price tier up one step; it does not add a flat $5 per barrel (FAQ).
| Card | What it is |
|---|
 | Variable Powers (12) — back. Faces: check against the physical component. |
 | Once per Game (24) — back. Faces: check against the physical component. |
 | Once per Act (18) — back. Faces: check against the physical component. |
 | Solo Achievements (14): Rivalry, High Stakes, Business Savvy, The Vault, The Muscle, Cook the Books, Infamous, Showtime, High Roller, Nightlife, Rum-runners, Lone Wolf, Underlings, Big Spender — back. Conditions: check against the physical component. |
Public goal tiles
[Stretch] $10 each at the end to every player who meets it. See Public Goals.
| Tile | What it is |
|---|
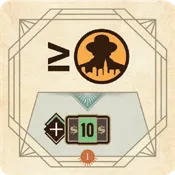 | Public goal 1 — highest (or tied) Infamy. |
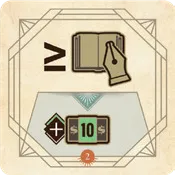 | Public goal 2 — most (or tied) Books cooked. |
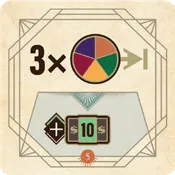 | Public goal 3 — 3 or more Operations/Strength tracks at level 5. |
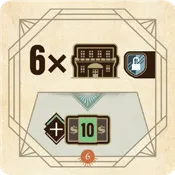 | Public goal 4 — at least 6 Speakeasies open. |
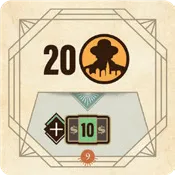 | Public goal 5 — Infamy 20 or more. |
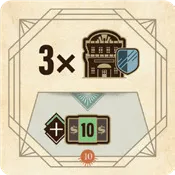 | Public goal 6 — 3 Protected Nightclubs. |
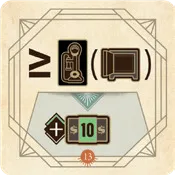 | Public goal 7 — most (or tied) Helper cards in your safe. |
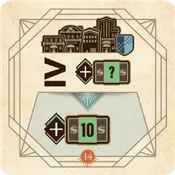 | Public goal 8 — most (or tied) money from Protected buildings. |
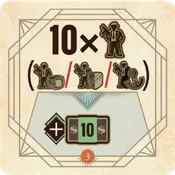 | Public goal 9 — 10 Family Members in play. |
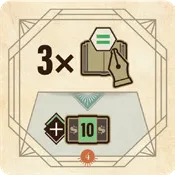 | Public goal 10 — 3 Cooked Books from Docks, City Planning, Central Park or Infamy; Zone Goal Books do not count (FAQ). |
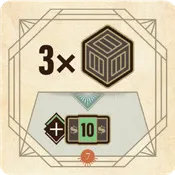 | Public goal 11 — 3 or more Crate tiles. |
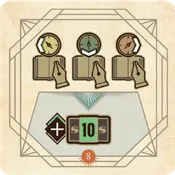 | Public goal 12 — a Book on each Zone’s Zone goal. |
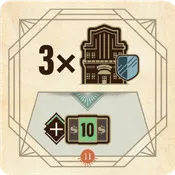 | Public goal 13 — 3 Protected Casinos. |
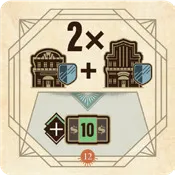 | Public goal 14 — 2 Protected Casinos and 2 Protected Nightclubs. |
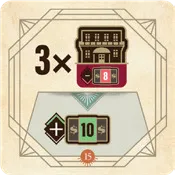 | Public goal 15 — all three $8 Speakeasies open. |
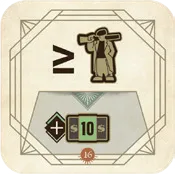 | Public goal 16 — most (or tied) Goons. |
Tiles
Mobster tiles
20 tiles in four decks by the letter top left: A (6) start on the board, B (4), C (4) and D (6) arrive in the Mob Wars after Acts 1, 2 and 3. Each shows the fee to use them as an Associate (red, top left), their strength (brown box) and — from deck B on — the Mob War modifier (red box). As an Associate their strength is added to yours when you pay the fee; the power below is printed on the tile. See Associates and Mob War. With two players, 2 random A tiles go back to the box at setup. In a Mob War, Mobsters attack each of your buildings separately; a defence that ties their strength succeeds. Reveal and resolve one district at a time, so players defend before the next district’s Mobster is revealed; old Mobsters attack again in later Wars (FAQ, FAQ, FAQ, FAQ).
| Picture | What it is |
|---|
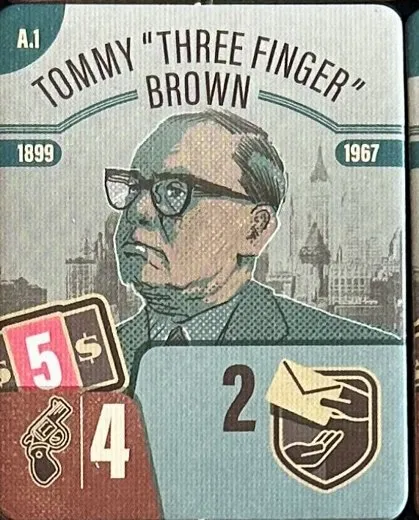 | Tommy “Three Finger” Brown (A.1) · fee $5 · strength 4. Associate power: +2 Leverage whenever you Get Protection, without paying him. |
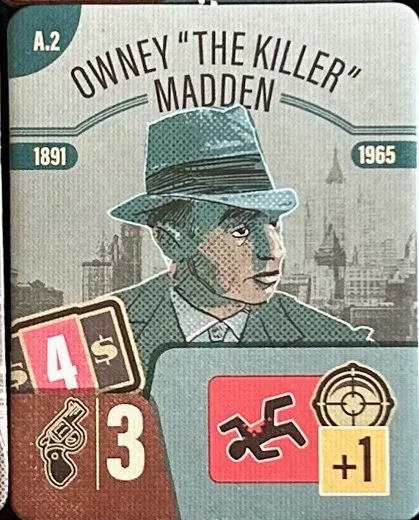 | Owney “The Killer” Madden (A.2) · fee $4 · strength 3. Associate power: +1 to your building defence in every Mob War, without paying him. |
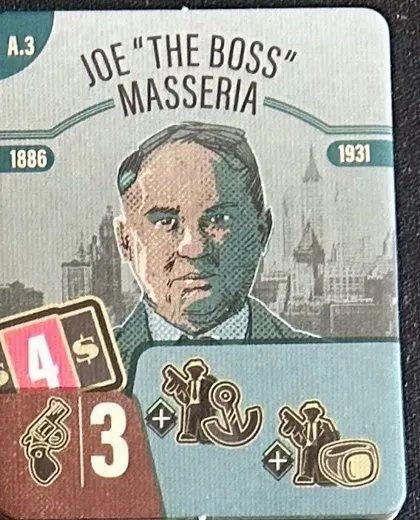 | Joe “The Boss” Masseria (A.3) · fee $4 · strength 3. Associate power: At once: put a Family Member at the Docks (gain that space’s benefit) and another in your VIP area. |
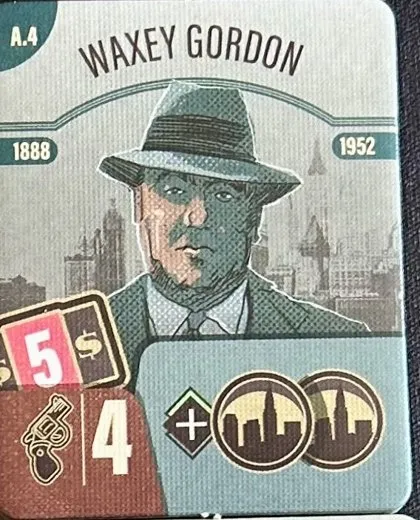 | Waxey Gordon (A.4) · fee $5 · strength 4. Associate power: At once: take 2 City tiles from the display (refill it). |
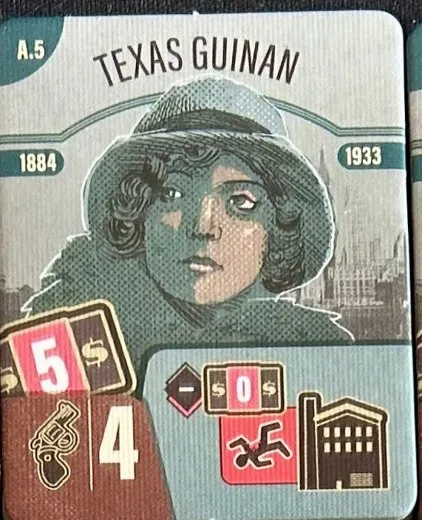 | Texas Guinan (A.5) · fee $5 · strength 4. Associate power: Your Stills always survives a Mob War, for free, whatever the strength (FAQ). |
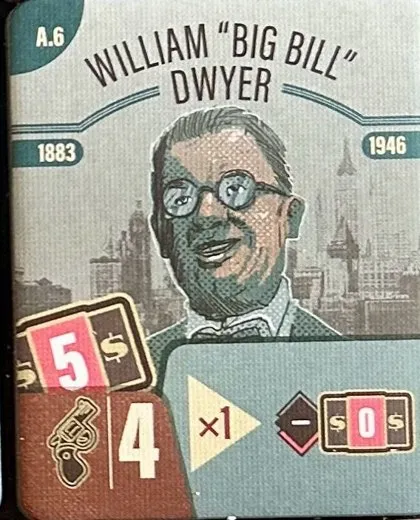 | William “Big Bill” Dwyer (A.6) · fee $5 · strength 4. Associate power: Once: use him for free for one attack or defence (keep him City side up until used). Not against Rum-runners; he cannot boost an ambush against a Rum-runner ship (FAQ). |
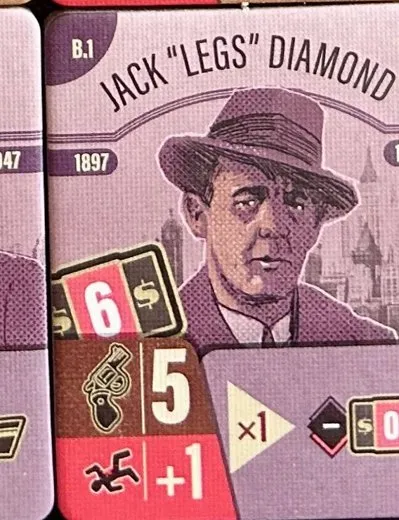 | Jack “Legs” Diamond (B.1) · fee $6 · strength 5 · Mob War strength 5+1 = 6. Associate power: Once: use him for free for one attack or defence (keep him City side up until used). |
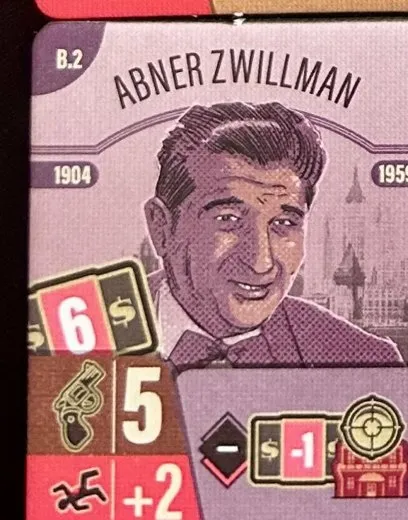 | Abner Zwillman (B.2) · fee $6 · strength 5 · Mob War strength 5+2 = 7. Associate power: $1 cheaper to use when taking over a Mobster Speakeasy. |
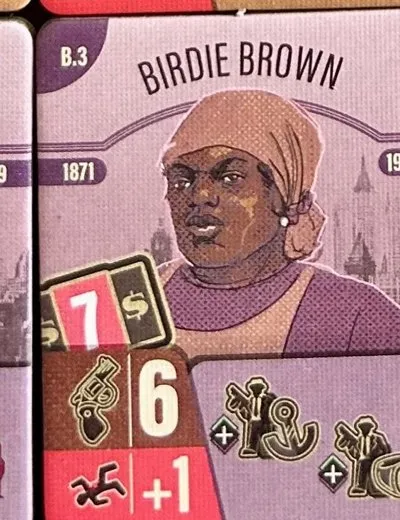 | Birdie Brown (B.3) · fee $7 · strength 6 · Mob War strength 6+1 = 7. Associate power: At once: put a Family Member at the Docks (gain that space’s benefit) and another in your VIP area. |
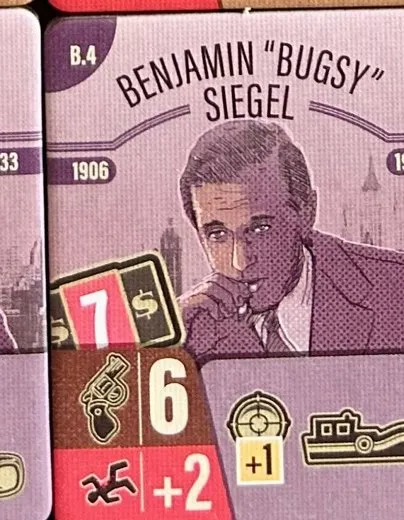 | Benjamin “Bugsy” Siegel (B.4) · fee $7 · strength 6 · Mob War strength 6+2 = 8. Associate power: +1 attack strength against Rum-runners. |
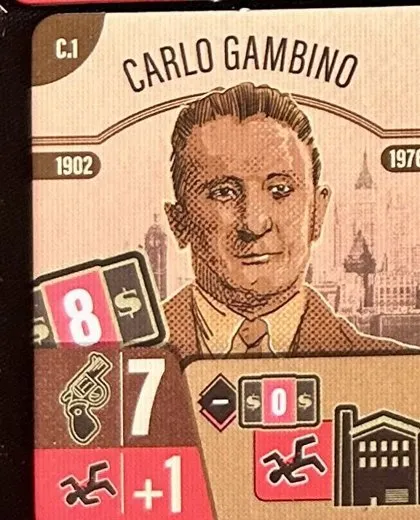 | Carlo Gambino (C.1) · fee $8 · strength 7 · Mob War strength 7+1 = 8. Associate power: Your Stills always survives a Mob War, for free, whatever the strength (FAQ). |
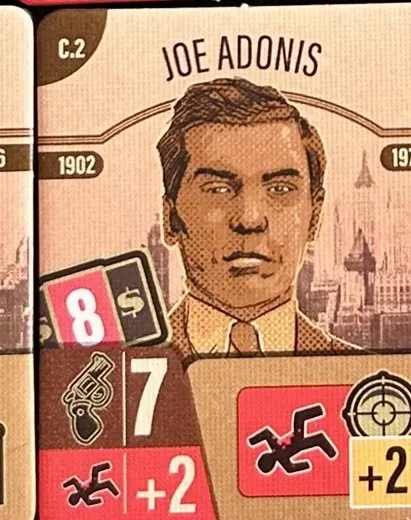 | Joe Adonis (C.2) · fee $8 · strength 7 · Mob War strength 7+2 = 9. Associate power: +2 to your building defence in every Mob War, without paying him. |
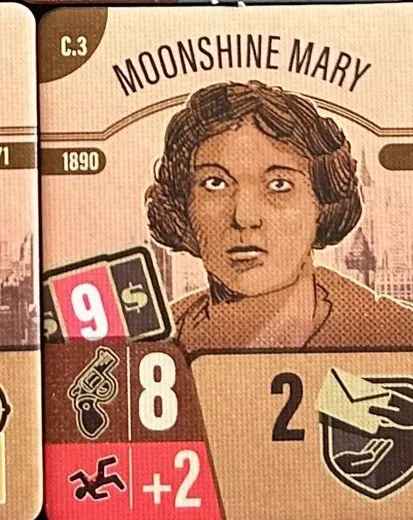 | Moonshine Mary (C.3) · fee $9 · strength 8 · Mob War strength 8+2 = 10. Associate power: +2 Leverage whenever you Get Protection, without paying her. |
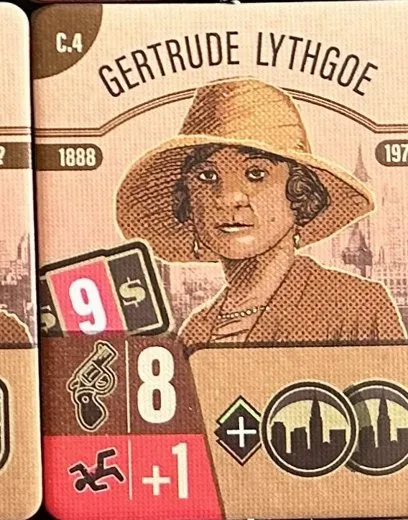 | Gertrude Lythgoe (C.4) · fee $9 · strength 8 · Mob War strength 8+1 = 9. Associate power: At once: take 2 City tiles from the display (refill it). |
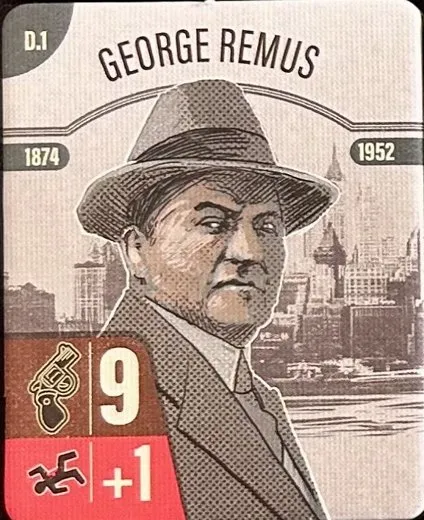 | George Remus (D.1) · strength 9 · Mob War strength 9+1 = 10. No fee and no Associate power are printed: a D Mobster only fights. |
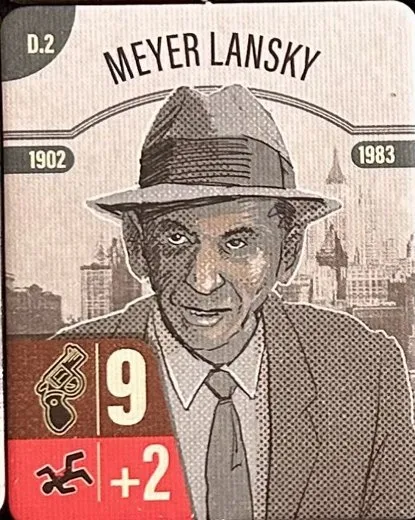 | Meyer Lansky (D.2) · strength 9 · Mob War strength 9+2 = 11. No fee and no Associate power are printed: a D Mobster only fights. |
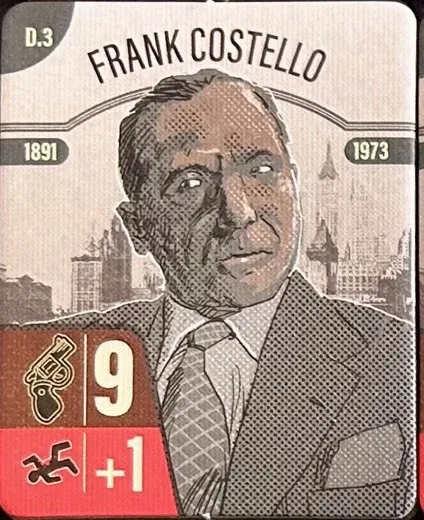 | Frank Costello (D.3) · strength 9 · Mob War strength 9+1 = 10. No fee and no Associate power are printed: a D Mobster only fights. |
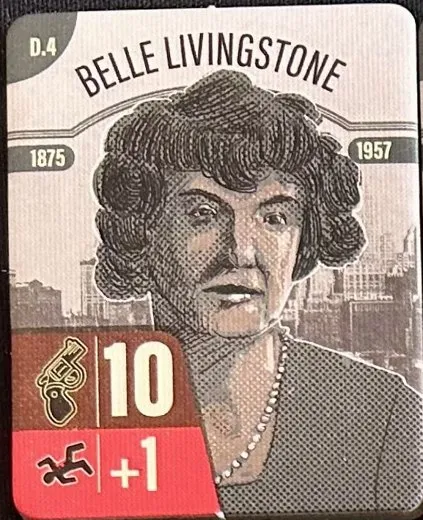 | Belle Livingstone (D.4) · strength 10 · Mob War strength 10+1 = 11. No fee and no Associate power are printed: a D Mobster only fights. |
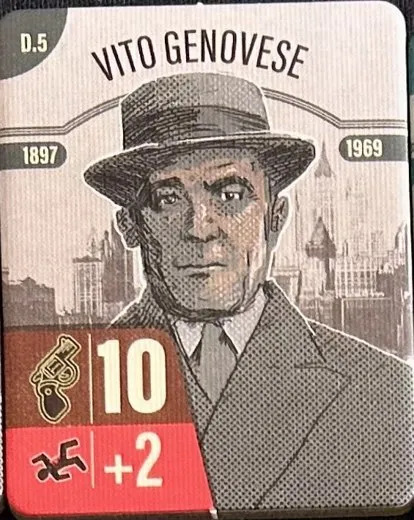 | Vito Genovese (D.5) · strength 10 · Mob War strength 10+2 = 12. No fee and no Associate power are printed: a D Mobster only fights. |
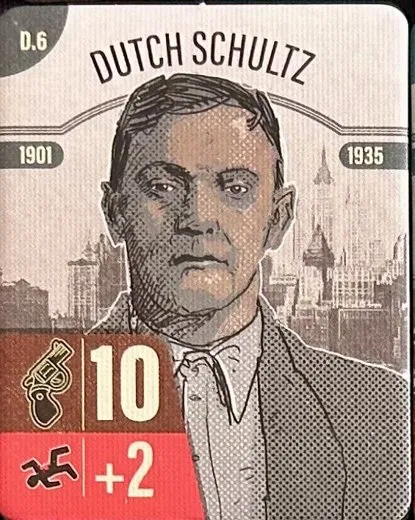 | Dutch Schultz (D.6) · strength 10 · Mob War strength 10+2 = 12. No fee and no Associate power are printed: a D Mobster only fights. |
The back of each A–C tile is its Associate side, shown on your board while the Mobster works for you (three examples):
| Picture | What it is |
|---|
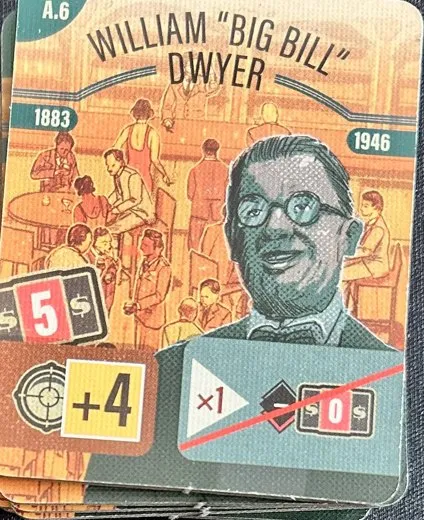 | William “Big Bill” Dwyer — Associate side. |
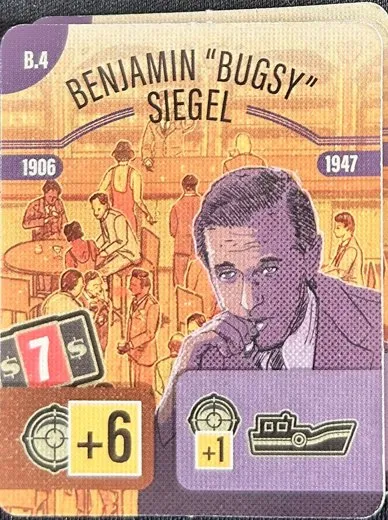 | Benjamin “Bugsy” Siegel — Associate side. |
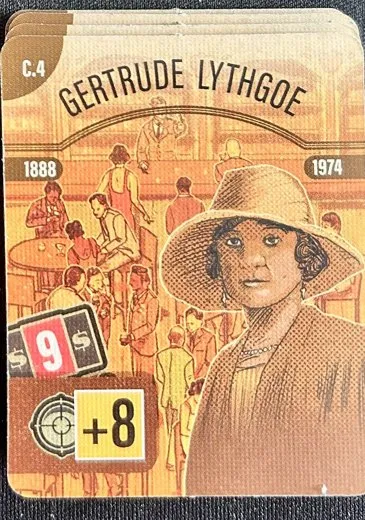 | Gertrude Lythgoe — Associate side. |
City tiles
54 tiles with 18 different faces. You collect one when you build on its space (or from the display); at the Restaurant you play up to two for their effect. After playing or discarding tiles, place them in the three middle-column spaces of the display, filling empties first and keeping the spaces even (FAQ). Keep at most four on your board at the end of a turn (City tile limit).
| Tile | What it is |
|---|
 | Back of the City tiles. |
 | City tile — gain a VIP Room Operations card. |
 | City tile — gain a Party Operations card. |
 | City tile — gain a Stills Operations card. |
 | City tile — gain a Fleet Operations card. |
 | City tile — gain any Operations card. |
 | City tile — gain a Helper card. |
 | City tile — pick up and deliver barrels. |
 | City tile — gain a Book. |
 | City tile — raise Strength or any Operations level by 1. |
 | City tile — produce barrels. |
 | City tile — sell barrels. |
 | City tile — open a Speakeasy or take over a Mobster Speakeasy (pay the cost). |
 | City tile — open, take over or upgrade to a Nightclub (pay the cost). |
 | City tile — open, take over or upgrade to a Casino (pay the cost). |
 | City tile — gain a Family Member. |
 | City tile — gain a Goon for free. |
 | City tile — Get Protection. |
 | City tile — gain 2 Leverage tokens. |
Crate tiles
18 tiles. When you win an ambush you get the front’s cash at once (to your pocket), then flip the tile: its back is a lasting bonus, and bonuses add up. The top of each front shows its back. Tiles marked  ignore the Golden Rule.
| Front | What it is |
|---|
 | Crate 1 — front: $4 for each of your Books on the main board (max $24). Back: every Sell action sells 1 more barrel. |
 | Crate 2 — front: $5 per Party level. Back: every Sell action sells 1 more barrel. |
 | Crate 3 — front: $6 per Family Member on your Operations board. Back: +1 building defence in Mob Wars. |
 | Crate 4 — front: $3 per Goon on your Operations board. Back: +1 building defence in Mob Wars. |
 | Crate 5 — front: $5 per Strength level. Back: using your Associate costs $2 less. |
 | Crate 6 — front: $3 × your Associate’s strength (max $24). Back: using your Associate costs $2 less. |
 | Crate 7 — front: $4 per City tile on or beside your Operations board. Back: your City tile limit is 5. |
 | Crate 8 — front: $3 per Operations card in your hand (max $24). Back: your City tile limit is 5. |
 | Crate 9 — front: $5 per Fleet level (no maximum — the rulebook example showing $24 is outdated; a Fleet level of 5 pays $25 FAQ). Back: each Truck has +1 range. |
 | Crate 10 — front: $5 per barrel beside your buildings, not the Stills (max $25). Back: each Truck has +1 range. |
 | Crate 11 — front: $1 per space of your Infamy. Back: when you send a Family Member to the Docks, take any of the four Docks benefits. |
 | Crate 12 — front: $4 per level of your highest Operations or Strength track. Back: when you send a Family Member to the Docks, take any of the four Docks benefits. |
 | Crate 13 — front: $4 per Nightclub and Casino you have open, Operating or not. Back: +1 attack strength when taking over a Mobster Speakeasy. |
 | Crate 14 — front: $4 per Helper card you have, in your safe or not (max $24). Back: +1 attack strength when taking over a Mobster Speakeasy. |
 | Crate 15 — front: $4 per Family Member protecting a building (max $24). Back: +2 permanent Leverage. |
 | Crate 16 — front: $5 per VIP Room level. Back: +2 permanent Leverage. |
 | Crate 17 — front: $4 per Family Member (anyone’s) on the Dock you attacked from. Back: every Produce action makes 1 more barrel. |
 | Crate 18 — front: $5 per Stills level. Back: every Produce action makes 1 more barrel. |
| Back | What it is |
|---|
 | Back of Crates 1 and 2 — every Sell action sells 1 more barrel. |
 | Back of Crates 3 and 4 — +1 building defence in Mob Wars. |
 | Back of Crates 5 and 6 — using your Associate costs $2 less. |
 | Back of Crates 7 and 8 — your City tile limit is 5. |
 | Back of Crates 9 and 10 — each Truck has +1 range. |
 | Back of Crates 11 and 12 — when you send a Family Member to the Docks, take any of the four Docks benefits. |
 | Back of Crates 13 and 14 — +1 attack strength when taking over a Mobster Speakeasy. |
 | Back of Crates 15 and 16 — +2 permanent Leverage. |
 | Back of Crates 17 and 18 — every Produce action makes 1 more barrel. |
Central Park goal tiles
21 tiles, 7 each with backs A, B and C; 2 A, 2 B and 1 C are used, all with different numbers. A Book on a goal pays $10 to your safe plus the benefit of its space. See Central Park goals. The padlock-marked goals can count a non-Operating building; minimum-Strength goals check Strength without spending Goons or an Associate (FAQ, FAQ). Which tiles carry and each tile’s number are printed on the tile.
| Tile | What it is |
|---|
 | Back A. |
 | Back B. |
 | Back C. |
 | A goal — have 3 Protected buildings. |
 | A goal — have a Nightclub with a barrel. |
 | A goal — have 3 buildings with barrels (not Stills). |
 | A goal — have 5 Leverage on all your components. |
 | A goal — have 4 Operations/Strength levels at 3 or more. |
 | A goal — have strength 9 or more (yours + Associate + Goons) (FAQ). |
 | A goal — have a Casino with a barrel. |
 | B goal — have a Speakeasy in each Zone. |
 | B goal — have 2 Nightclubs with barrels. |
 | B goal — have a building with a barrel in each Zone (not Stills). |
 | B goal — have 7 Leverage on all your components. |
 | B goal — have 3 Operations/Strength levels at 4 or more. |
 | B goal — have strength 12 or more (FAQ). |
 | B goal — have 2 Casinos with barrels. |
 | C goal — have 5 Speakeasies open. |
 | C goal — have 3 Nightclubs with barrels. |
 | C goal — have 4 buildings with barrels (not Stills). |
 | C goal — have 9 Leverage on all your components. |
 | C goal — have 2 Operations/Strength levels at 5. |
 | C goal — have strength 15 or more (FAQ). |
 | C goal — have 3 Casinos with barrels. |
Zone goal tiles
9 tiles; one goes beside each Zone. Every building shown must be Protected and in that Zone; goals count only within their own Zone (FAQ, FAQ). A Book pays $20 to your safe plus the space’s benefit. See Zone goals.
| Tile | What it is |
|---|
 | Back of the Zone goal tiles. |
 | Zone goal — have a Speakeasy and a Casino in different districts., |
 | Zone goal — have a Speakeasy and a Casino in the same district., |
 | Zone goal — have a Speakeasy and a Nightclub in different districts., |
 | Zone goal — have a Speakeasy and a Nightclub in the same district., |
 | Zone goal — have 2 Speakeasies in different districts., |
 | Zone goal — have 2 Speakeasies in the same district., |
 | Zone goal — have 3 Speakeasies., |
 | Zone goal — have a Nightclub and a Casino in the same district., |
 | Zone goal — have a Nightclub and a Casino in different districts., |
Tokens & pieces
Player pieces
Each colour has, in its tray:
| Picture | What it is |
|---|
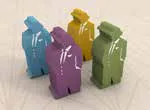 | Capos (4 per colour) — your workers. One player may visit the Restaurant in multiple rounds of an Act; selecting your currently open turn-order position still counts as a change (FAQ). The Park action cannot bump your own Capo (FAQ); in solo, when each action space holds one player Capo, send yours to the Park and move Jo into your vacated space (FAQ) (FAQ). See Your turn. |
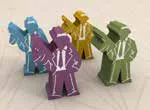 | Family Members (12 per colour) — protect buildings and attack ships. They do not add to Mob War defence (FAQ); Jo pays as much as he can for each building, but loses one if he cannot pay at least $1 (FAQ). If a Mobster takes over your building, the building and protecting Family Member leave play and its barrel returns to supply (FAQ). Once sent to the Docks they return to your VIP area only after you win a Rum-runner attack (FAQ). Jo receives no bonus for placing a Family Member on a lower Dock position (FAQ). When you hire another player’s Family Member, $2 leaves your Safe: $1 goes to them and $1 returns to supply (FAQ). See Gain a Family Member. |
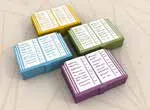 | Books (10 per colour) — cooked on goals for safe money. You may place multiple Books on different goals in the same area in one action, but not both spaces of one goal; each benefit resolves immediately, so an earlier Book may unlock a later placement (FAQ) (FAQ). A Book on a Speakeasy goal stays valid even if that building is later upgraded (FAQ). See Cooking the Books. |
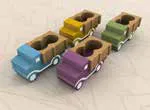 | Trucks (2 per colour) — carry up to 2 barrels each. Pickup from a Still or ship and delivery to a building in the same district costs no movement if the truck visits that district (FAQ). Barrels still move only in a Delivery action; trucks cannot trade them (FAQ). District 14 is adjacent to 11 and 12 (FAQ). See Garage. |
 | Stills (1 per colour) — produce and store barrels; Protected Stills score $20 at the end (FAQ). They have unlimited storage. Barrels reach an Operating building only in a Pick Up and Deliver action, even within the same district (FAQ, FAQ). A Cop makes the building inoperative, but its unsold barrels remain (FAQ). See Produce barrels. |
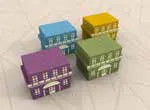 | Speakeasies (8 per colour) — sell barrels at the lower price; $10 at the end if Protected. Only Protected buildings score at the end (FAQ). A non-operating building can become Operating again if the Cop leaves (FAQ); its unsold barrels remain if a Cop shuts it down (FAQ). |
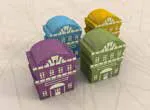 | Nightclubs (3 per colour) — sell at the higher price; at most one per Zone; $15 at the end if Protected. Only Protected buildings score at the end (FAQ). An unprotected Speakeasy may be upgraded, and the upgrade does not require first clearing a group of three (FAQ, FAQ); upgrading preserves protection (FAQ). |
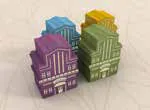 | Casinos (3 per colour) — sell at the higher price and skim cash when turn order changes; at most one per Zone; $20 at the end if Protected. Only Protected buildings score at the end (FAQ). Casino payout requires it to be Operating, not Protected; payout and turn-order changes happen at the end of each round in which someone visits the Restaurant (FAQ, FAQ). Only a Speakeasy can be upgraded to a Casino or Nightclub (FAQ). |
 | Operations markers (4) and Strength marker — on your board’s tracks. When your Infamy marker reaches the space that grants both an Operations and Helper card, take them immediately; only the Operations card can be played that turn (FAQ). See Operations levels. |
 | Infamy marker — on the Infamy track; when Jo reaches a bonus space granting Operations and Helper cards, he takes the Helper and $15 safe bonus but not Operations cards or Family Members (FAQ). See Infamy. |
 | Turn Order marker — see Turn order and Casino skim; at the Restaurant you may choose the position it already occupies (FAQ). |
 | Zone Control markers (3 per colour, plus 3 grey Mobster markers) — protected buildings rank above unprotected ones for control when no Cop is present (FAQ). See Payout Zone Control. |
 | Associate marker — marks your Associate’s district. If every Mobster Speakeasy in the district is taken over, the Mobster stays and your association remains (FAQ). You may associate with a Mobster in a district where you already have a building (FAQ). See Associates. |
Shared pieces and tokens
| Picture | What it is |
|---|
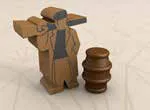 | Goons (24) — add strength when spent; strength goals check your current strength without spending Goons or paying an Associate (FAQ). Barrels (40) — the liquor you produce, carry and sell; you load and unload them only during a Delivery action (FAQ). |
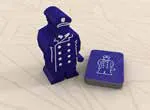 | Cops (16) and Cop District tiles (16, one per district) — a tile shows where a Cop will arrive; a Cop shuts down a building, but does not remove its unsold barrels (FAQ). See Cops Patrol Manhattan. |
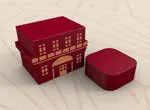 | Mobster Speakeasies (24) — the Mobsters’ buildings; take them over to build there. You may take one over even if another player is its Associate; the Associate is retained, and the current Associate cannot target that Mobster (FAQ). If all are taken over, the Mobster and your association stay in play (FAQ). An upgrade discount does not apply to a takeover (FAQ); if a takeover removes your building, Family Member and barrel, the building and Family Member return from play and barrel goes to supply (FAQ). |
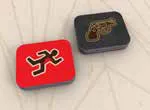 | Mobster District tiles (16, red body side) show where the next Mobster arrives; Mobster Strength tiles (20) give each district’s defence. See Mob War. |
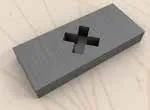 | Blocked District markers (5) — close districts with 1–2 players. With 3 players, do not block a district; use a marker only to cover the 4th Restaurant turn-order position (FAQ). |
 | Leverage tokens (20) — +1 Leverage each when discarded for Get Protection. |
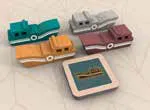 | Rum-runner Ships (4) and Port tiles (7) — Port tiles only place Ships at setup. You may buy at most two barrels from one Ship; afterward it sails to the next empty port, so you cannot buy from that Ship again at the same port this turn (FAQ, FAQ). |
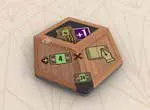 | Crate tiles (18) — won from ships; every face is below. |
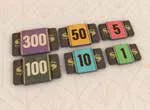 | Money in $1, $5, $10, $50, $100 and $300 — unlimited; Jo starts with none (FAQ). |
Icons
A vertical dotted line means resolve both effects, in either order; a slash means choose one (FAQ).