Exhibition Round
Rounds III, VI, IX and XII: exchanging Prestige for VP, showing a Collection, the four award categories, Prestige per player count, ties, selling and repaying debts.
In an Exhibition round the board isn’t refilled and the First Player token stays put. Five phases, in order.
1. Prestige exchange phase
Exchange every  Prestige token won at the previous Exhibition for VP and move your VP marker:
| Players | VP per Prestige |
|---|---|
| 2 | 1 |
| 3 | 2 |
| 4 | 3 |
Skip this phase in round III: nobody has Prestige yet.
2. Show phase
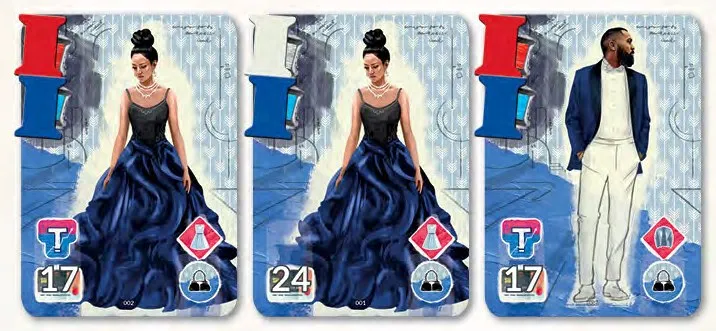
In turn order, each player chooses one Collection and lays it out for all to see: any number of Design cards of the same Style, each finished — you have both Materials it shows. Put the Materials on the cards.
| Style | Icon |
|---|---|
| Evening |  |
| Business |  |
| Casual |  |
| Rock |  |
| Sport |  |
- Design bonuses: a Design in your Collection gives the bonus printed under its Materials — 1
 or
1
 — or, with a small “2 Cash” symbol, it sells for 2 more.
- Clothing Type: each Design of the type on your player board (
 ) gives 1 . A Design can give 2 Trend this way.
- Changing a Style: some abilities let you put a Style token (a given Style) or a Style Adjustment token
 (any Style) on a finished Design, so it joins the Collection. Decide when you present it.
- One Collection for the whole round, judged at every show of that round.
3. Award phase
Each Fashion Show tile on this round’s Calendar space lists the four categories from most to least important. Only the top ones count, depending on the round:
| Round | Shows | Categories judged on each |
|---|---|---|
| III | 1 | all 4 |
| VI | 2 | top 3 |
| IX | 3 | top 2 |
| XII | 4 (Last Quarter tiles) | top 1 (the greyed one only with a Journalist) |
Award categories
| Category | Counts | Gained from |
|---|---|---|
| Quality | Quality tokens | Buying Materials at 6, 7, 8 (even unused ones); Design bonuses in the Collection; cards; location 9 |
| Trend | Trend tokens | Design bonuses and your Clothing Type in the Collection; cards; location 9 |
 Public Relations | PR tokens | Cards; location 9 |
 Quantity | Designs in your Collection | — |
Tokens from Working rounds count at every show of the round; tokens printed on a Design count only if it is in the Collection. To place in a category you must show at least one Design and have at least one of that category’s tokens.
Prestige per category
Read the categories from the top of each tile:
| Category | 2 players | 3 players | 4 players |
|---|---|---|---|
| 1st | 1st 4, 2nd 1 | 1st 4, 2nd 2 | 1st 4, 2nd 2 |
| 2nd | 1st 3 | 1st 3, 2nd 1 | 1st 3, 2nd 2 |
| 3rd | 1st 2 | 1st 2, 2nd 1 | 1st 2, 2nd 1 |
| 4th | 1st 1 | 1st 1 | 1st 1 |
Each show is scored separately; your same tokens are ranked in each.
Ties
- Two players tied for 1st both score as 2nd; the next player drops to 3rd (nothing).
- Three or more tied for 1st all count as 3rd — nothing.
- Two tied for 2nd both count as 3rd — nothing.
Keep your Prestige by your board until the next Exhibition. All tiles are visible from round I: plan which categories each quarter rewards.
4. Sales phase
- Prestige effect — gain Cash = your Prestige won this round × the number of Designs you showed (2 Designs, 4 Prestige → 8).
- Collection sale — gain the Cash price of each Design shown, then discard those Designs and their Materials. Unshown Designs and spare Materials stay.
- Discard tokens — discard all tokens. Keep your Prestige.
5. Upkeep phase
Use Upkeep abilities, pay your Upkeep, then repay all Credits and Loans (Credits and loans). Then flip the Contracts you took this quarter and discard those flipped last time. Move the Calendar marker on.
Last quarter
After round IX’s Exhibition, shuffle the Last Quarter Contracts, Buildings and Employees into separate decks on locations 2, 3 and 4, face up, and continue. Last Quarter cards can’t be trained or upgraded, and Contracts no longer weaken. After round XII comes the final scoring.