Cards & Components
Every Paragliders component with a picture and what it does: map tiles and edges, Weather and Thermal Lift boards, Altitude Track, the Skill Move and five Stunt cards, weather tiles, antennas, GPS markers, clouds and the pilots' pieces.
All pictures come from Thematic Games’ English rulebook (its component page and examples); it is the
only public source of component art so far, and its pictures are small. Effects are in our own words;
the rulebook wins.
Boards
| Picture | Description |
|---|
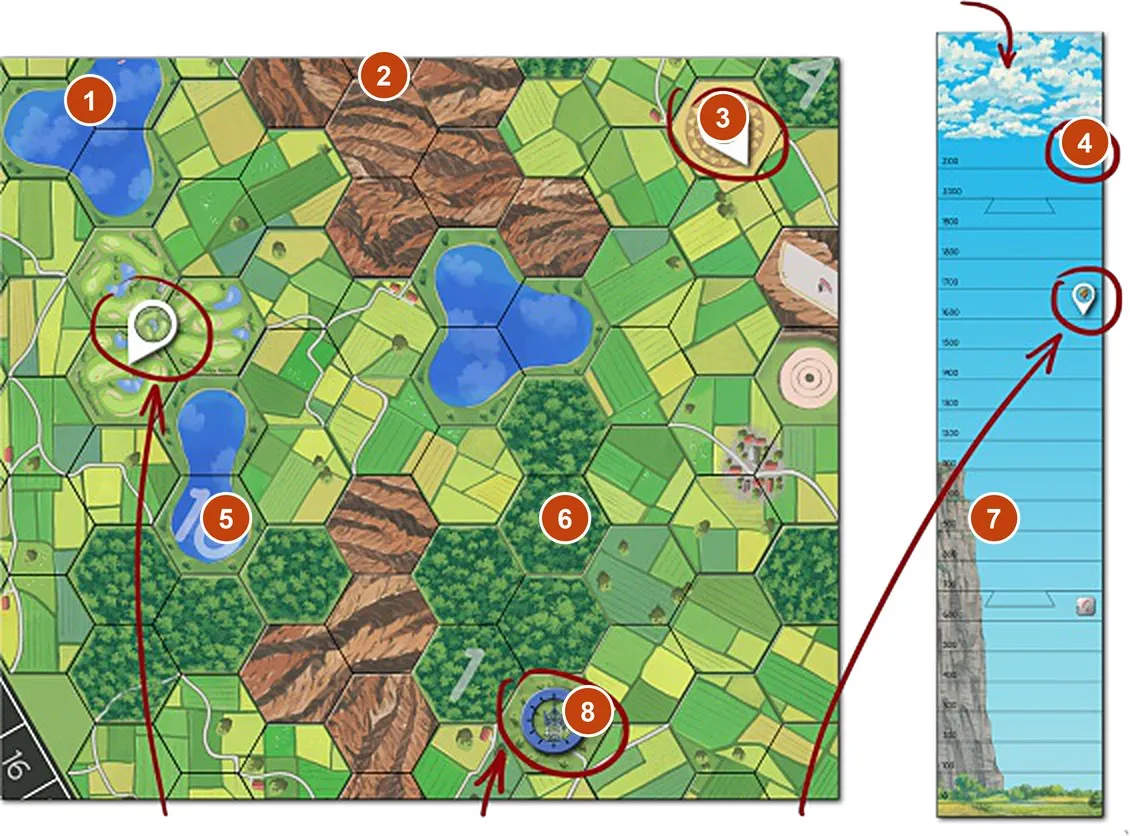 | The map — built at every setup from the map tiles inside the six Map Edges (numbered tour). Mountains block entry until you are already at their mountaintop height; you cannot choose one as your final landing spot. |
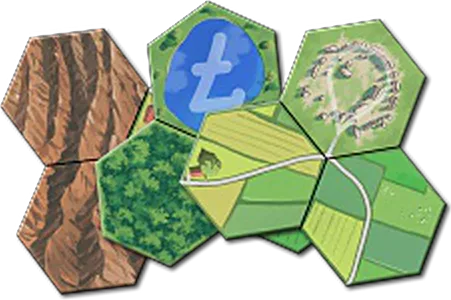 | Map tiles (61, double-sided) — three hexagons each, in four terrains; the Starting Tile and the three Antenna Tiles are set aside at setup (setup). |
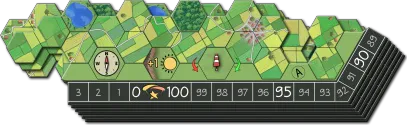 | Map Edges (6, lettered A–F) — the frame of the map, with the score track round it, the take-off and wind spots, and three weather hexagons on edge A that are not part of the map (Flying rules). |
 | Weather Board — the 12 hours of Weather Tiles above the time track from 08:00 to 20:00 and the points row (numbered tour, Update time). The time marker advances after each round, but the forecast changes only when it enters a new hour; antenna points use the value beneath that marker. |
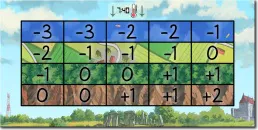 | Thermal Lift Board — the altitude change of each terrain at each temperature (Thermal value). Read the row for your hexagon’s terrain and the column framed by the Thermal Indicator; add that value after moving. |
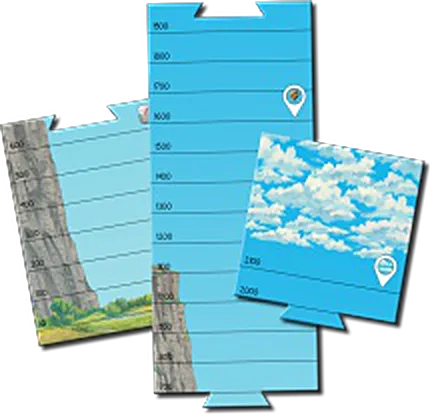 | Altitude Track (3 pieces, easy side and difficult ”!” side) — altitude steps of 100 m, the cliff showing the mountaintop, the balloon and cloud-ceiling GPS slots and the Survivor ruler’s spot (Your paraglider). Check mountain height before entering a mountain hex; weather there cannot lift you over a wall you were too low to cross. |
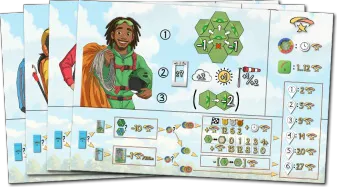 | Summary Boards (4) — a player aid with the turn, the weather modifiers and the final scoring flow. |
Cards
Skill Move card
| Picture | Description |
|---|
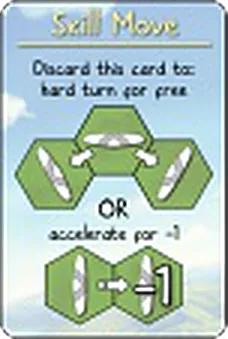 | Skill Move (6, printed in 4 languages) — discard once on your turn for a free hard turn, or to accelerate for only 1 altitude (Skill Move cards). It replaces the usual altitude cost for that maneuver; each card is single use. |
Stunt cards
5 cards, in 4 languages; advanced game only (Stunts). Each scores up to 12  . Claim a stunt once, on your turn before or after moving or accelerating; you cannot claim one during the wind-push round.
| Picture | Description |
|---|
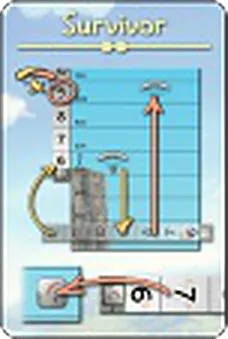 | Survivor — sink to your ruler’s spot on the Altitude Track, then climb back above the mountaintop; score the value at your altitude on the ruler (The Survivor). First reach the ruler’s marked height to move it beside the track; later, when above the mountain, claim the points shown at your current height. A premature landing resets it. |
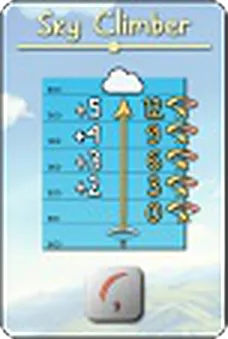 | Sky Climber — gain 2 / 3 / 4 / 5+ altitude in one turn under a cloud: 3 / 6 / 9 / 12 (The Sky Climber). Count the first hexagon’s net altitude change, including weather and a hard-turn penalty; accelerating’s second hexagon does not count. |
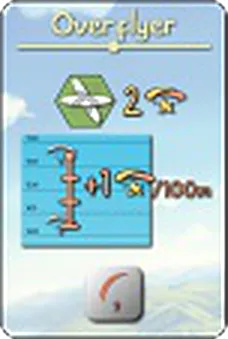 | Overflyer — share a hexagon with a lower pilot: 2 plus 1 per 100 m between you (The Overflyer). With several pilots below you, use the lowest one; the card can score up to 12. |
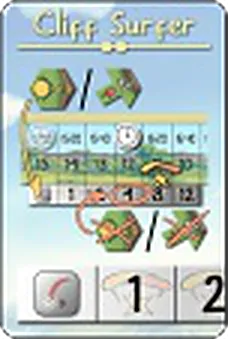 | Cliff Surfer — start on a turn with a sun or wind bonus; score by the time track when the bonus stops (The Cliff Surfer). Set the ruler to the time when you start riding a bonus; claim its value on your first later turn without either bonus, or 12 if the marker has reached 12:00 before your turn. |
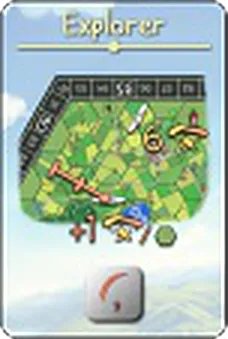 | Explorer — reach the map’s edge: 6 plus the closest rival’s distance to the edge (The Explorer). Use the nearest other pilot’s distance (maximum 6 extra); the three weather spaces on Edge A are outside the map. |
Tiles
Terrain
Each map hexagon is one of four terrains; its thermal value depends on
the temperature.
| Picture | Description |
|---|
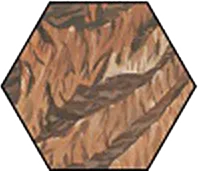 | Mountain — a wall below the mountaintop; its faces give sun and wind bonuses to the hexagons next to it. You must already be at least as high as its top to enter, and cannot make your final landing there. FAQ |
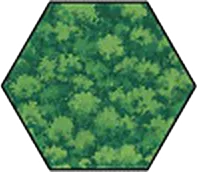 | Forest — landing here is a crash landing (−10). The penalty is taken immediately; it also appears in final scoring, but count the final crash only once. |
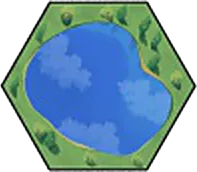 | Lake — the coldest terrain; landing here is a crash landing (−10). The penalty is taken immediately; it also appears in final scoring, but count the final crash only once. |
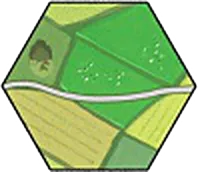 | Field — every other hexagon, landmarks included; safe to land. |
Weather Tiles
18 double-sided tiles (36 faces); 12 are drawn each game, one per hour (Update types).
| Picture | Description |
|---|
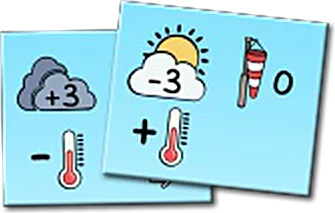 | Weather Tile faces — left (partly hidden): 3 more clouds, temperature down one step; right: 3 fewer clouds, temperature up one step, wind strength 0 (no wind). Each face mixes a cloud change, thermometers, the wind strength, a possible wind rotation and push arrows. One tile governs an hour; apply its changes in temperature, sun, clouds, then wind order. |
To be added: the rulebook shows only a few of the 36 faces; the rest need the physical tiles or a
public scan.
Tokens & pieces
| Picture | Description |
|---|
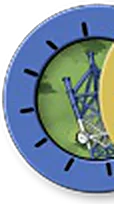 | Blue antenna token (4) — taken when you fly over the blue antenna; scores the time value at once (Antenna tokens). Collect it on either hexagon of a move, including one crossed by a wind push; keep the token for end-game checks. |
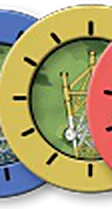 | Yellow antenna token (4) — score the value beneath the time marker when collected; earlier in the day pays more. |
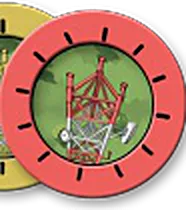 | Red antenna token (4) — score the value beneath the time marker when collected; earlier in the day pays more. |
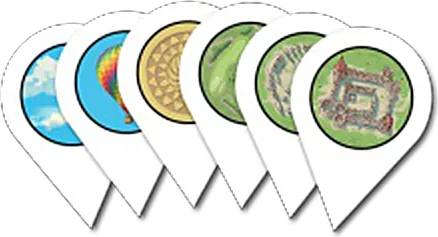 | Landmark GPS markers (24, 4 of each), left to right: cloud ceiling and balloon (on the Altitude Track), crop circle, golf course, megalithic stones, ruined castle (on the map) (GPS markers). Each different marker counts toward the end-game set: 1–6 kinds score 2 / 5 / 9 / 14 / 20 / 27 points (three crop-circle hexagons still count as one kind). |
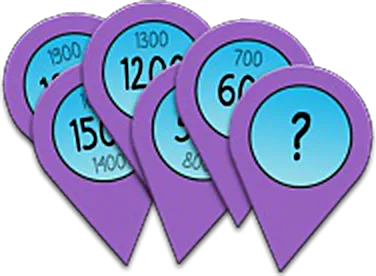 | Solo GPS Markers (6, purple) — five show three altitudes each, one is blank; used in both solo modes (Solo). Check the altitudes against the physical component. |
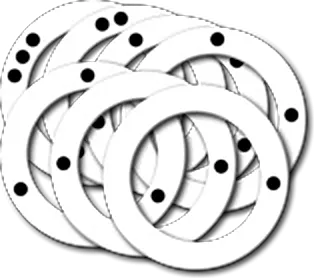 | Clouds (7 rings) — the dots number them 1–7 for removal; on or next to one gives +2 (Cloud suck). Being under several clouds still gives only +2 total. |
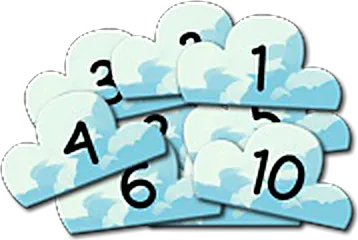 | Cloud tokens (10, numbered 1–10) — drawn from the Cloud Bag to spawn clouds on the numbered hexagons or pick which to remove (Cloud number change). Draw and return them only during an hourly weather update; redraw if the indicated space/cloud is unavailable. |
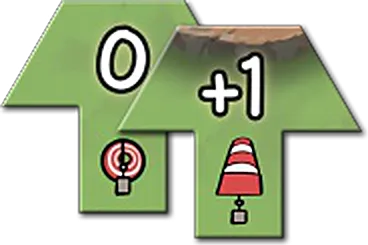 | Windsock tokens (2, stacked) — wind strength 0 / 1 / 2 on their sides, the arrow showing the direction (Cliff under wind). |
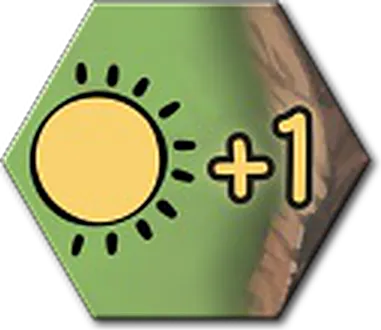 | Sun Exposure token — goes onto the Map Edge at 12:00 and turns at 14:00 and 18:00 (Sun exposure change). |
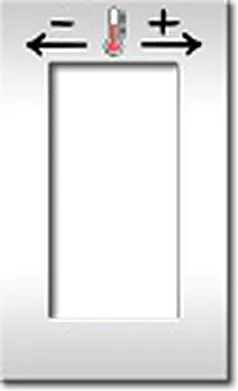 | Thermal Indicator — frames the current temperature column on the Thermal Lift Board (Temperature change). |
 | Time Marker — moves 20 minutes after each round (Update time). Weather changes only when it reaches the next hourly tile, between rounds. |
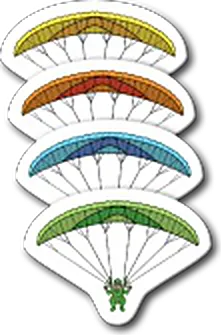 | Paragliders (4) — your pawn on the map; the chevron points forward (Your paraglider). You cannot end a move on another pilot’s hexagon at the same altitude; accelerate or choose another route. |
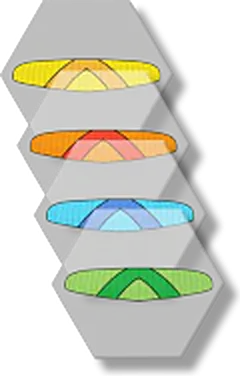 | Altitude Markers (4) — your height on the Altitude Track. |
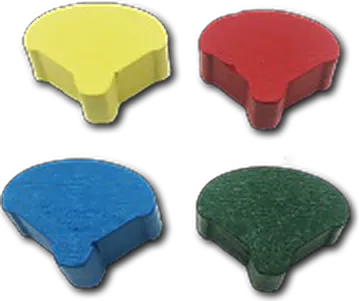 | Score Markers (4) — on the score track round the map. |
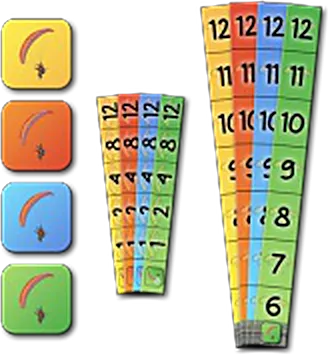 | Stunt Markers (20, 5 per colour) — one per Stunt card in play; the Survivor and Cliff Surfer markers are rulers with point values. Take your marker when you claim that stunt to show it has scored; each is scored once. |
 | Map Bag (green) — holds the map tiles for drawing at setup. |
 | Cloud Bag (white) — holds the cloud tokens. |
Icons
| Picture | Description |
|---|
 | Victory points — the paraglider-and-star symbol. |
 | Sun — sun exposure on a mountainside: +1. |
 | Thermometer — on a Weather Tile with + or −: move the Thermal Indicator. |
 | Windsock — the wind strength from this hour. |