Cards & Components
Every Leader 1: Hell of the North component with a picture: the peloton tile and energy table, all 40 route hexagon faces, the feed zone tiles, the race tokens, the weather tokens, the cyclists and the die.
Components are pictured from Ghenos Games’ English rules; the route hexagon faces, feed zone tiles and weather tokens come from the public VASSAL module “Leader 1: Hell of the North”. Hexagon numbers are the module’s, not printed on the tiles.
Boards
Peloton tile
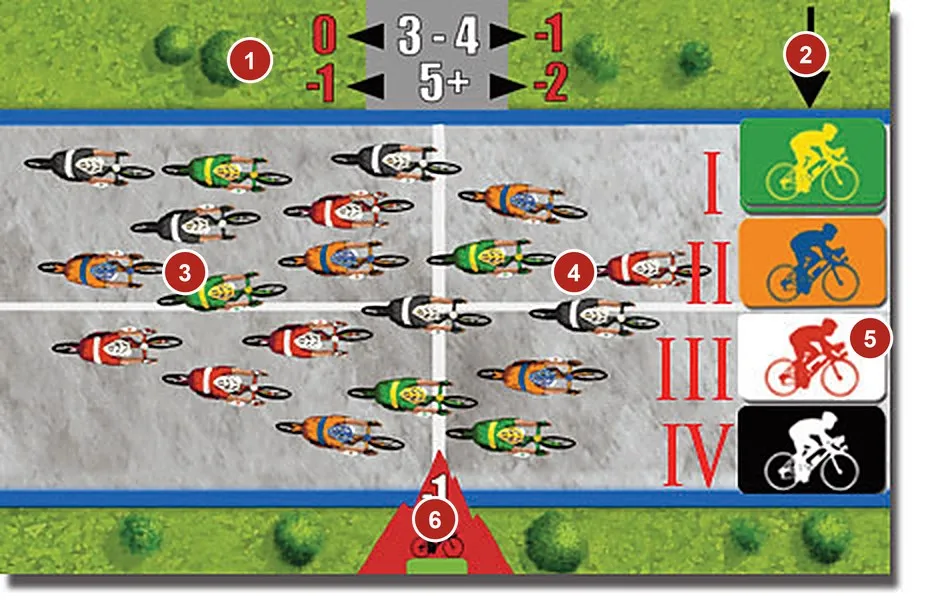
Numbered parts: see Teach the Game. Riders in the peloton sit in the back or front area; the support-rider tokens stack beside the arrow in peloton order (the peloton). The tile spans two squares and the full road width; either occupied square is enough to rejoin, and riders inside never risk a fall. FAQ FAQ FAQ FAQ FAQ FAQ FAQ FAQ
Energy table
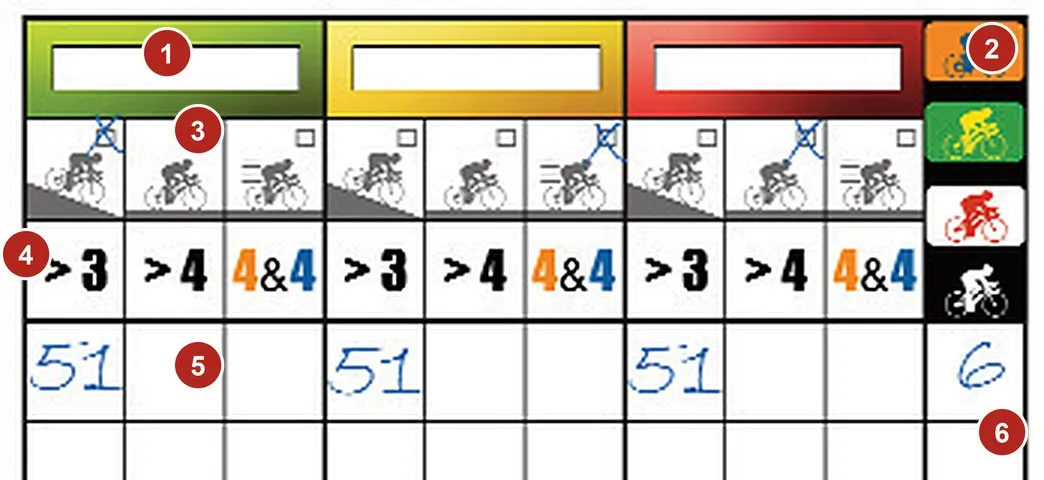
Numbered parts: see Teach the Game. One sheet per player from the pad: names, qualities, risk line and energy of each cyclist, and the team’s pursuits (energy and pursuits). Starting energy is the sum of all course milestones; after a fall, skipping a turn does not refund unused free movement. FAQ FAQ FAQ FAQ
Cards
The box has 12 reminder cards summarising the turn. Not pictured: the rules show them only as a thumbnail.
Tiles
Route hexagons
Twenty double-sided hexagons, forty road faces. The edge colour gives the terrain, the milestone the energy each rider gets for that hexagon (race configuration). For a first race, six to eight hexagons across every terrain with one intermediate and one final sprint keep the course shorter. Choose any combination; when a tile offers two roads, select a path and use its milestone during setup. FAQ FAQ FAQ
| Picture | Description |
|---|---|
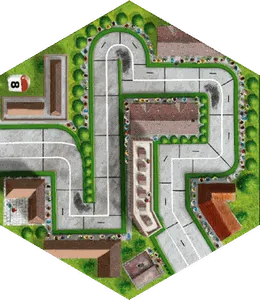 | Hexagon 22A — Flatland; milestone 8. A town centre with right-angle turns. (route types) |
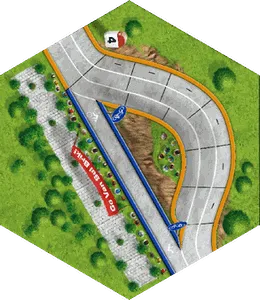 | Hexagon 22B — Hill; milestone 4. A blue-edged lane branches off the road; the rules give it no use, so most players ride the orange road only. (route types) The blue branch is scenery; the race follows the orange road. FAQ |
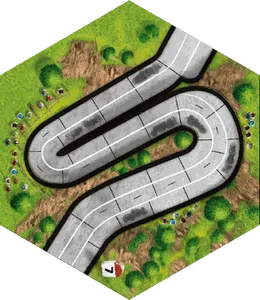 | Hexagon 23A — Downhill; milestone 7. (route types) |
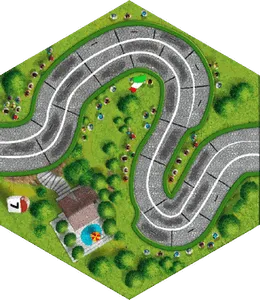 | Hexagon 23B — Flatland, cobbles; milestone 7. (route types) |
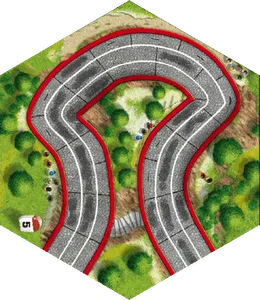 | Hexagon 24A — Mountain, cobbles; milestone 5. (route types) |
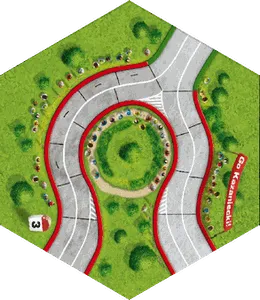 | Hexagon 24B — Mountain; milestone 3. (route types) |
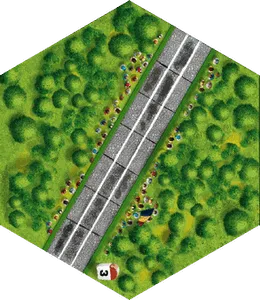 | Hexagon 25A — Flatland, cobbles; milestone 3. (route types) |
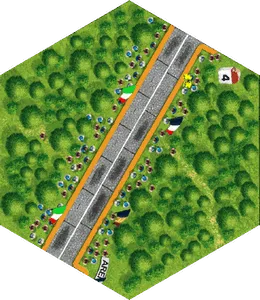 | Hexagon 25B — Hill, cobbles; milestone 4. (route types) |
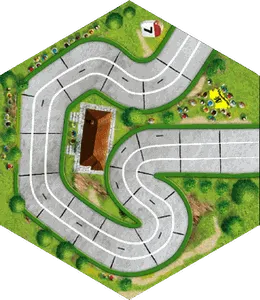 | Hexagon 26A — Flatland; milestone 7. (route types) |
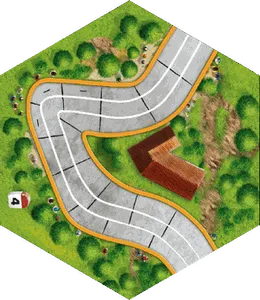 | Hexagon 26B — Hill; milestone 4. (route types) |
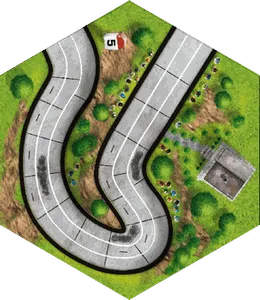 | Hexagon 27A — Downhill; milestone 5. (route types) |
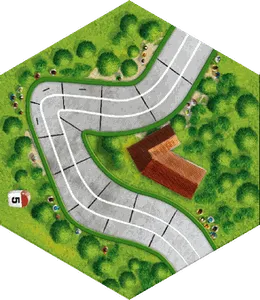 | Hexagon 27B — Flatland; milestone 5. (route types) |
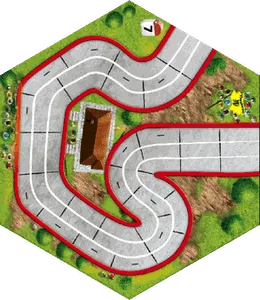 | Hexagon 28A — Mountain; milestone 7. (route types) |
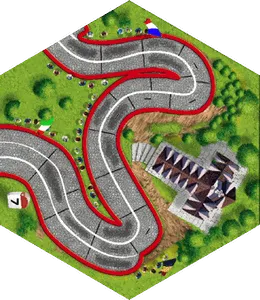 | Hexagon 28B — Mountain, cobbles; milestone 7. (route types) |
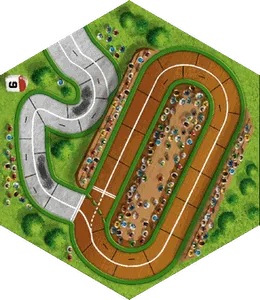 | Hexagon 29A — Flatland; milestone 9. The road runs past a velodrome. (route types) |
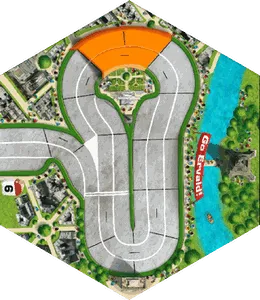 | Hexagon 29B — Flatland; milestone 6. (route types) |
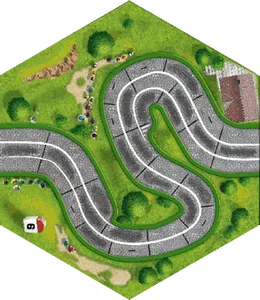 | Hexagon 30A — Flatland, cobbles; milestone 6. (route types) |
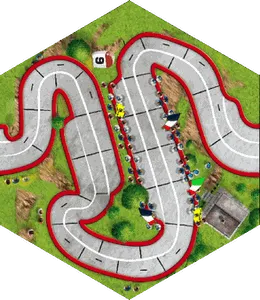 | Hexagon 30B — Mountain; milestone 9. (route types) |
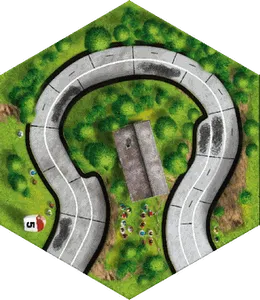 | Hexagon 31A — Downhill; milestone 5. (route types) |
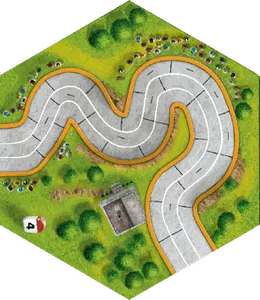 | Hexagon 31B — Hill; milestone 4. (route types) |
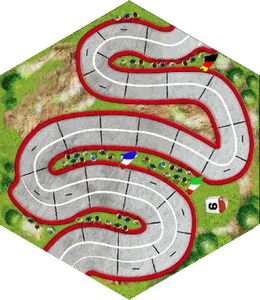 | Hexagon 32A — Mountain; milestone 9. (route types) |
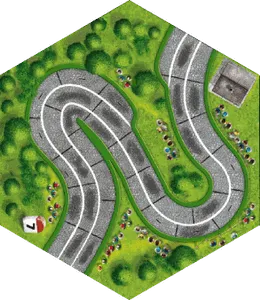 | Hexagon 32B — Flatland, cobbles; milestone 7. (route types) |
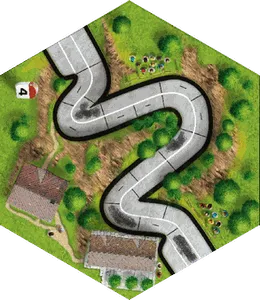 | Hexagon 33A — Downhill; milestone 4. (route types) |
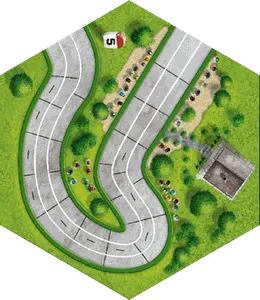 | Hexagon 33B — Flatland; milestone 5. (route types) |
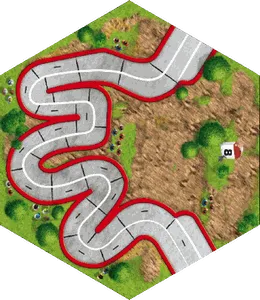 | Hexagon 34A — Mountain; milestone 8. (route types) |
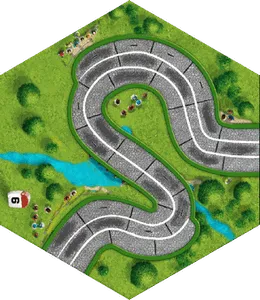 | Hexagon 34B — Flatland, cobbles; milestone 6. (route types) |
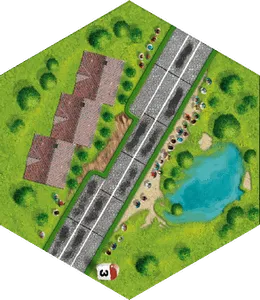 | Hexagon 35A — Flatland, cobbles; milestone 3. (route types) |
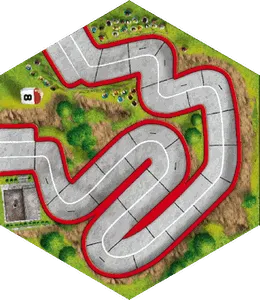 | Hexagon 35B — Mountain; milestone 8. (route types) |
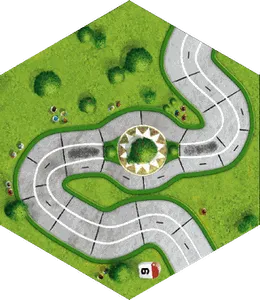 | Hexagon 36A — Flatland; milestone 6. (route types) |
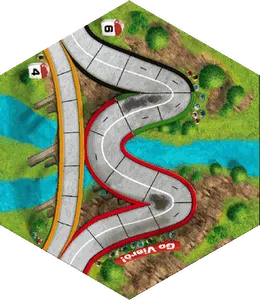 | Hexagon 36B — Hill; milestone 6 or 4. Two routes, with milestones 6 and 4: choose one when you build the course. (route types) Choose one bridge route while building the course and use that path’s milestone. FAQ |
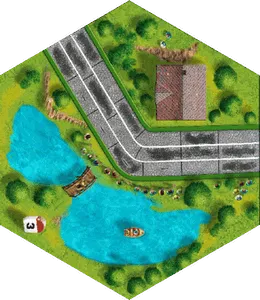 | Hexagon 37A — Flatland, cobbles; milestone 3. (route types) |
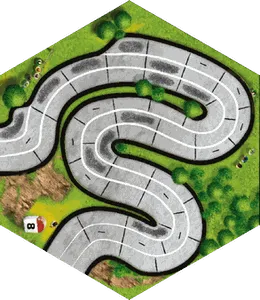 | Hexagon 37B — Downhill; milestone 8. (route types) |
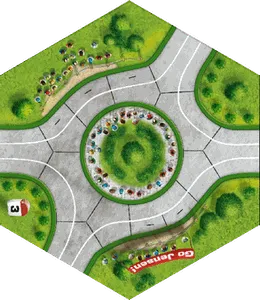 | Hexagon 38A — Flatland; milestone 3. (route types) |
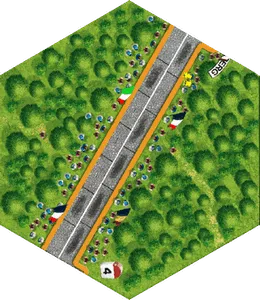 | Hexagon 38B — Hill, cobbles; milestone 4. (route types) |
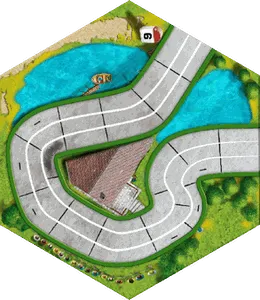 | Hexagon 39A — Flatland; milestone 6. (route types) |
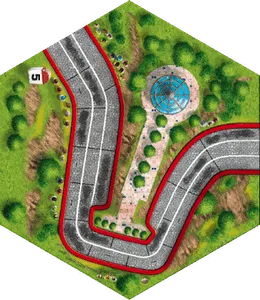 | Hexagon 39B — Mountain, cobbles; milestone 5. (route types) |
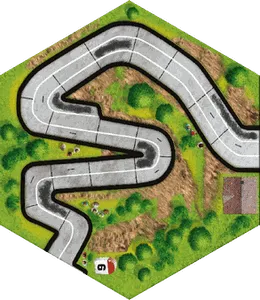 | Hexagon 40A — Downhill; milestone 6. (route types) |
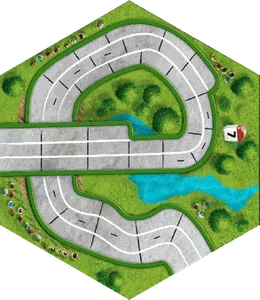 | Hexagon 40B — Flatland; milestone 7. (route types) |
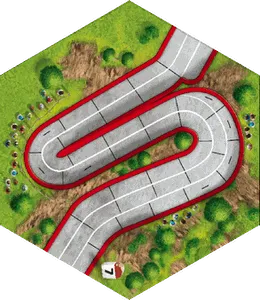 | Hexagon 41A — Mountain; milestone 7. (route types) |
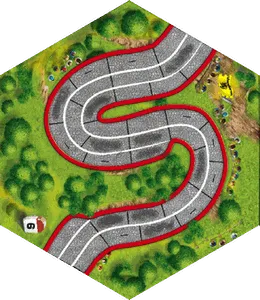 | Hexagon 41B — Mountain, cobbles; milestone 6. (route types) |
Feed zone tiles
36 tiles in three colours, 12 of each; each colour holds the values +2 to +5. The VASSAL module has three of each value per colour; check the split against your box.
| Picture | Description |
|---|---|
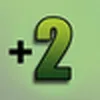 | Green +2 — drawn for a rouleur; adds 2 energy now or later (feed zone). |
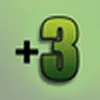 | Green +3 — drawn for a rouleur; adds 3 energy now or later (feed zone). |
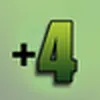 | Green +4 — drawn for a rouleur; adds 4 energy now or later (feed zone). |
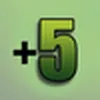 | Green +5 — drawn for a rouleur; adds 5 energy now or later (feed zone). |
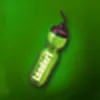 | Green back — the rouleur’s face-down pile. |
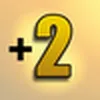 | Yellow +2 — drawn for a leader; adds 2 energy now or later (feed zone). |
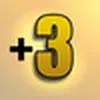 | Yellow +3 — drawn for a leader; adds 3 energy now or later (feed zone). |
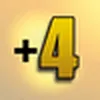 | Yellow +4 — drawn for a leader; adds 4 energy now or later (feed zone). |
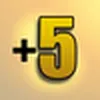 | Yellow +5 — drawn for a leader; adds 5 energy now or later (feed zone). |
 | Yellow back — the leader’s face-down pile. |
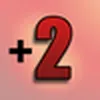 | Red +2 — drawn for a climber; adds 2 energy now or later (feed zone). |
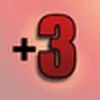 | Red +3 — drawn for a climber; adds 3 energy now or later (feed zone). |
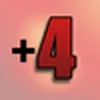 | Red +4 — drawn for a climber; adds 4 energy now or later (feed zone). |
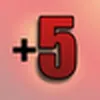 | Red +5 — drawn for a climber; adds 5 energy now or later (feed zone). |
 | Red back — the climber’s face-down pile. |
Tokens & pieces
Riders and peloton
| Picture | Description |
|---|---|
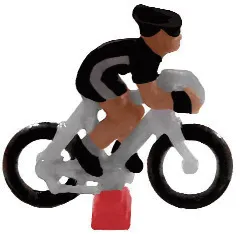 | Cyclist (12: four teams of three) — the base colour gives the type: green rouleur, yellow leader, red climber (the riders). The rider who arrived last is placed slightly ahead and moves first next turn. FAQ FAQ |
 | Support-rider tokens (4) — one per team, always on the peloton tile; their order runs the peloton and they make the team’s pursuits. In a one-off race, order the other teams randomly or clockwise. Only the first willing team pursues each turn; a team cannot pursue for a third consecutive turn, and no team can add more than one square. Support riders can pursue without one of that team’s cyclists in the peloton. FAQ FAQ FAQ FAQ FAQ |
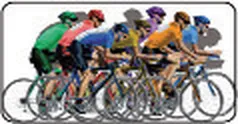 | Peloton token — stands in its card stand on the course and moves by the die (peloton movement). A breakaway rider caught later in the same turn pays for both moves; an unused free slipstream square returns 1 energy. FAQ FAQ FAQ FAQ |
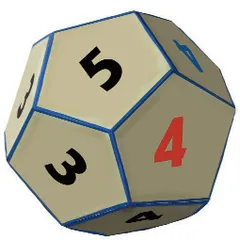 | Peloton die — twelve sides with the values 3, 4 and 5; some 4s are orange, blue or red. Moves the peloton and settles risks and punctures. A crack doubles the move cost; a fall costs the move and skips the next turn. FAQ |
Race tokens
| Picture | Description |
|---|---|
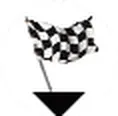 | Start line / finish line (1 each) — the two ends of the course (tokens on the course). A stage delay counts whole turns after the winner, so every rider must finish for a stage result. FAQ FAQ |
 | Bonus time (2) — stage races only; the first rider across gains 1 turn (bonus time). Stage winner gets two turns off their total delay; second place gets one. FAQ |
 | Sprint zone start (3) — opens the sprint zone before a finish or bonus line, where sprinters get +1 (qualities). An intermediate sprint usually goes on flatland; allow about 12 squares from the zone start to the line. A sprinter gets the bonus when the move starts in the zone. FAQ FAQ |
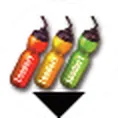 | Feed zone (2) — riders passing it draw a feed zone tile (energy recovery). |
Mountain climb category
Eight tokens, values 1 to 4; one goes at the start of each mountain (crack).
| Picture | Description |
|---|---|
 | Category 1 — very difficult: 1 paid square on the climb without risk. Only paid squares on that mountain count; a crack doubles the move cost, while a fall costs the normal move and skips the next turn. FAQ FAQ |
 | Category 2 — difficult: 2 paid squares. |
 | Category 3 — medium: 3 paid squares. |
 | Category 4 — easy: 4 paid squares. |
Weather
Six tokens, placed face down and revealed as the race approaches (weather).
| Picture | Description |
|---|---|
 | Back — how the tokens lie on the course until revealed. |
 | Rain — blackened squares are risky even with free squares. On normal asphalt, multiple blackened squares crossed in one move still create only one fall risk. FAQ |
 | Heat — a move of 6+ here forces you to play a feed zone tile. |
 | Headwind 1 — +1 energy without slipstream. |
 | Headwind 2 — +2 energy without slipstream. |
 | Tailwind 1 — 1 energy less. |
 | Tailwind 2 — 2 energy less. |
Icons
| Picture | Description |
|---|---|
 | Descender — +1 free square on moves starting downhill. |
 | Fighter — falls only from the second blackened square crossed with paid squares. |
 | Sprinter — +1 free square on moves starting in a sprint zone. |
 | Start / finish line. |
 | Bonus time. |
 | Sprint zone start. |
 | Feed zone. |
 | Mountain climb category. |
 | Weather. |
 | Peloton die. |