Houses and Actions
Every Men-Nefer action, House by House: Pyramids, Necropolis, Temple and Obelisk, Nile and Sphinxes, plus the Specialisation Tracks and the Action Tablets.
Reading an action
Most actions sit on the five Specialisation Tracks next to the Houses of Life; Action Tablets,
Crafts, Mastaba Tiles, Pedestals, Temple spaces and the board use the same icons in other
combinations. The number on an icon is how many steps, items or activations you get.
 A slash means choose one. Anything you can’t or don’t want to do is simply lost.
Great Pyramid
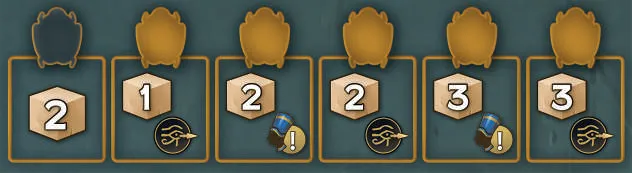
Obtain the Favour of Khufu
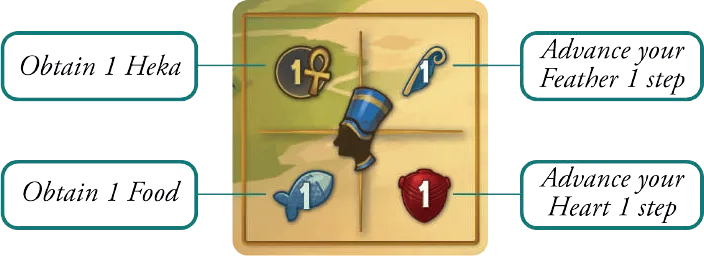
 Take one of the Favours printed beside the Great Pyramid on the Main Board:
 1 Heka,
 1 Food,
 1 Feather step or
 1 Heart step.
 With two exclamation marks take two — the same one twice if you like.
Obtain the Permission of Khufu
 Move a Permission from your Reserve to the Available Permissions area beside it.
With an empty Reserve, you instead
 transport Limestone 1 step each time (the icon
on the empty Reserve reminds you).
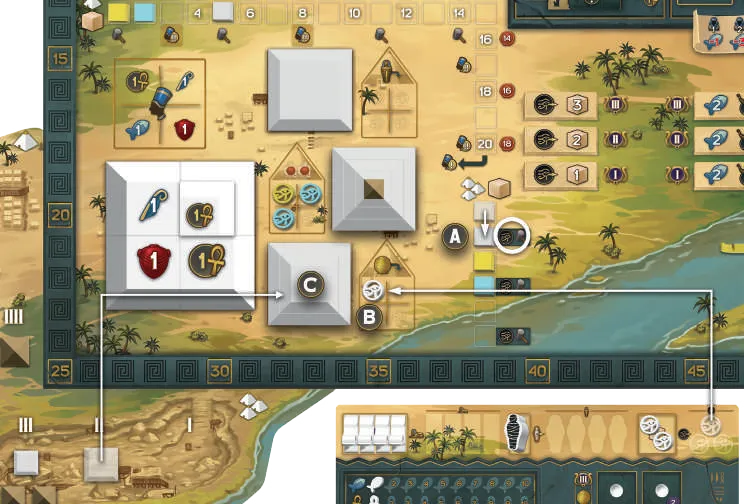
Transport Limestone
Move your Limestone Blocks the number of steps shown, split between the Great
Pyramid Track and the Queens’ Pyramids Track as you like. Every step is taken on its own: you
collect each space you reach, not just the one you stop on.
Great Pyramid Track
 Moving along it builds the Great Pyramid of Khufu.
 Construction space — take the top piece of the Quarry pile for the level
being built and put it on the Great Pyramid. A level must be complete before the next begins.
You gain 2 Favours of Khufu: the one on the piece and the one it covers. The Pyramidion
covers 4 pieces; take 2 of those 4 Favours. After the Pyramidion, Construction spaces give nothing.
- Favour space — gain 2 Favours of Khufu.
- Scoring spaces — at each Harvest you score the last one you have reached (Pyramid scoring).
- At the end of the track, every further step gives 1 Favour of Khufu.
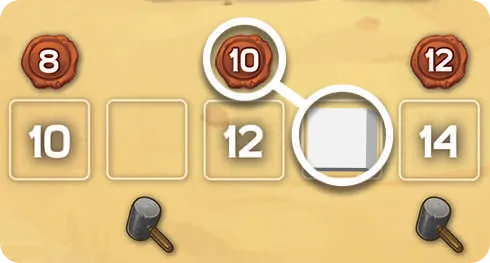
- In a 2-player or solo game, Hammer Tiles cover the hammers under spaces 3 and 8.
Queens’ Pyramids Track
 Moving along it builds the three Queens’ Pyramids. Its Construction spaces
 need a Permission: you can’t move onto them without an available Permission
of Khufu. When you reach one, put an available Permission on an empty Permission space next to a
Queens’ Pyramid that isn’t finished, then put that pyramid’s next-level piece from the Quarry on
it. A pyramid with its Pyramidion is finished and takes no more Permissions.
Your Permissions score at every Harvest according to the pyramid’s Queens’ Pyramids Tile (Pyramid scoring).
Necropolis
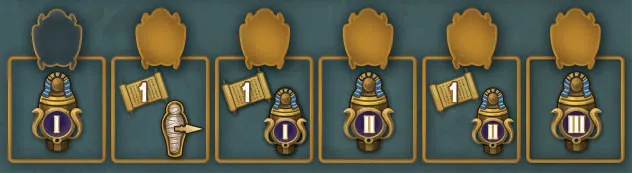
Embalm
 Turn a Mummy from your Reserve to its Sarcophagus side and move it to the Available
Sarcophagi area. With an empty Reserve, move your Heart and Feather
1 step each instead.
Funerary Rite
 Put an available Sarcophagus on an empty Necropolis space whose level (I, II
or III, by column) is at most the level of the action.
- Take the Benefit printed on the space you cover.
- Then activate the 2 Mastaba Tiles in line with that space: 1 activation for a Level I space,
2 for Level II, 3 for Level III, split between the two tiles as you like (the same tile may be
used twice). On a tile with , each activation does one of the two.
- At every Harvest each Sarcophagus scores the PP of its two Mastaba Tiles (Necropolis).
 On a Tablet, the Funerary Rite is as high as the best Funerary Rite your
Scarab could choose on the Necropolis track.
Obtain a Papyrus
 Take one of the 4 Papyri in the market and pay the Heka under it, then
put it in the first empty space of your Book of the Dead (left to right, no gaps) and pay the Heka
printed on that space too. A full Book takes no more Papyri.
 A free Papyrus
costs no Heka at all.
The market refills at the end of your turn: slide the remaining Papyri right and draw new ones into the empty spaces on the left.
Temple and Obelisk
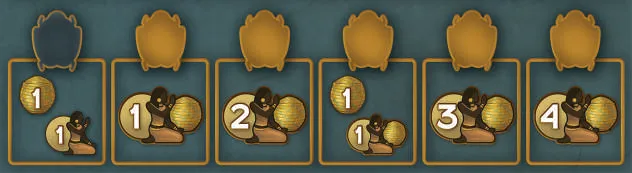
Obtain a Craft
 Take one of the 4 Crafts in the market, pay the Food under it and put it
in your Pyramidal Area: left to right, no gaps, and a Craft on Level II or III must rest on two
Crafts of the level below. Put that space’s Basket on the Craft — it is now an Offering. A space
showing
 1 or 2 PP scores them at once. A full area takes no more Crafts.
 A free Craft costs no Food. The market refills at the end of your turn like the Papyrus market.
Advance Priestesses
 Move your Priestesses up the Temple with the steps shown. Entering Room 1 or
Room 2 costs 1 step; Room 3 or Room 4 costs 2 steps. Split the steps as you like, between standing
and lying Priestesses; a Priestess that moves always ends standing. Priestesses never go back.
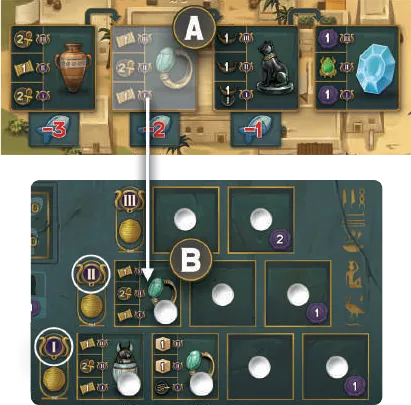
Make an Offering
 When the Priestess icon holds a Basket you may also make one Offering, before
or after all your Priestess movement — never in between. You need a Basket with a Craft.
- Choose a Craft with its Basket on your board.
- Do the actions on the left of that Craft for its level: Level I — action I; Level II — actions I and II; Level III — all three.
- Set the Basket aside and turn the Craft face down; it is used up.
- Put the Basket on an empty Offering space of a Room where you have a standing Priestess, do that space’s actions and lay that Priestess down.
Spaces with two actions always include  moving your Orb up the Obelisk.
The Obelisk and the Deity
Move your Orb up the Obelisk the steps shown. When it reaches or passes a
 Deity space, do the action of the Deity on the Temple Altar. At the top, every
further step gives 1 Favour of Khufu. The Obelisk also gives
 Heka at each Flood
and scores at each Harvest.
| Deity | Its action |
|---|---|
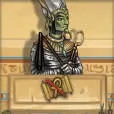 | Osiris — a free Papyrus: no market price, no Heka for its board space (FAQ). |
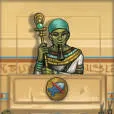 | Ptah — a free Craft from the market. |
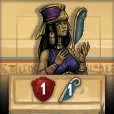 | Maat — your Heart and your Feather 1 step each. |
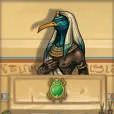 | Thot — one Scarab 1 step, without that track’s action. |
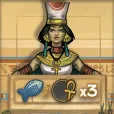 | Isis — 3 Food and Heka in any mix. |
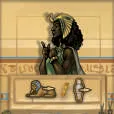 | Mut — Carve a Sphinx or Embalm. |
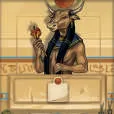 | Hathor — any Trade Contract still in any River City, even one your Boat cannot reach (FAQ). |
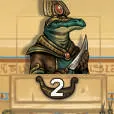 | Sobek — Advance Boats with 2 steps. |
[Promo] Horus and Ra can also be the Deity in play (Promo Tiles).
Nile
Advance Boats
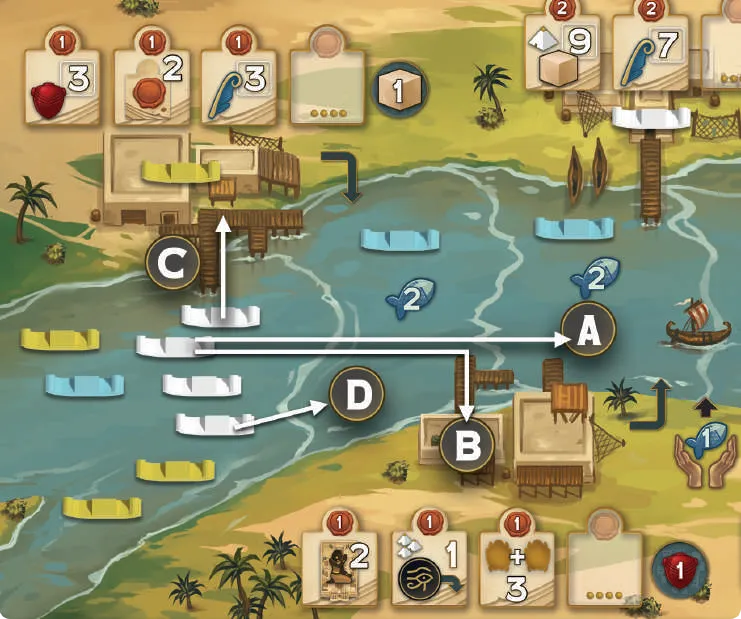
 Move your Boats with the steps shown, split as you like. Each step moves a Boat:
- to the next section of the river (sections are separated by white lines), or
- into a City next to its section, from the City’s side without an arrow, or
- out of a City, into the river section its arrow points to.
You may pass your own Boats but never end a move where you already have one — except in the starting port of Men-nefer. Boats never go back.
Activate Boats
 With the Boat icon,
 one or two activation marks give 1 or 2
activations, on different Boats, before or after all your movement — never in between.
- A Boat on the river gains the Food printed in its section.
- A Boat in a City gains the City Benefit (its round token) and one Contract there, if any is left. Put the Contract face up on an empty Contract space of your board; if none is free, discard one of yours (fulfilled or not) or the new one. Then the Boat leaves the City into the section its arrow shows; if you already have a Boat there, it goes back to the first section without one of your Boats (the port always has room). This is the only time a Boat moves back.
Sphinxes
Carve a Sphinx
 Move a Sphinx from your Reserve to the Available Sphinxes area. With an empty
Reserve, score 1 PP instead.
Erect a Sphinx
 Put an available Sphinx on an empty Pedestal whose level (I, II or III, printed beside
it) is at most the level of the action, and take that Pedestal’s Benefits. Two Benefits are
only found here:
- a free Papyrus (no market price, no board-space Heka);
 Mastaba activations on any of the 5 Mastaba Tiles, split as you like.
 On a Tablet, the level is the best Erect a Sphinx your Scarab could choose.
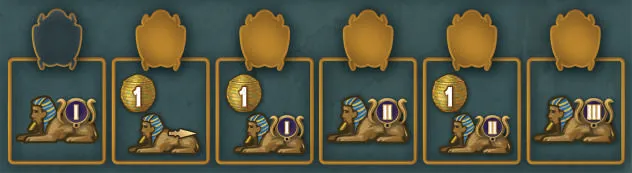
Specialisation tracks
Each House of Life has a Sun space, a Moon space and a track of action spaces. Your
 Scarab starts on the starting space of each track. Every time you
specialise in a House it climbs one space, and you do the actions of
the space reached or of any lower space. The higher spaces hold stronger and higher-level actions
(Funerary Rite III, Erect a Sphinx III, more steps). Some effects move a Scarab
without its action.
Action Tablets
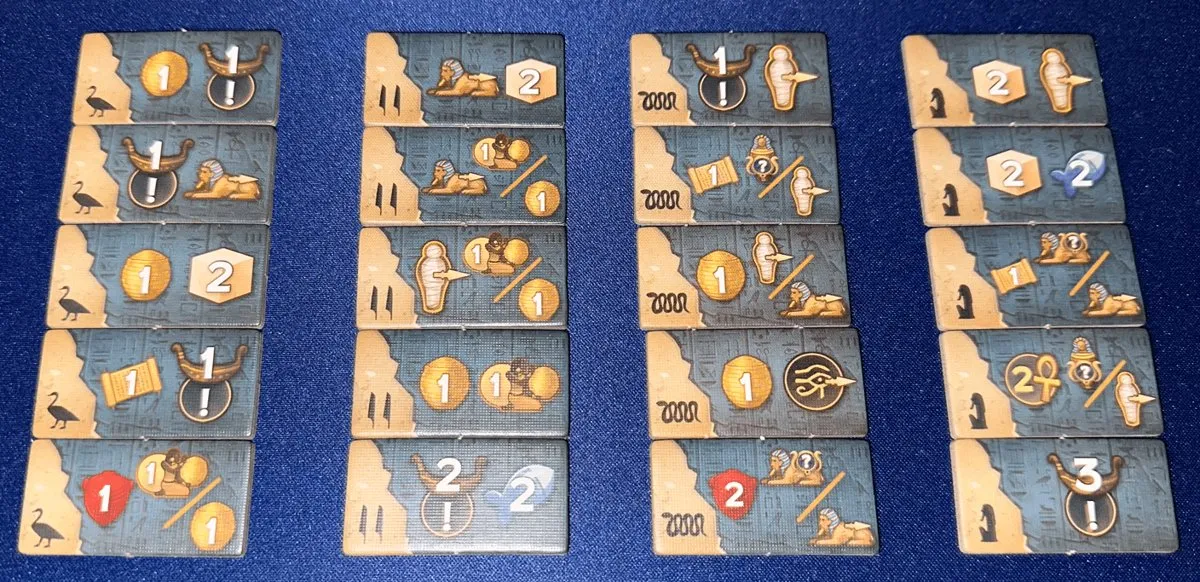
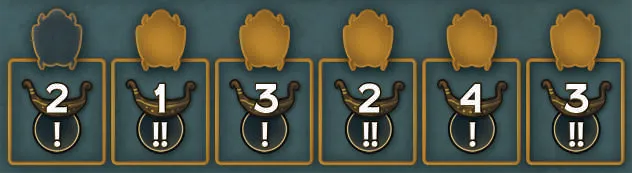
There are 20 Tablets (backs 1–4: four each of 1, 2 and 3, eight of 4), each with one of four hieroglyphs and two actions. You start with three; the market on the Main Board shows five, each row with a Food cost or gain on its left and a board action on its right. A Visit uses the Tablet above your Apprentice; Obtain an Action Tablet refills your board. All 20 are pictured in Cards & Components.
Photo: BoardGameGeek image 8453030.