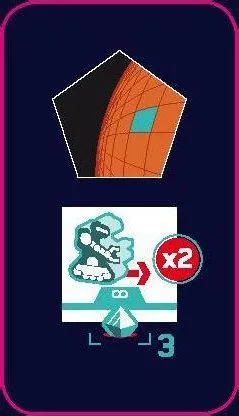
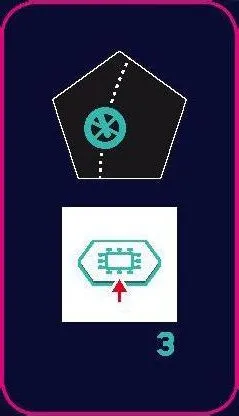
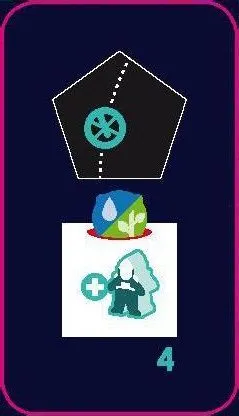
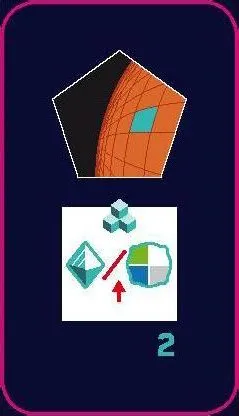
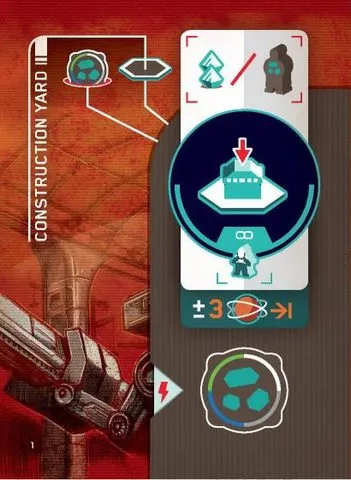
 | Blueprint 1: Construction Yard. The when-taken bonus is 1 Mineral; it upgrades a Mine. Its advanced action upgrades a building, and each Colonist sent to Working adds one upgrade. |
 | Blueprint 2: Metal Deposit. Gain 1 Mineral when taken and upgrade a Mine. Its action builds a Mine; each Colonist sent adds one Tech level for the complex check. |
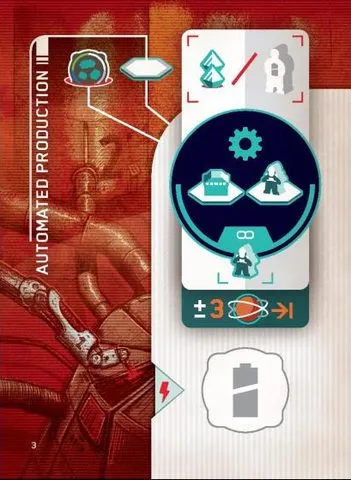
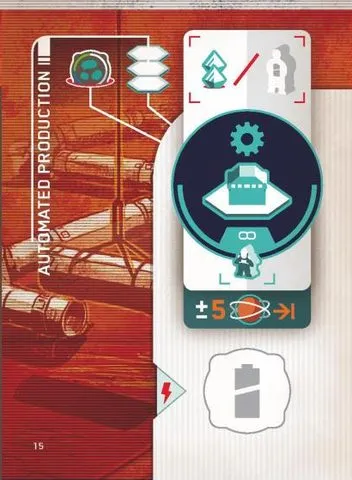
 | Blueprint 3: Automated Production. Gain 1 Battery when taken and upgrade a Generator. Its action produces one matching resource for each of your Mines and advanced buildings; each Colonist adds one extra production. |
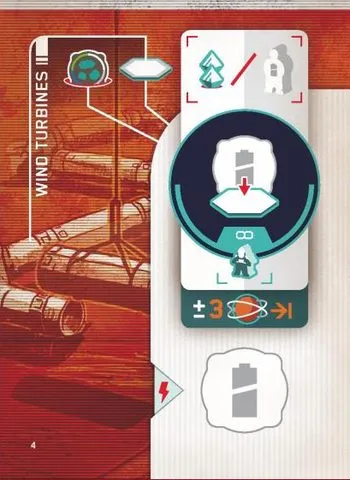
 | Blueprint 4: Wind Turbines. Gain 1 Battery when taken and upgrade a Generator. Its action constructs a Generator; each Colonist sent adds one Tech level for the complex check. |
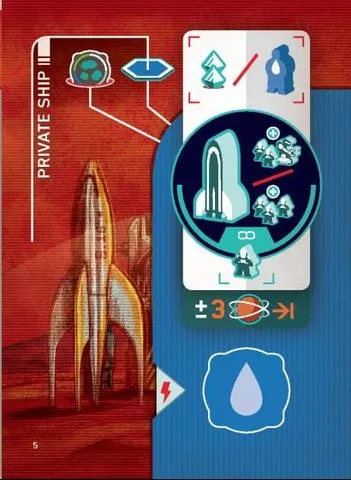
 | Blueprint 5: Private Ship. Gain 1 Water when taken and upgrade a Water Extractor. Its action welcomes a Ship for 1 Plant and 1 Water, bringing 2 Colonists and a Bot or 3 Colonists; each Colonist sent welcomes another Ship. |
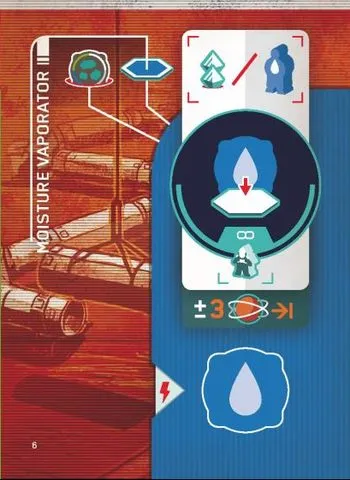
 | Blueprint 6: Moisture Vaporator. Gain 1 Water when taken and upgrade a Water Extractor. Its action constructs a Water Extractor; each Colonist sent adds one Tech level for the complex check. |
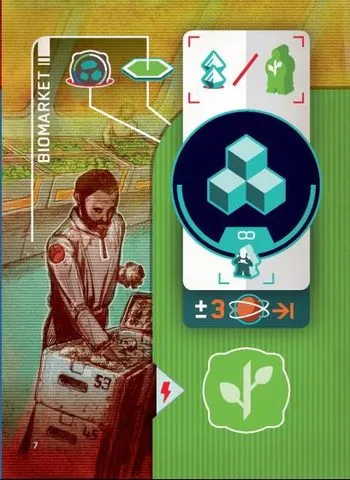 | Blueprint 7: Biomarket. Gain 1 Plant when taken and upgrade a Greenhouse. Its action takes 1 Crystal or 1 Warehouse resource; each Colonist sent adds one more. |
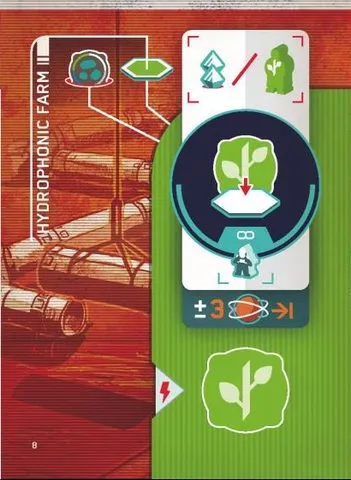
 | Blueprint 8: Hydroponic Farm. Gain 1 Plant when taken and upgrade a Greenhouse. Its action constructs a Greenhouse; each Colonist sent adds one Tech level for the complex check. |
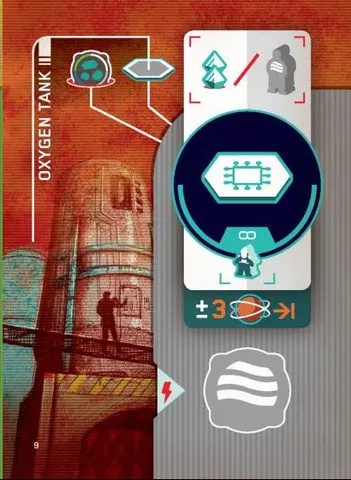
 | Blueprint 9: Oxygen Tank. Gain 1 Oxygen when taken and upgrade an Oxygen Condenser. Its action takes a Tech tile; each Colonist sent takes one additional tile. |
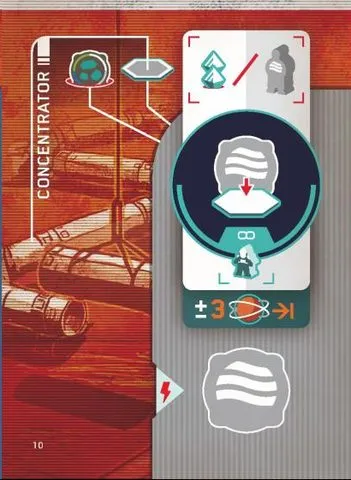
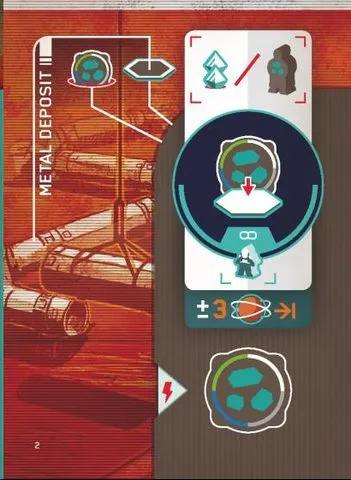 | Blueprint 10: Concentrator. Gain 1 Oxygen when taken and upgrade an Oxygen Condenser. Its action constructs an Oxygen Condenser; each Colonist sent adds one Tech level for the complex check. |
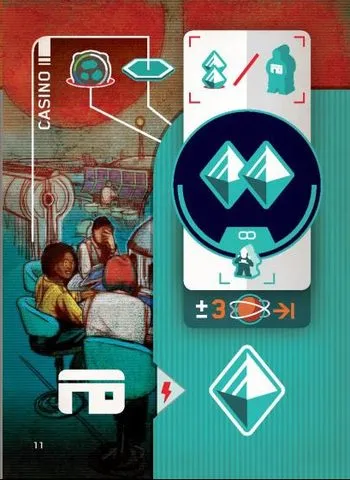
 | Blueprint 11: Casino. Gain 1 Crystal when taken and upgrade a Shelter. Its action gains 2 Crystals; each Colonist sent adds one more. |
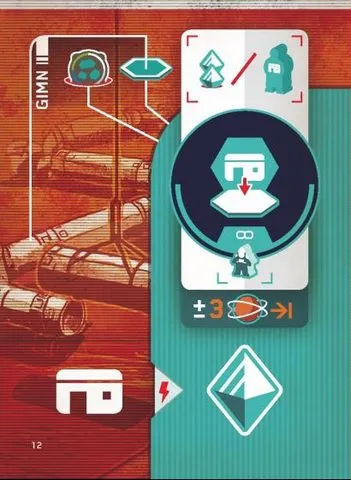
 | Blueprint 12: Gym. Gain 1 Crystal when taken and upgrade a Shelter. Its action constructs a Shelter; each Colonist sent adds one Tech level for the complex check. |
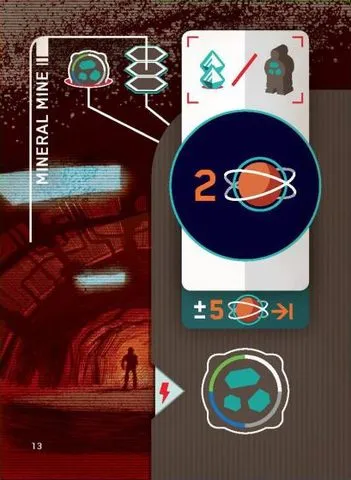
 | Blueprint 13: Mineral Mine. Level 3 Blueprint; gain 1 Mineral when taken and upgrade a Mine. Its advanced action scores 2 OP. |
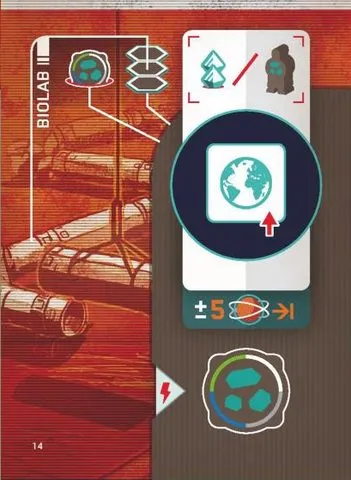
 | Blueprint 14: Biolab. Level 3 Blueprint; gain 1 Mineral when taken and upgrade a Mine. Its action takes an Earth Contract at its normal cost. |
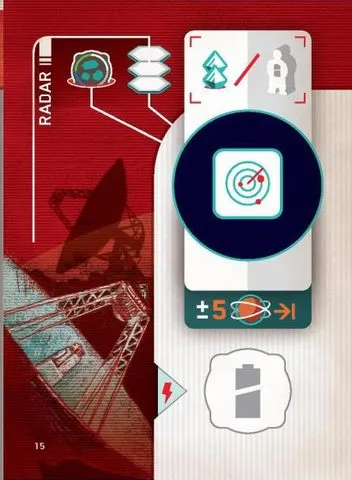
 | Blueprint 15: Radar. Level 3 Blueprint; gain 1 Battery when taken and upgrade a Generator. Place a Discovery tile on this card, resolve it, and use that same effect for future activations. |
 | Blueprint 16: Builder Drone AI600 (replaced by the Beacon Promo Card in Alien Invasion). Level 3 Blueprint; gain 1 Battery when taken and upgrade a Generator. Upgrade a building anywhere on Mars; Bot range does not limit this action. |
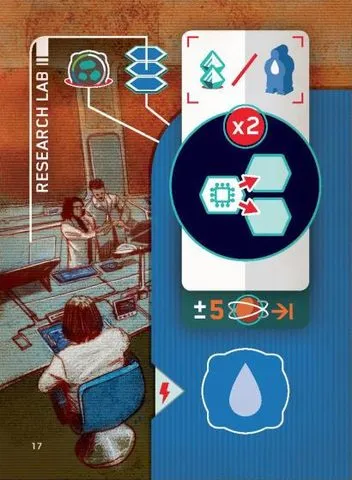
 | Blueprint 17: Research Lab. Level 3 Blueprint; gain 1 Water when taken and upgrade a Water Extractor. Develop one Tech twice or two Tech once each; each Colonist sent adds one development. |
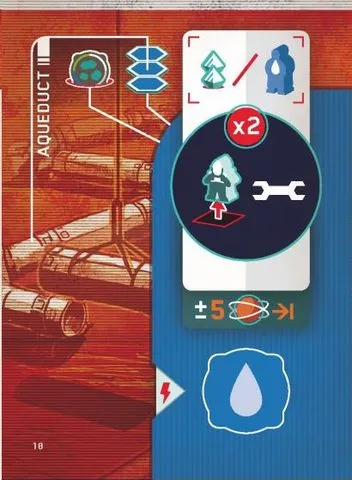 | Blueprint 18: Aqueduct. Level 3 Blueprint; gain 1 Water when taken and upgrade a Water Extractor. Move up to two Colonists from Working to Living Quarters. |
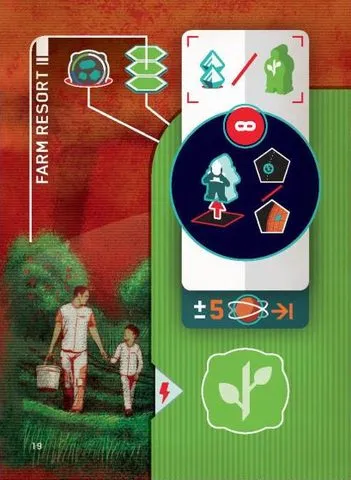
 | Blueprint 19: Eco Resort. Level 3 Blueprint; gain 1 Plant when taken and upgrade a Greenhouse. Choose Orbit or Colony and retrieve all your Colonists from action spaces there. |
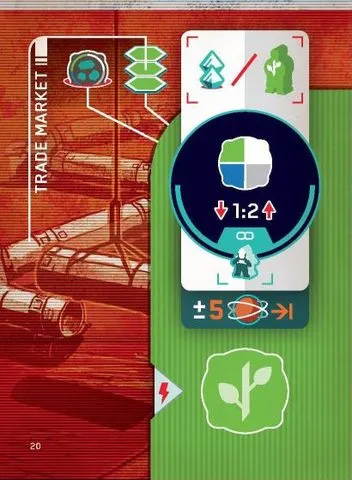
 | Blueprint 20: Trade Market. Level 3 Blueprint; gain 1 Plant when taken and upgrade a Greenhouse. Spend one stored resource to take any two non-Mineral resources; each Colonist sent takes one more. |
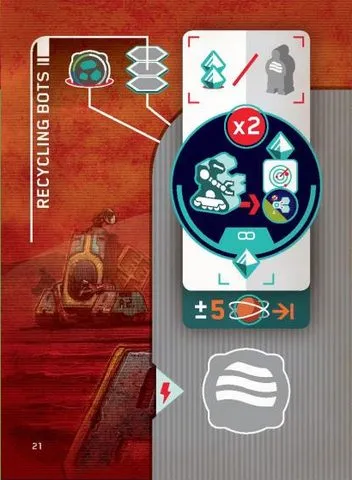
 | Blueprint 21: Recycling Bots. Level 3 Blueprint; gain 1 Oxygen when taken and upgrade an Oxygen Condenser. Spend up to two movement to move Bots as if they were Rovers, collecting tiles and Crystals. |
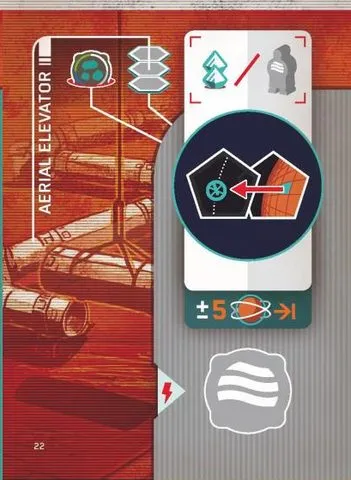
 | Blueprint 22: Aerial Elevator. Level 3 Blueprint; gain 1 Oxygen when taken and upgrade an Oxygen Condenser. Travel to Orbit; if used before your main action, take that action in Orbit. |
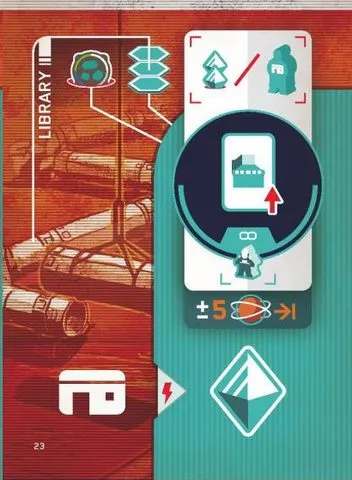
 | Blueprint 23: Library. Level 3 Blueprint; gain 1 Crystal when taken and upgrade a Shelter. Take one Blueprint; each Colonist sent takes one more. |
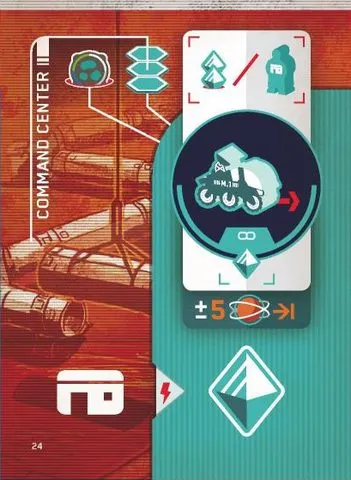
 | Blueprint 24: Command Center. Level 3 Blueprint; gain 1 Crystal when taken and upgrade a Shelter. Move your Rover up to the highest Rover Tech level in play, plus one space per Crystal spent. |
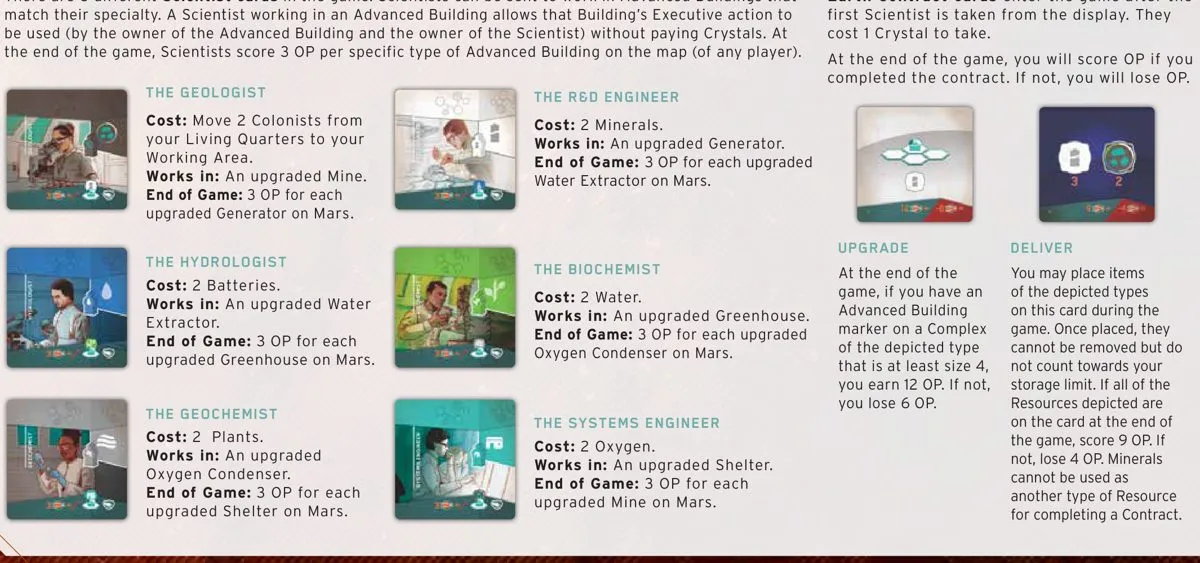
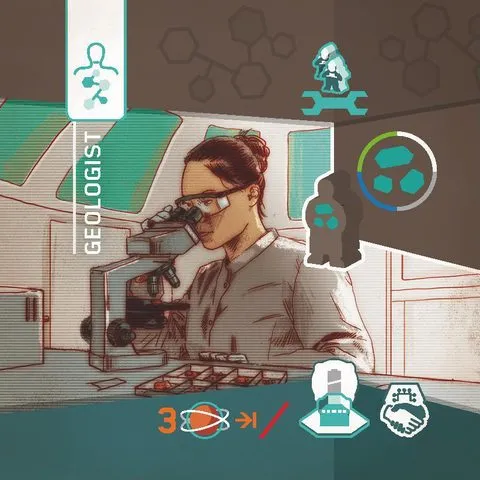 | Scientist: Geologist. Move 2 Colonists from Living Quarters to Working; works at an upgraded Mine; scores 3 OP per upgraded Generator. |
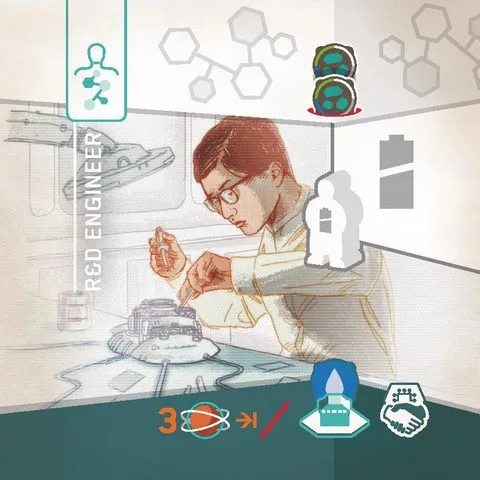 | Scientist: R&D Engineer. Cost: 2 Minerals; works at an upgraded Generator; scores 3 OP per upgraded Water Extractor. |
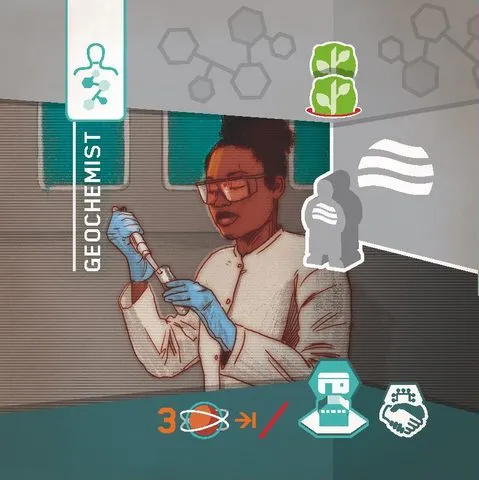 | Scientist: Geochemist. Cost: 2 Plants; works at an upgraded Oxygen Condenser; scores 3 OP per upgraded Shelter. |
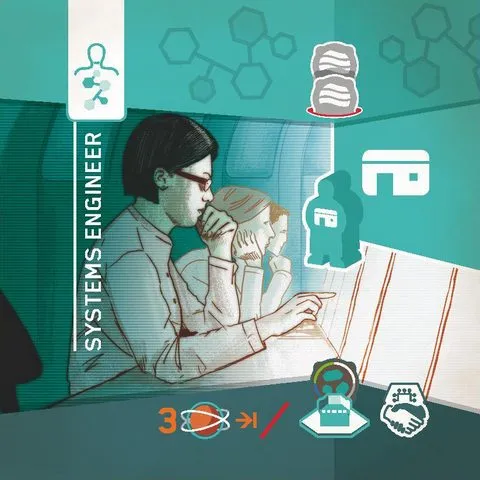 | Scientist: Systems Engineer. Cost: 2 Oxygen; works at an upgraded Shelter; scores 3 OP per upgraded Mine. |
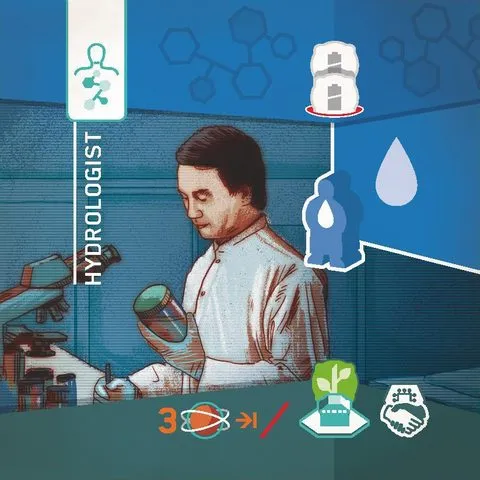 | Scientist: Hydrologist. Cost: 2 Batteries; works at an upgraded Water Extractor; scores 3 OP per upgraded Greenhouse. |
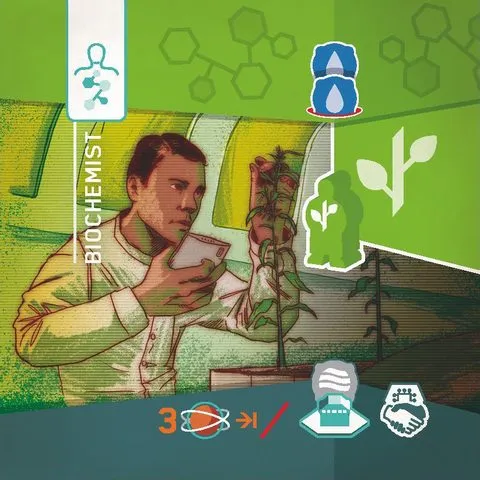 | Scientist: Biochemist. Cost: 2 Water; works at an upgraded Greenhouse; scores 3 OP per upgraded Oxygen Condenser. |
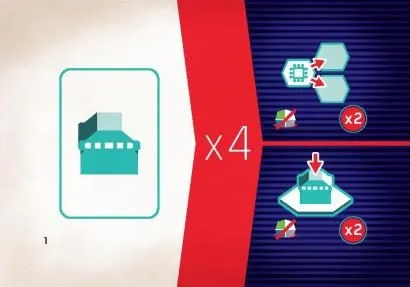 | Private Goal 1: Have 4 Blueprints, built or unbuilt; reward: Develop twice for free or upgrade up to 2 buildings for free.. You may play only one Private Goal during the game, or discard one as a Crystal except for a Contract. |
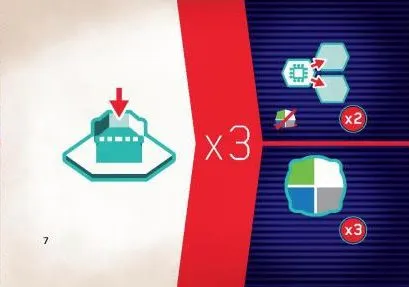 | Private Goal 2: Have 3 Shelters; reward: Develop twice for free or add 2 Colonists from supply to Living Quarters.. You may play only one Private Goal during the game, or discard one as a Crystal except for a Contract. |
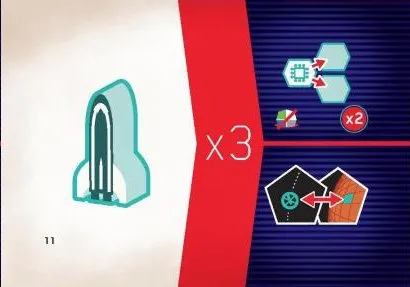 | Private Goal 3: Have 3 Mines with your Colonist or advanced-building marker; reward: Develop twice for free or gain 3 Minerals.. You may play only one Private Goal during the game, or discard one as a Crystal except for a Contract. |
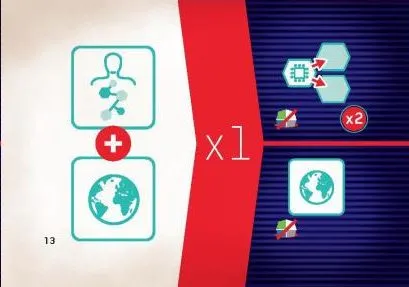 | Private Goal 4: Have collected 3 Discovery tiles with your Rover; reward: Develop twice for free or move your Rover up to 5 spaces.. You may play only one Private Goal during the game, or discard one as a Crystal except for a Contract. |
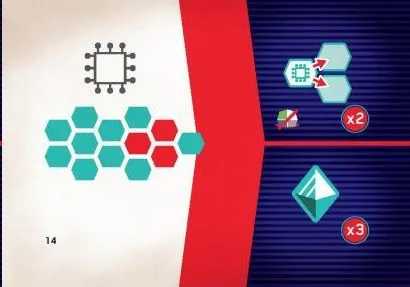 | Private Goal 5: Have an advanced building on a complex of size 4+; reward: Develop twice for free or add 2 Colonists to Living Quarters.. You may play only one Private Goal during the game, or discard one as a Crystal except for a Contract. |
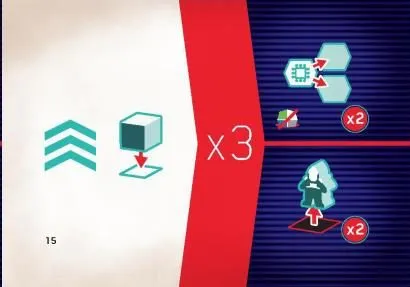 | Private Goal 6: Have 4 resources of one type other than Minerals; reward: Develop twice for free or take an Earth Contract for free.. You may play only one Private Goal during the game, or discard one as a Crystal except for a Contract. |
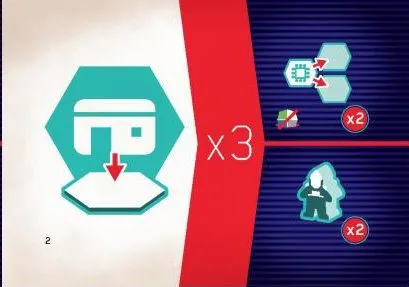 | Private Goal 7: Have upgraded 3 advanced buildings; reward: Develop twice for free or gain up to 3 non-Mineral resources.. You may play only one Private Goal during the game, or discard one as a Crystal except for a Contract. |
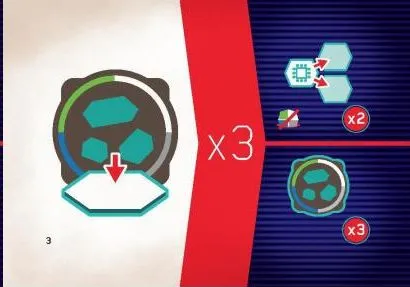 | Private Goal 8: Colony has reached level 3; reward: Develop twice for free or move your Rover up to 5 spaces.. You may play only one Private Goal during the game, or discard one as a Crystal except for a Contract. |
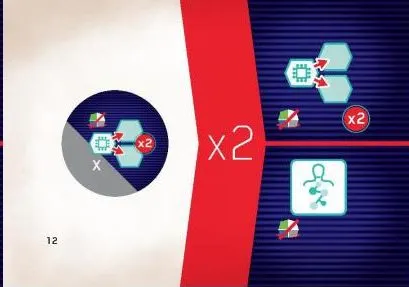 | Private Goal 9: Have 7 Colonists in Living Quarters; reward: Develop twice for free or welcome a Ship for free.. You may play only one Private Goal during the game, or discard one as a Crystal except for a Contract. |
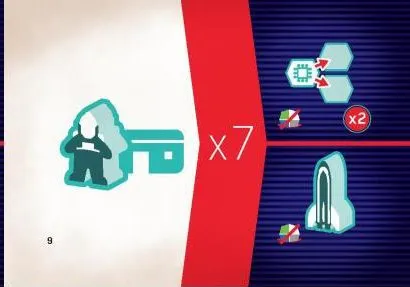 | Private Goal 10: Have at least 5 Tech tiles, including your starting Shelter Tech; reward: Develop twice for free or retrieve 2 Colonists from the board or Working Area.. You may play only one Private Goal during the game, or discard one as a Crystal except for a Contract. |
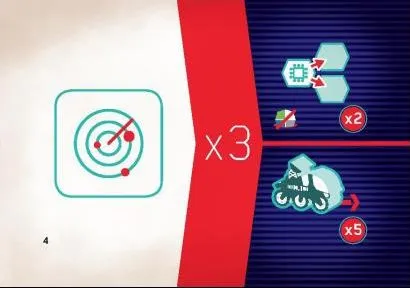 | Private Goal 11: Have 3 Ships in your Hangar; reward: Develop twice for free or travel to Orbit or Colony, resolving arrival.. You may play only one Private Goal during the game, or discard one as a Crystal except for a Contract. |
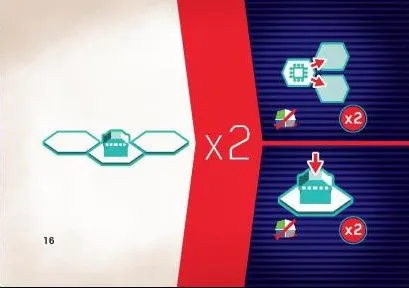 | Private Goal 12: Have 2 Research tiles; reward: Develop twice for free or take a Scientist for free.. You may play only one Private Goal during the game, or discard one as a Crystal except for a Contract. |
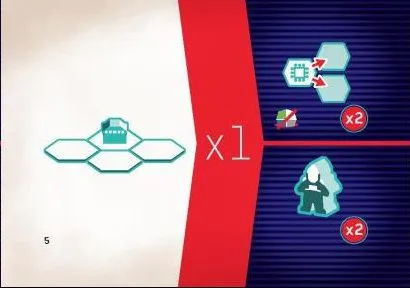 | Private Goal 13: Have a Scientist and a completed Earth Contract; reward: Develop twice for free or take an Earth Contract for free.. You may play only one Private Goal during the game, or discard one as a Crystal except for a Contract. |
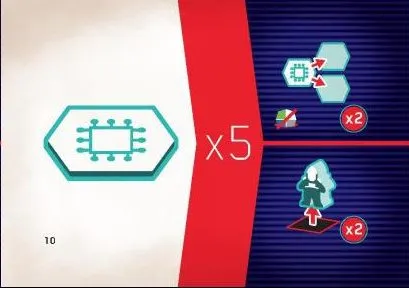 | Private Goal 14: Have 3 Tech tiles on the indicated spaces of your Laboratory; reward: Develop twice for free or take up to 3 Crystals.. You may play only one Private Goal during the game, or discard one as a Crystal except for a Contract. |
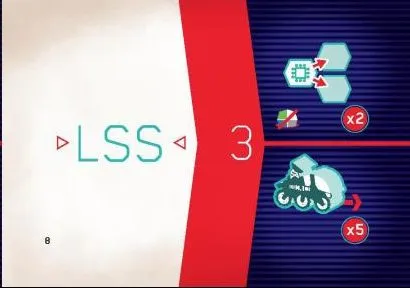 | Private Goal 15: Have 3 cubes in the Progress area; reward: Develop twice for free or retrieve 2 Colonists from action spaces or Working.. You may play only one Private Goal during the game, or discard one as a Crystal except for a Contract. |
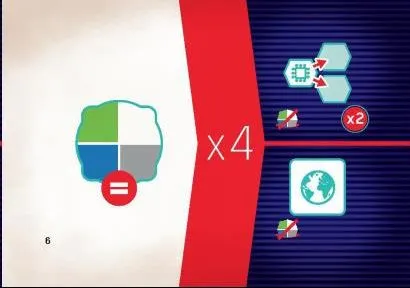 | Private Goal 16: Have advanced buildings on 2 different complexes of size 3+; reward: Develop twice for free or upgrade up to 2 buildings for free.. You may play only one Private Goal during the game, or discard one as a Crystal except for a Contract. |
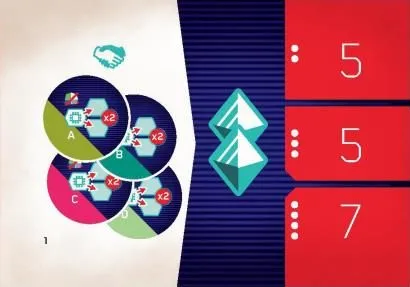 | Mission 1: contribute until Research tiles collected from the map reaches 5 / 5 / 7 (2 / 3 / 4 players); each contribution gains 2 Crystals, and completed Missions stop paying. |
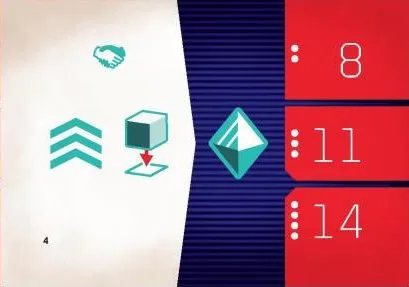 | Mission 2: contribute until Progress cubes placed in the Progress area reaches 8 / 11 / 14 (2 / 3 / 4 players); each contribution gains 1 Crystal, and completed Missions stop paying. |
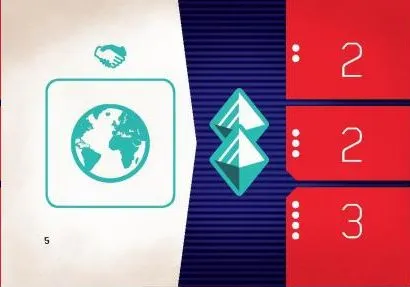 | Mission 3: contribute until Earth Contracts completed reaches 2 / 2 / 3 (2 / 3 / 4 players); each contribution gains 2 Crystals, and completed Missions stop paying. |
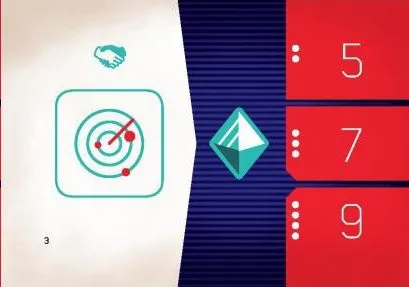 | Mission 4: contribute until Discovery tiles taken from the map by Rovers reaches 5 / 7 / 9 (2 / 3 / 4 players); each contribution gains 1 Crystal, and completed Missions stop paying. |
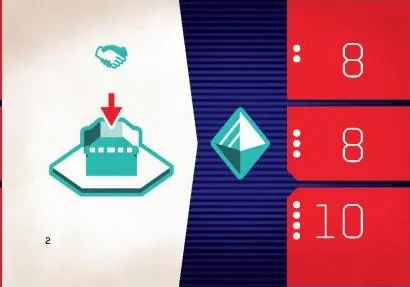 | Mission 5: contribute until Advanced Buildings on Mars reaches 8 / 8 / 10 (2 / 3 / 4 players); each contribution gains 1 Crystal, and completed Missions stop paying. |
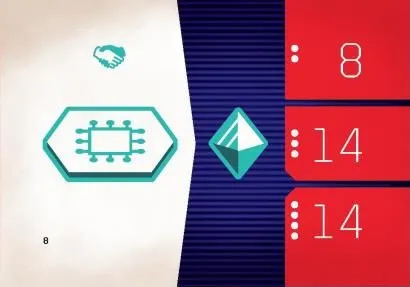 | Mission 6: contribute until Tech tiles taken from the display reaches 7 / 11 / 12 (2 / 3 / 4 players); each contribution gains 1 Crystal, and completed Missions stop paying. |
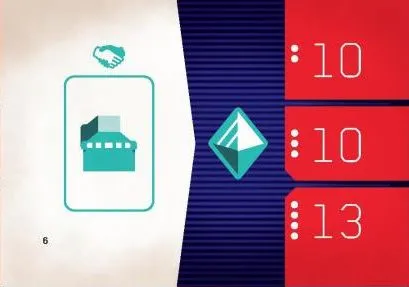 | Mission 7: contribute until Blueprints taken from the display reaches 10 / 10 / 13 (2 / 3 / 4 players); each contribution gains 1 Crystal, and completed Missions stop paying. |
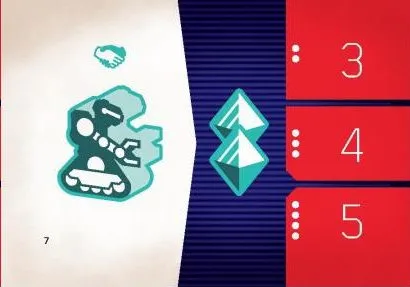 | Mission 8: contribute until Bots placed on the map; starting Bots do not count reaches 3 / 4 / 5 (2 / 3 / 4 players); each contribution gains 2 Crystals, and completed Missions stop paying. |
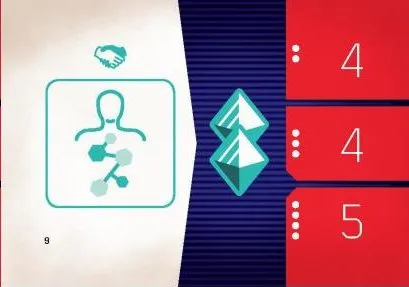 | Mission 9: contribute until Scientists taken from the display reaches 4 / 4 / 5 (2 / 3 / 4 players); each contribution gains 2 Crystals, and completed Missions stop paying. |
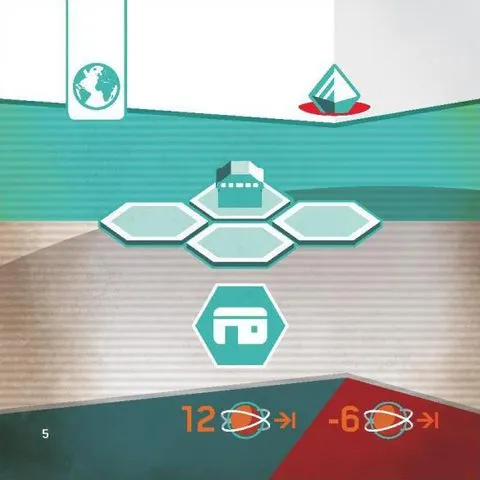 | Earth Contract 1: meet the pictured delivery requirement. Its completion or penalty value is printed on the card; check the physical component for that value. |
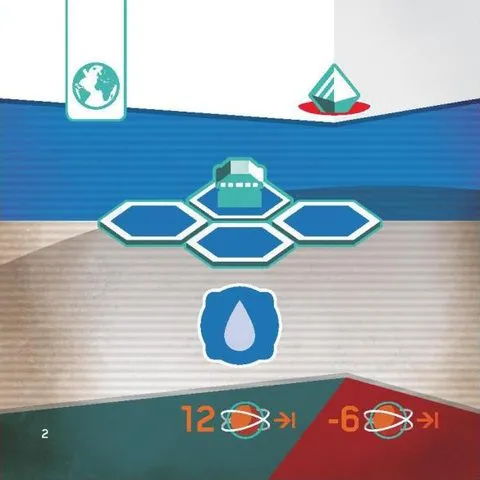 | Earth Contract 2: meet the pictured delivery requirement. Its completion or penalty value is printed on the card; check the physical component for that value. |
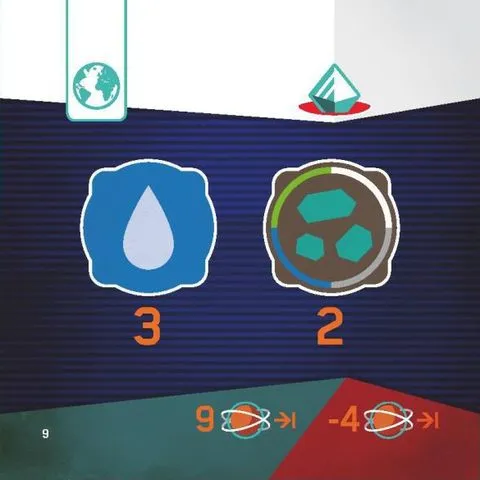 | Earth Contract 3: meet the pictured delivery requirement. Its completion or penalty value is printed on the card; check the physical component for that value. |
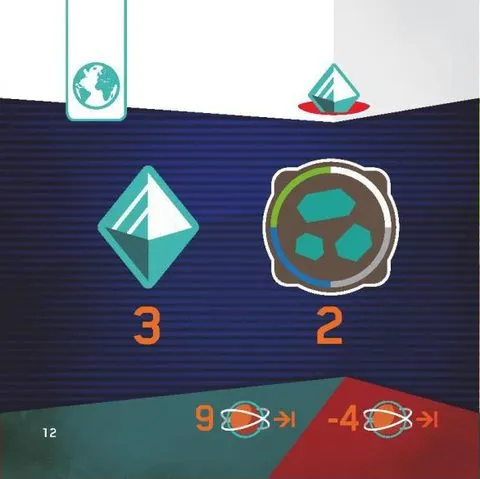 | Earth Contract 4: meet the pictured delivery requirement. Its completion or penalty value is printed on the card; check the physical component for that value. |
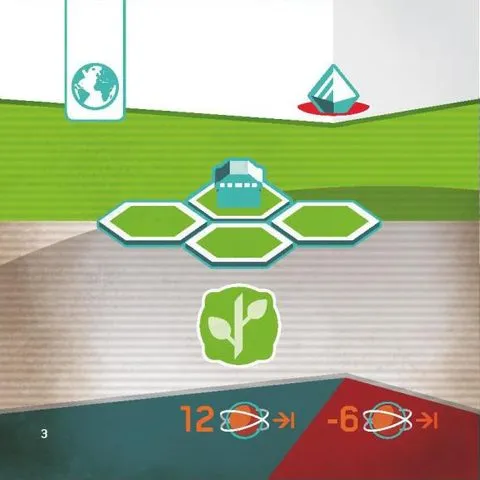 | Earth Contract 5: meet the pictured delivery requirement. Its completion or penalty value is printed on the card; check the physical component for that value. |
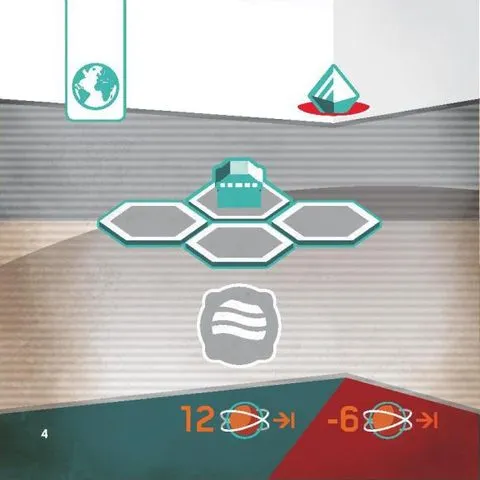 | Earth Contract 6: meet the pictured delivery requirement. Its completion or penalty value is printed on the card; check the physical component for that value. |
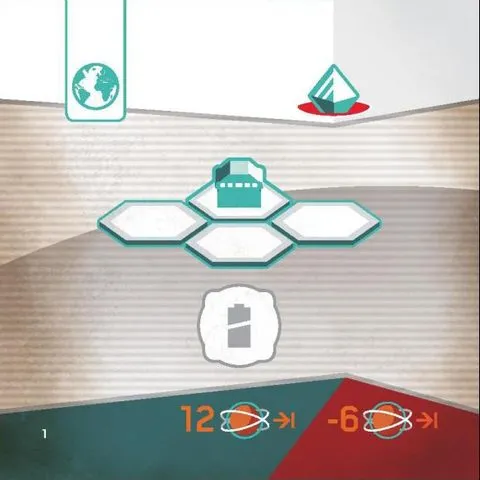 | Earth Contract 7: meet the pictured delivery requirement. Its completion or penalty value is printed on the card; check the physical component for that value. |
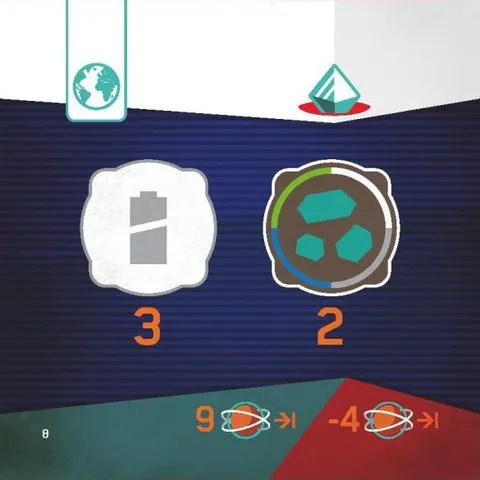 | Earth Contract 8: meet the pictured delivery requirement. Its completion or penalty value is printed on the card; check the physical component for that value. |
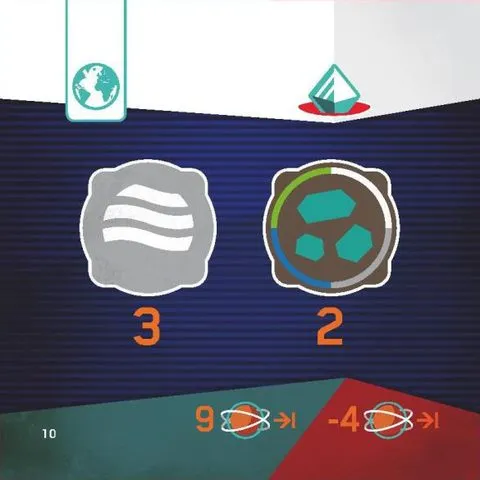 | Earth Contract 9: meet the pictured delivery requirement. Its completion or penalty value is printed on the card; check the physical component for that value. |
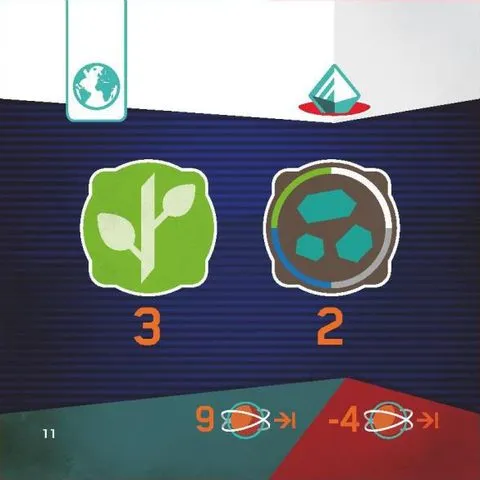 | Earth Contract 10: meet the pictured delivery requirement. Its completion or penalty value is printed on the card; check the physical component for that value. |
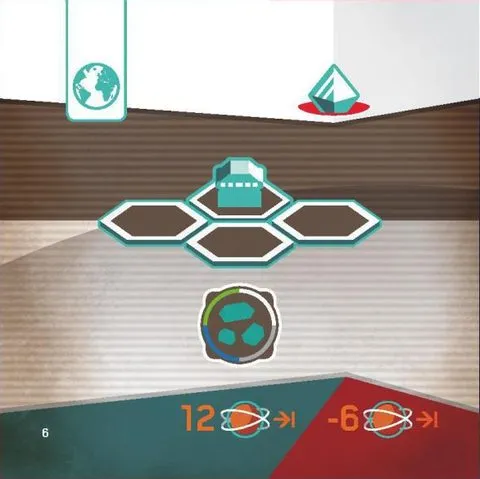 | Earth Contract 11: meet the pictured delivery requirement. Its completion or penalty value is printed on the card; check the physical component for that value. |
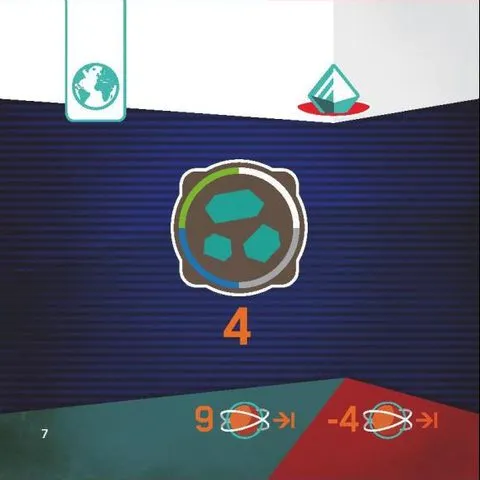 | Earth Contract 12: meet the pictured delivery requirement. Its completion or penalty value is printed on the card; check the physical component for that value. |
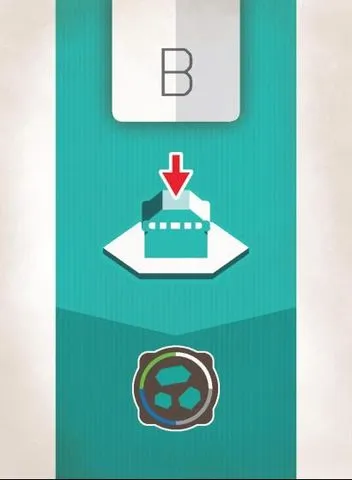 | First Colonist card 1: the face shows its A/B starting-space benefit. Check the physical component for the exact bonus icon. |
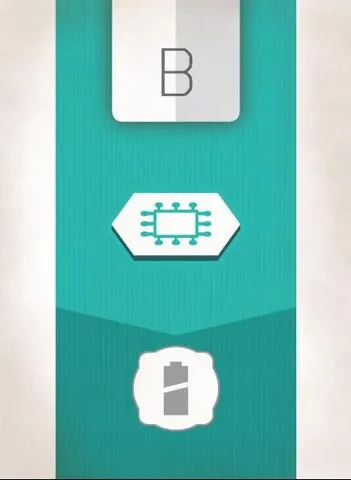 | First Colonist card 2: the face shows its A/B starting-space benefit. Check the physical component for the exact bonus icon. |
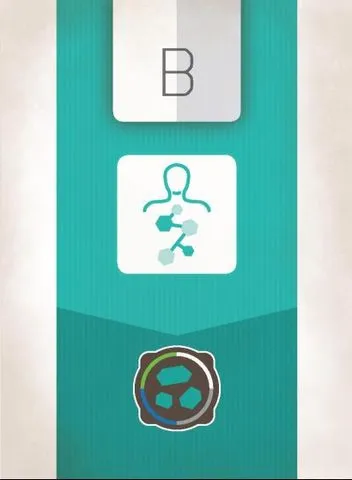 | First Colonist card 3: the face shows its A/B starting-space benefit. Check the physical component for the exact bonus icon. |
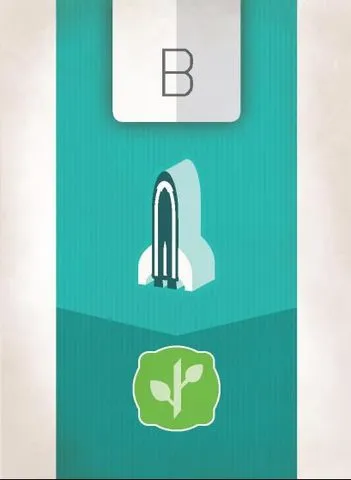 | First Colonist card 4: the face shows its A/B starting-space benefit. Check the physical component for the exact bonus icon. |
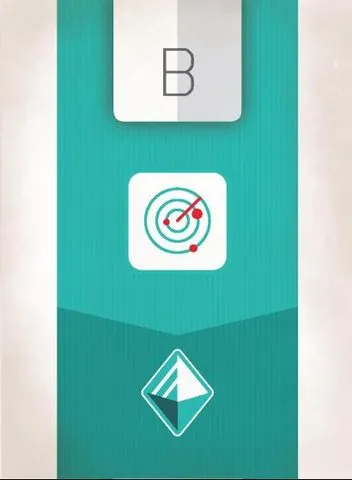 | First Colonist card 5: the face shows its A/B starting-space benefit. Check the physical component for the exact bonus icon. |
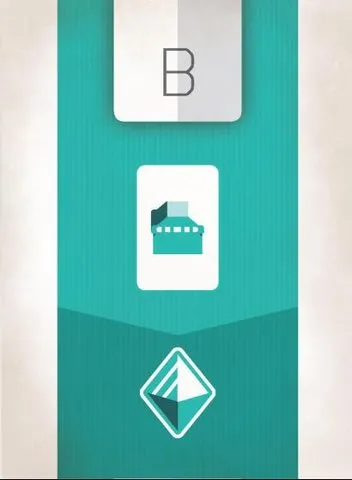 | First Colonist card 6: the face shows its A/B starting-space benefit. Check the physical component for the exact bonus icon. |
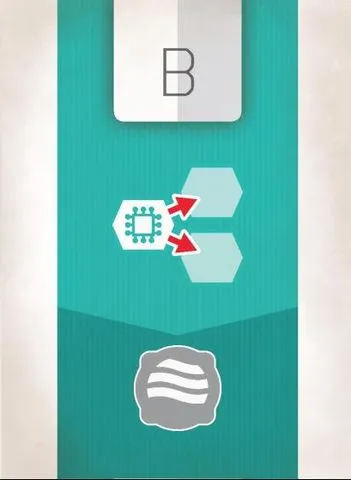 | First Colonist card 7: the face shows its A/B starting-space benefit. Check the physical component for the exact bonus icon. |
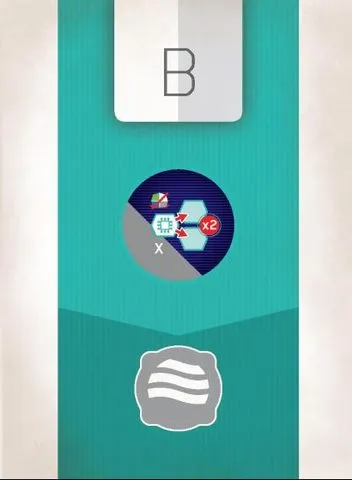 | First Colonist card 8: the face shows its A/B starting-space benefit. Check the physical component for the exact bonus icon. |
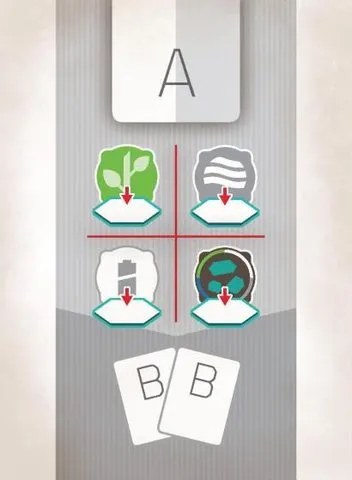 | First Colonist card 9: the face shows its A/B starting-space benefit. Check the physical component for the exact bonus icon. |
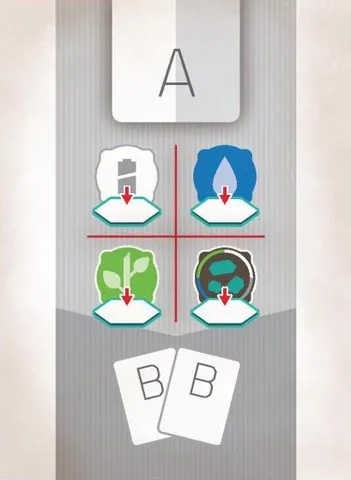 | First Colonist card 10: the face shows its A/B starting-space benefit. Check the physical component for the exact bonus icon. |
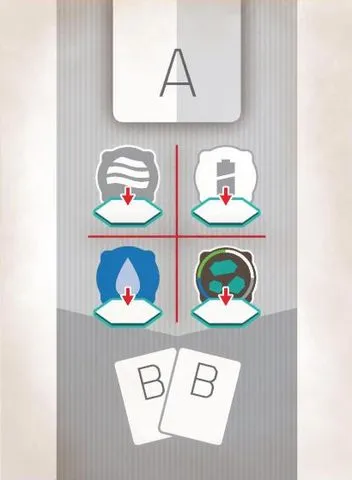 | First Colonist card 11: the face shows its A/B starting-space benefit. Check the physical component for the exact bonus icon. |
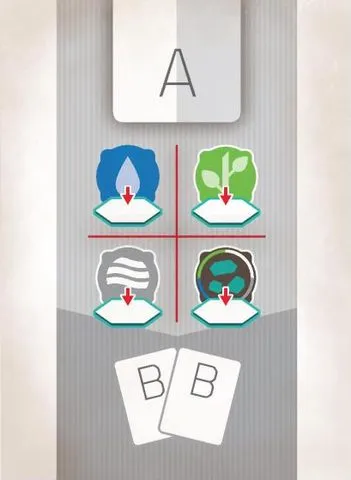 | First Colonist card 12: the face shows its A/B starting-space benefit. Check the physical component for the exact bonus icon. |
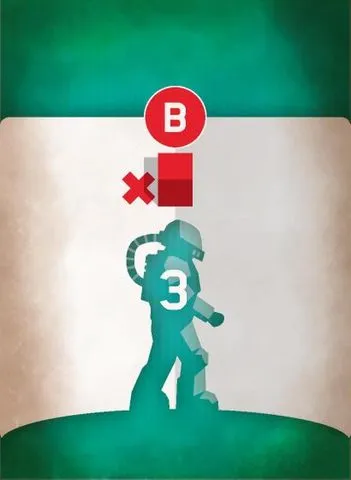 | Solo card 1: advance the B Mission marker on the second and later deck passes; resolve Lacerda action 1. This card means skip shuttle. |
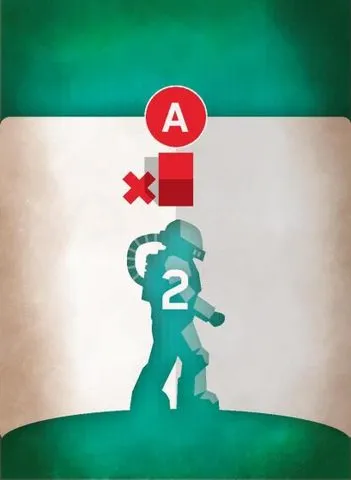 | Solo card 2: advance the A Mission marker on the second and later deck passes; resolve Lacerda action 2. This card means skip shuttle. |
 | Solo card 3: advance the A Mission marker on the second and later deck passes; resolve Lacerda action 3. This card means travel. |
 | Solo card 4: advance the C Mission marker on the second and later deck passes; resolve Lacerda action 3. This card means travel. |
 | Solo card 5: advance the B Mission marker on the second and later deck passes; resolve Lacerda action 1. This card means travel. |
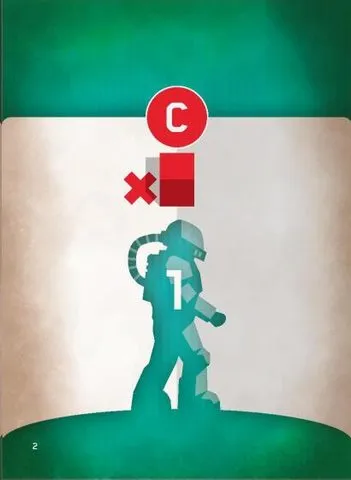 | Solo card 6: advance the C Mission marker on the second and later deck passes; resolve Lacerda action 1. This card means skip shuttle. |
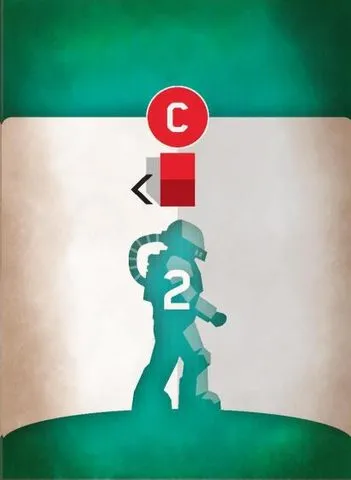 | Solo card 7: advance the C Mission marker on the second and later deck passes; resolve Lacerda action 2. This card means travel. |
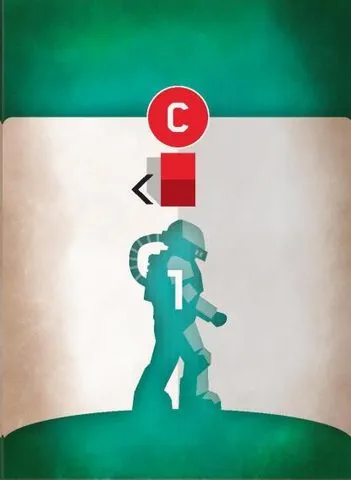 | Solo card 8: advance the C Mission marker on the second and later deck passes; resolve Lacerda action 1. This card means travel. |
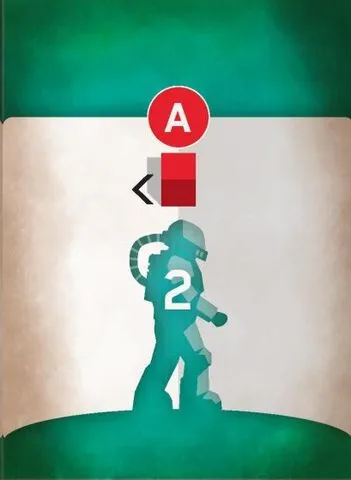 | Solo card 9: advance the A Mission marker on the second and later deck passes; resolve Lacerda action 2. This card means travel. |
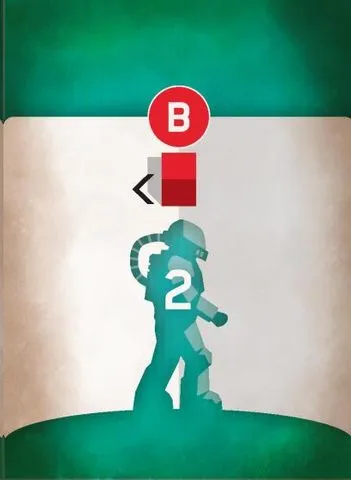 | Solo card 10: advance the B Mission marker on the second and later deck passes; resolve Lacerda action 2. This card means travel. |
 | Solo card 11: advance the B Mission marker on the second and later deck passes; resolve Lacerda action 1. This card means travel. |
 | Solo card 12: advance the A Mission marker on the second and later deck passes; resolve Lacerda action 1. This card means travel. |