Teach the Game
Asian Tigers rules reference: Teach the Game.
How you win
“We are investors helping South Korea, Taiwan, Hong Kong and Singapore grow. Over two Eras, we build infrastructure, produce goods and sell them abroad. The most prosperity points wins.”
Build a presence in each Tiger to earn influence. Trade your goods for flags: their immediate bonuses develop your economy, while their stars multiply your final objectives.
The boards
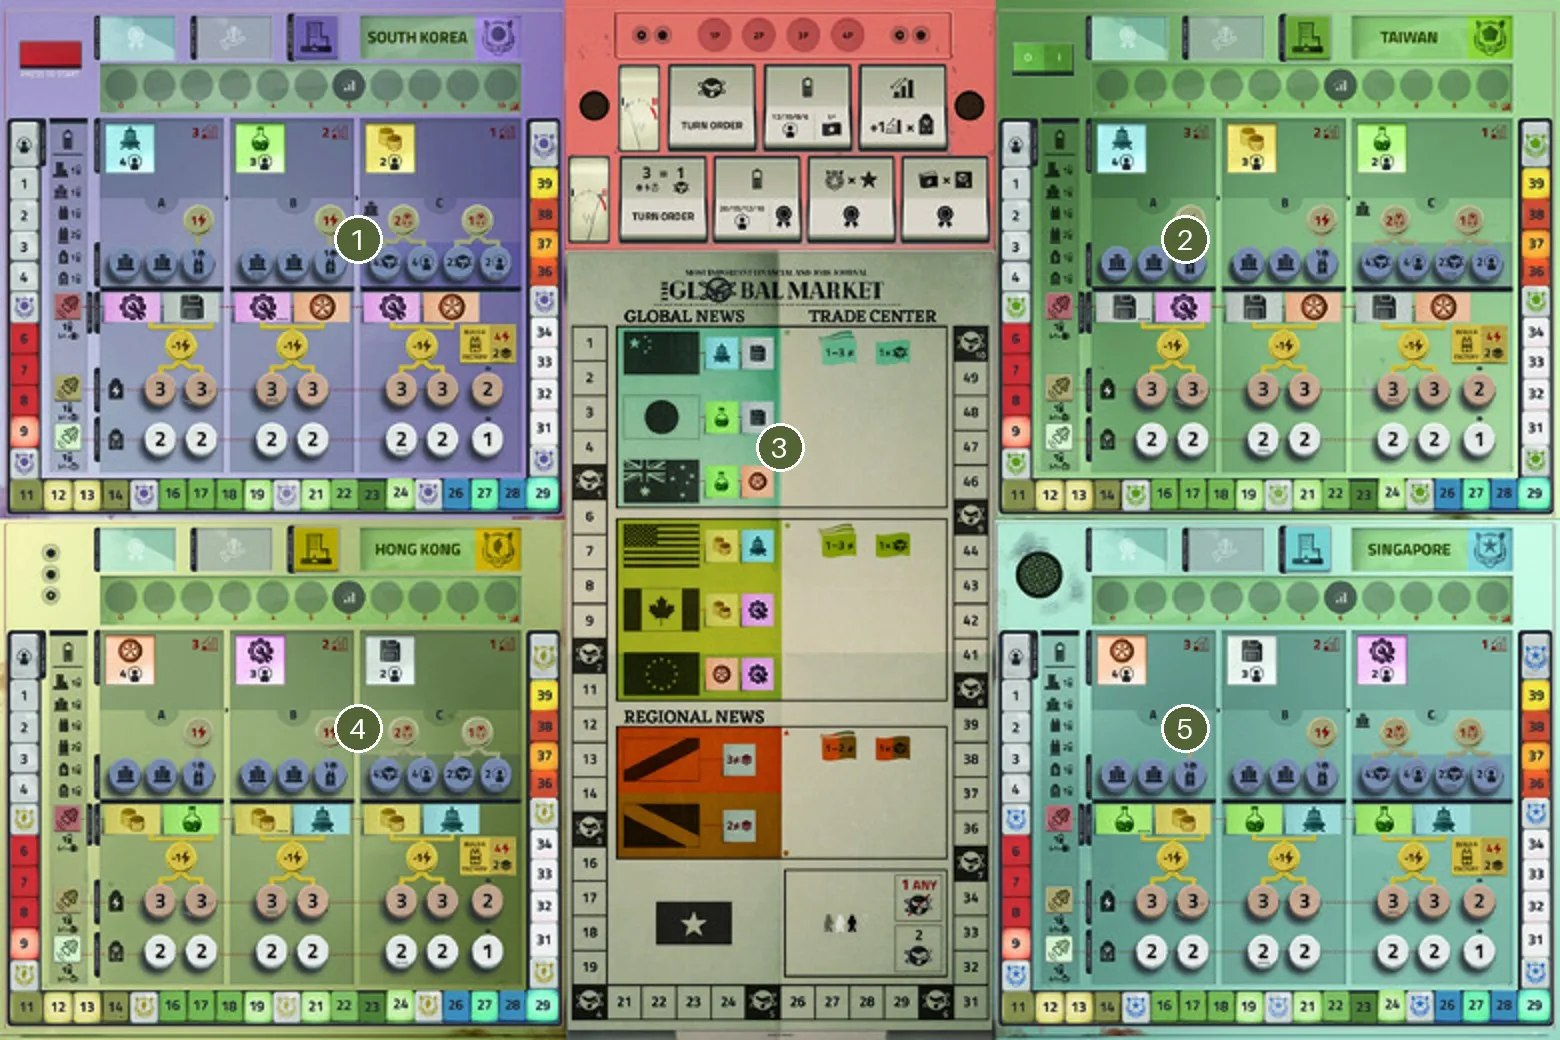
- South Korea — investment centres and construction spaces.
- Taiwan — another independent investment region.
- Global market — trade goods for flags and global-market progress.
- Hong Kong — local influence and investment funds.
- Singapore — prosperity depends on your influence rank.
Your player board holds the infrastructure you can build, the fixed worker queue and six final objectives. Emptying a sector unlocks a bonus; assigning a flag chooses an objective multiplier and usually gives another bonus.
A turn
Always take your leftmost worker. Its type determines which spaces it may join.
- Invest: pay local funds, optionally sell one good locally, then build one infrastructure in an allowed column.
- Or trade: deliver goods to nations in one trade centre, take their flags, advance using just one flag and allocate each flag to your board.
- Resolve immediate bonuses. They can interrupt your action and supply goods for its remaining sales.
After each player has placed ten workers, resolve Era management. Do this twice.
How the game ends
After Era II management, add Tiger prosperity, the six flag-backed objectives and different flags multiplied by global-market milestones. Final turn order breaks a tied total. Scoring.
Ways to score
| Source | How and when |
|---|---|
| Four Tigers | At game end: rank on each influence track, then take the prosperity token value for that rank |
| Six objectives | At game end: number of Tigers meeting each requirement × stars assigned to that objective |
| Nations | At game end: different flags, including the special type, × global-market milestones reached |
| Remaining resources | Before final ranking: each complete group of 3 goods, energy and science adds 1 global-market step, potentially increasing the nations multiplier |
Investment points and influence are intermediate measures, not points added directly to your final total.
What each resource is for
| Resource | Why you need it | How you get it | How you use it |
|---|---|---|---|
 Investment funds | Access construction | Start at 6 per Tiger; bonuses; reset for Era II plus laboratories | Pay 3/2/1 for centre A/B/C; some bonuses also require local funds |
 Energy | Factories and parts | Power plants, bonuses | Factory base cost 4; parts usually 1; some production bonuses |
 Science | Departments, advanced factories | Laboratories, bonuses | Printed department costs; 2 extra for ships or automobiles factories |
| Goods | Local influence or export flags | Factories and bonuses | Pay complete demands in markets |
| Workers | Ten turns per Era | Random queue from twelve pieces | Use leftmost first; type locks centres |
| Infrastructure | Investment majorities and objectives | Personal board | Build it; empty sectors trigger bonuses |
| Flags | Bonuses, objective stars, nation variety | Trade; special flags after Era I | Allocate to eligible empty rows |
Teaching tips
- Demonstrate the leftmost-worker rule and the A/B/C type locks before asking anyone to plan.
- Name funds, investment points and influence separately.
- Show a factory producing goods, then a sale turning those goods into a flag and a bonus.
- Explain the university correction before the first build: the second construction is mandatory.